


This practical article walks you through a couple of different ways to create image buttons in Flutter (I use network images for the upcoming examples so that you can readily run the code without any extra setup. However, you can replace them with your local asset images if necessary.)
Using InkWell and Ink.image
If you want to create an image button that responds to touch with a ripple/splash effect, add the image using the Ink.image constructor and wrap it inside an Inkwell widget.
Example
This example implements an image button that shows a growing circle initially centered on the tap location. When this button gets tapped, a snackbar will show up at the bottom of the screen. Here’s how it works:
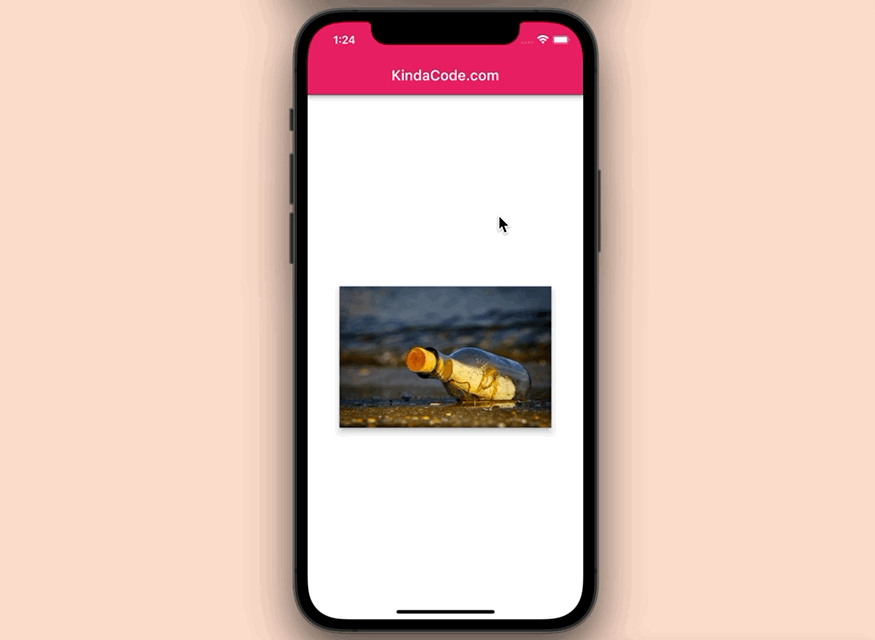
The code:
Scaffold(
      appBar: AppBar(title: const Text('KindaCode.com')),
      body: Center(
        // add an elevation
        child: Material(
          elevation: 6,
          // Size the button
          child: SizedBox(
            width: 300,
            height: 200,
            // Inkwell
            child: InkWell(
              radius: 100,
              // display a snackbar on tap
              onTap: () {
                ScaffoldMessenger.of(context).clearSnackBars();
                ScaffoldMessenger.of(context).showSnackBar(
                  const SnackBar(
                    content: Text('Hello There!'),
                    duration: Duration(milliseconds: 1500),
                  ),
                );
              },
              // implement the image with Ink.image
              child: Ink.image(
                fit: BoxFit.cover,
                image: const NetworkImage(
                    'https://www.kindacode.com/wp-content/uploads/2022/07/bottle.jpeg'),
              ),
            ),
          ),
        ),
      ),
);
Using GestureDetector
If you don’t need any effects when your image button gets tapped (e.g. when you want to navigate to another screen), using a GestureDetector widget is a good choice. The code is shorter and cleaner.
Example
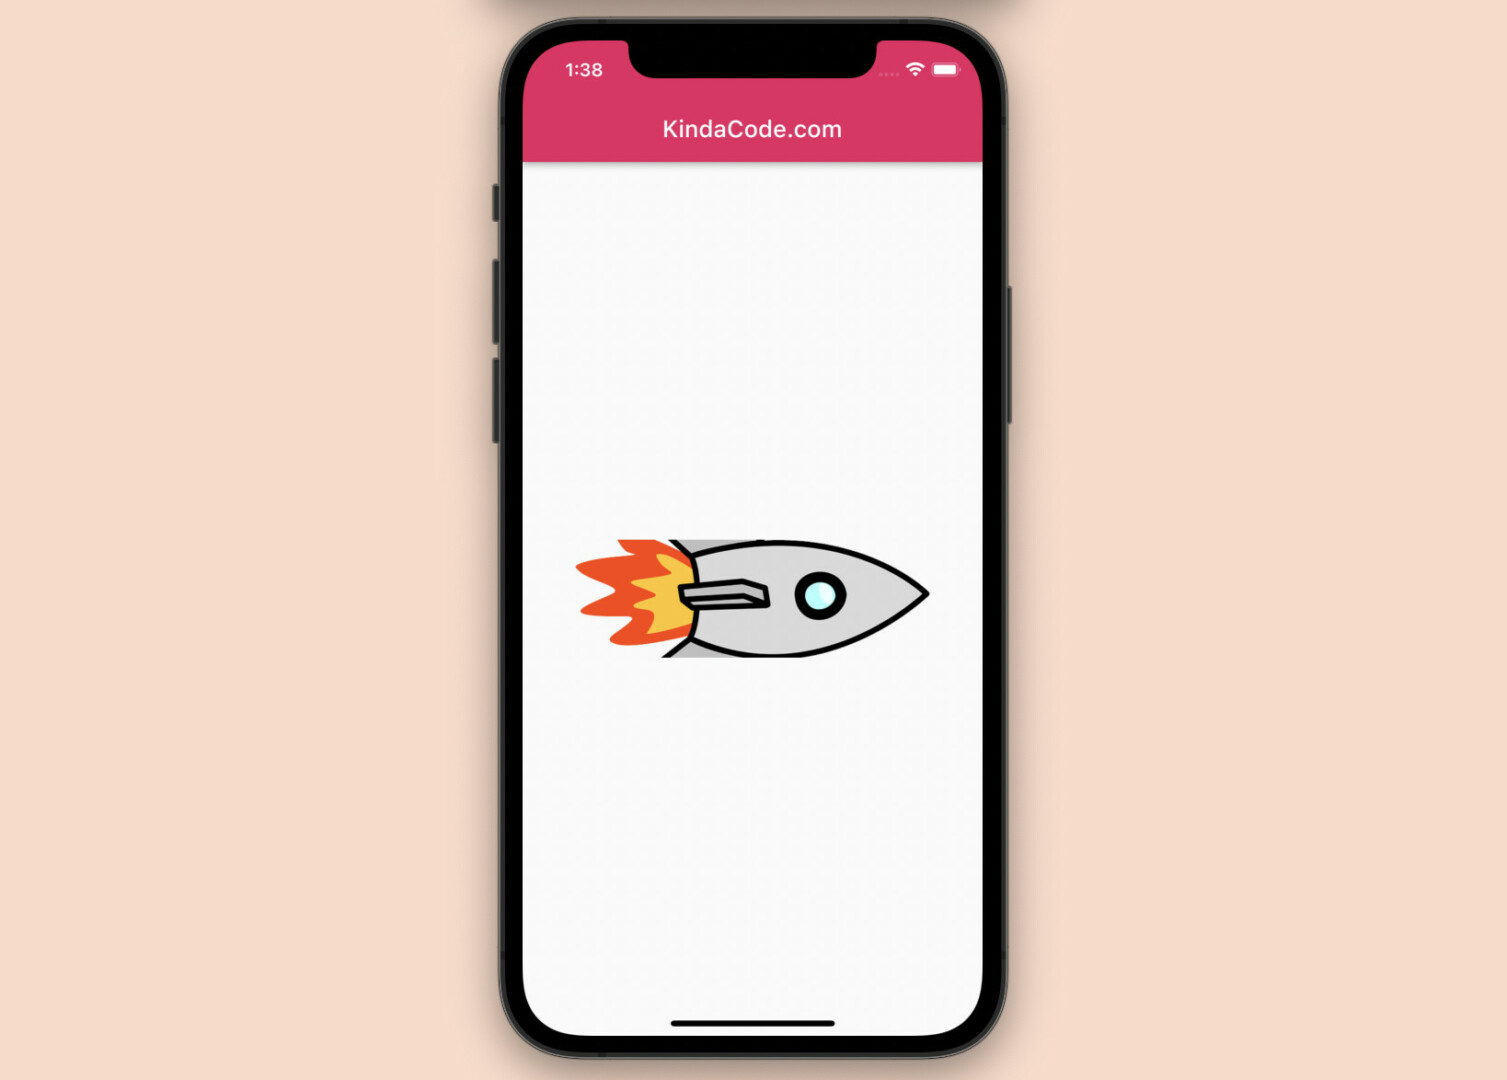
This code creates an image button that triggers a function on tap but shows no effects:
Scaffold(
      appBar: AppBar(title: const Text('KindaCode.com')),
      body: Center(
        child: GestureDetector(
          onTap: () {
            debugPrint('The image button has been tapped');
          },
          child: SizedBox(
            width: 300,
            height: 100,
            child: Image.network(
              'https://www.kindacode.com/wp-content/uploads/2022/07/rocket.png',
              fit: BoxFit.cover,
            ),
          ),
        ),
      ),
);
Screenshot:
Using IconButton to Make Round Image Button
If you want to create a circular image button with a splash effect on pressed, using the IconButton widget Is very quick (you need to use an image that fits the shape of the button).
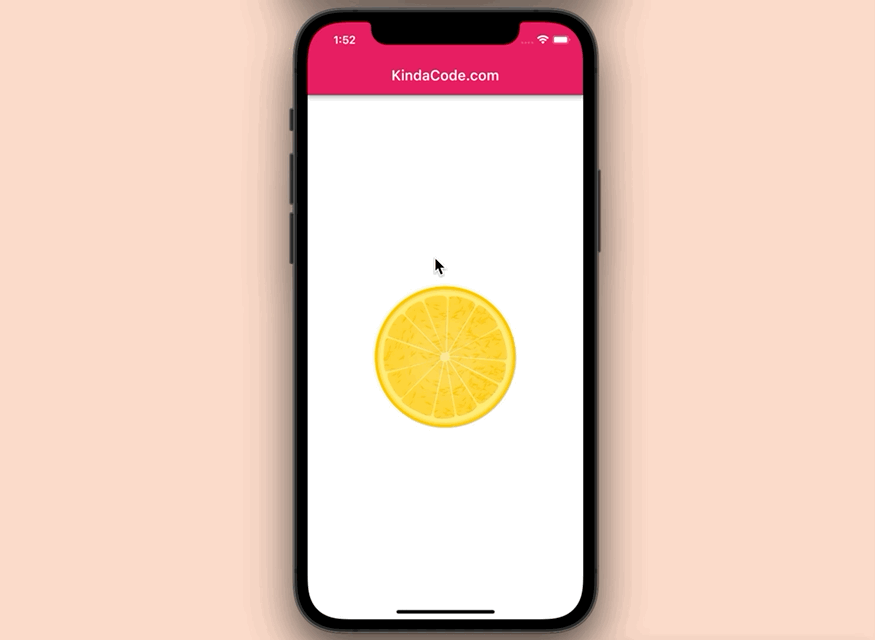
Example:
Scaffold(
      appBar: AppBar(title: const Text('KindaCode.com')),
      body: Center(
        child: IconButton(
          splashRadius: 100,
          iconSize: 200,
          icon: Ink.image(
            image: const NetworkImage(
                'https://www.kindacode.com/wp-content/uploads/2022/07/lemon.png'),
          ),
          onPressed: () {
            // do something when the button is pressed
            debugPrint('Hi there');
          },
        ),
      ),
);
Output:
Button with Image and Text
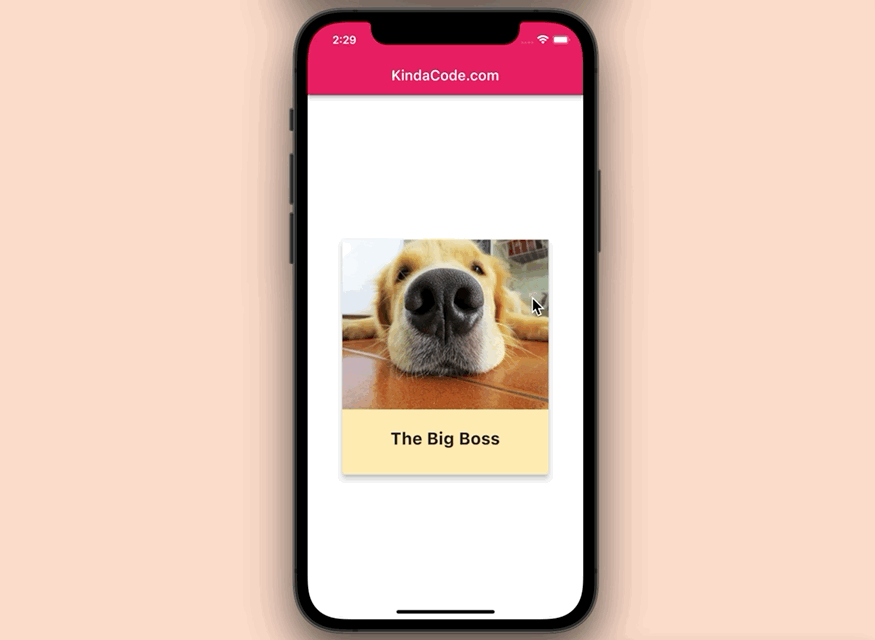
This example creates an image button with a text label. We’ll use the InkReponse widget to make it clickable and add a ripple effect.
Preview:
The Complete Code:
// main.dart
import 'package:flutter/material.dart';

void main() {
  runApp(const MyApp());
}

class MyApp extends StatelessWidget {
  const MyApp({Key? key}) : super(key: key);

  @override
  Widget build(BuildContext context) {
    return MaterialApp(
      // Remove the debug banner
      debugShowCheckedModeBanner: false,
      title: 'KindaCode.com',
      theme: ThemeData(
        primarySwatch: Colors.pink,
      ),
      home: const HomeScreen(),
    );
  }
}

class HomeScreen extends StatefulWidget {
  const HomeScreen({Key? key}) : super(key: key);

  @override
  State<HomeScreen> createState() => _HomeScreenState();
}

class _HomeScreenState extends State<HomeScreen> {
  @override
  Widget build(BuildContext context) {
    return Scaffold(
      appBar: AppBar(title: const Text('KindaCode.com')),
      body: Center(
        child: SizedBox(
          width: 300,
          height: 340,
          child: Card(
            elevation: 6,
            color: Colors.amber.shade100,
            semanticContainer: true,
            // Implement InkResponse
            child: InkResponse(
              containedInkWell: true,
              highlightShape: BoxShape.rectangle,
              onTap: () {
                // Clear all showing snack bars
                ScaffoldMessenger.of(context).clearSnackBars();
                // Display a snack bar
                ScaffoldMessenger.of(context).showSnackBar(const SnackBar(
                  content: Text("Let's me sleep. Don't touch me!"),
                ));
              },
              // Add image & text
              child: Column(
                mainAxisAlignment: MainAxisAlignment.spaceBetween,
                children: [
                  Ink.image(
                      width: double.infinity,
                      height: 240,
                      fit: BoxFit.cover,
                      image: const NetworkImage(
                          'https://www.kindacode.com/wp-content/uploads/2022/06/big-boss.jpeg')),
                  const Text(
                    'The Big Boss',
                    style: TextStyle(fontSize: 24, fontWeight: FontWeight.bold),
                  ),
                  const SizedBox(height: 10)
                ],
              ),
            ),
          ),
        ),
      ),
    );
  }
}
Wrapping Up
We’ve examined a bunch of examples that demonstrate how to construct image buttons in Flutter. Choose from them the one that suits your needs. Try to modify the code, add some things, remove some things, and see what happens afterward.
Flutter is fantastic and its realm is vast. There are so many things to learn. Keep yourself on the rails by taking a look at the following articles:
- Working with MaterialBanner in Flutter
- Flutter: Floating Action Button examples (basic & advanced)
- Working with ElevatedButton in Flutter
- Flutter BottomAppBar: Tutorial & Examples
- How to create Circle Charts (Pie Charts) in Flutter
- Flutter + Firebase Storage: Upload, Retrieve, and Delete files
You can also tour around our Flutter topic page or Dart topic page for the most recent tutorials and examples.


