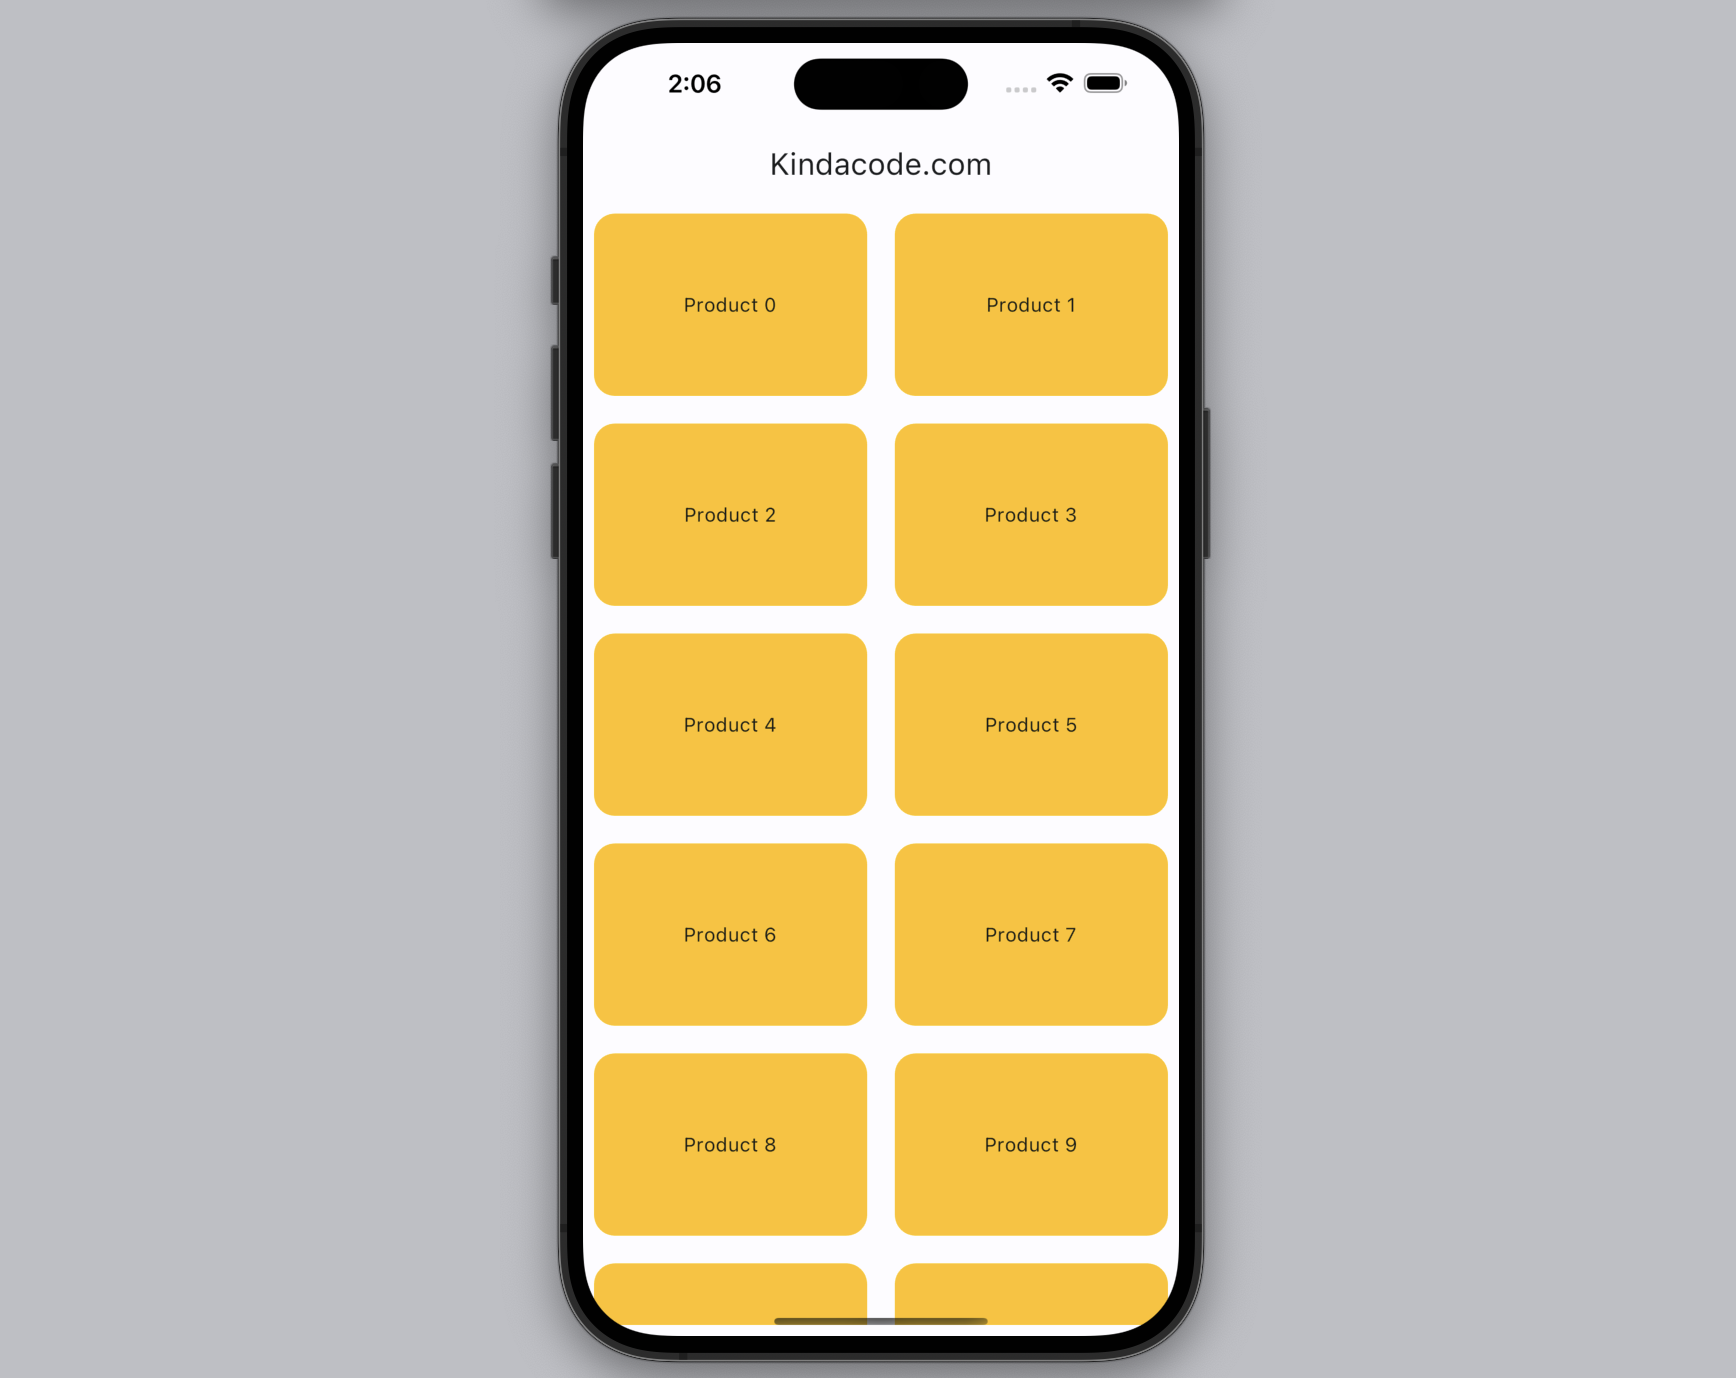
If your Flutter app needs to display a grid view of a large or infinite number of items (a list of products fetched from API, for instance) then you should use GridView.builder() instead of GridView(). The builder() is called only for those items that are actually visible so your app performance will be improved.
Table of Contents
Example
The steps:
1. Generate a list with 100,000 dummy products:
final List<Map> myProducts =
      List.generate(100000, (index) => {"id": index, "name": "Product $index"})
          .toList();
By using GridView.builder(), we’ll get rid of lagging when rendering a super extensive list like this one.
2. Implement the grid view:
GridView.builder(
            gridDelegate: const SliverGridDelegateWithMaxCrossAxisExtent(
                maxCrossAxisExtent: 200,
                childAspectRatio: 3 / 2,
                crossAxisSpacing: 20,
                mainAxisSpacing: 20),
            itemCount: myProducts.length,
            itemBuilder: (BuildContext ctx, index) {
              return Container(
                alignment: Alignment.center,
                decoration: BoxDecoration(
                    color: Colors.amber,
                    borderRadius: BorderRadius.circular(15)),
                child: Text(myProducts[index]["name"]),
              );
            }),
Screenshot:

The Complete Code
Full source code in main.dart:
// kindacode.com
// main.dart
import 'package:flutter/material.dart';

void main() {
  runApp(const MyApp());
}

class MyApp extends StatelessWidget {
  const MyApp({Key? key}) : super(key: key);

  @override
  Widget build(BuildContext context) {
    return MaterialApp(
      // Hide the debug banner
      debugShowCheckedModeBanner: false,
      title: 'Kindacode.com',
      theme: ThemeData(
        colorScheme: ColorScheme.fromSeed(seedColor: Colors.blue),
        useMaterial3: true,
      ),
      home: HomeScreen(),
    );
  }
}

class HomeScreen extends StatelessWidget {
  HomeScreen({Key? key}) : super(key: key);

  final List<Map> myProducts =
      List.generate(100000, (index) => {"id": index, "name": "Product $index"})
          .toList();

  @override
  Widget build(BuildContext context) {
    return Scaffold(
      appBar: AppBar(
        title: const Text('Kindacode.com'),
      ),
      body: Padding(
        padding: const EdgeInsets.all(8.0),
        // implement GridView.builder
        child: GridView.builder(
            gridDelegate: const SliverGridDelegateWithMaxCrossAxisExtent(
                maxCrossAxisExtent: 200,
                childAspectRatio: 3 / 2,
                crossAxisSpacing: 20,
                mainAxisSpacing: 20),
            itemCount: myProducts.length,
            itemBuilder: (BuildContext ctx, index) {
              return Container(
                alignment: Alignment.center,
                decoration: BoxDecoration(
                    color: Colors.amber,
                    borderRadius: BorderRadius.circular(15)),
                child: Text(myProducts[index]["name"]),
              );
            }),
      ),
    );
  }
}
Conclusion
Congratulation! At this point, you should get a better understanding and feel more comfortable when implementing a GridView in your app. You can explore more exciting things about grid and list stuff in Flutter by having a look at the following articles:
- Flutter: Safety nesting ListView, GridView inside a Column
- Flutter: SliverGrid example
- Flutter: GridTile examples
- Flutter SliverList – Tutorial and Example
- How to implement a horizontal GridView in Flutter
- Flutter SliverAppBar Example (with Explanations)
- Flutter AnimatedList – Tutorial and Examples
- Working with ReorderableListView in Flutter
You can also check out our Flutter category page or Dart category page for the latest tutorials and examples.


