

This article is about the Chip widget in Flutter. We’ll have a glance at the fundamentals of the widget and then walk through a few examples of implementing it in practice. Without any further ado, let’s get started.
Overview
A typical chip is a small box with 4 rounded corners. It has a text label and displays information in a meaningful and compact manner. Chips can show multiple interactive elements together in the same area. Some popular real-world use cases of chips are:
- Post tags (you can see them on many WordPress blogs or big platforms like GitHub, StackOverflow, Medium, IMDB, etc.)
- A list of removable things (a series of email contacts, a list of favorite music genres, etc.)
In Flutter, you can implement a Chip widget by using the following constructor:
Chip({
  Key? key,
  Widget? avatar,
  required Widget label,
  TextStyle? labelStyle,
  EdgeInsetsGeometry? labelPadding,
  Widget? deleteIcon,
  VoidCallback? onDeleted,
  Color? deleteIconColor,
  String? deleteButtonTooltipMessage,
  BorderSide? side,
  OutlinedBorder? shape,
  Clip clipBehavior = Clip.none,
  FocusNode? focusNode,
  bool autofocus = false,
  Color? backgroundColor,
  EdgeInsetsGeometry? padding,
  VisualDensity? visualDensity,
  MaterialTapTargetSize? materialTapTargetSize,
  double? elevation,
  Color? shadowColor,
  Color? surfaceTintColor,
  IconThemeData? iconTheme,
  bool useDeleteButtonTooltip = true
})
Only the label property is required; the others are optional. Some commonly used ones are:
- avatar: Displays an icon or a small image before the label.
- backgroundColor: Background color of the chip.
- padding: The padding around the contents of the chip.
- deleteIcon: The widget that lets the user delete the chip.
- onDeleted: The function that is called when the deleteIcon gets tapped.
You can find more details about other properties in the official docs. However, for most applications, we don’t need more than half of them.
Simple Example
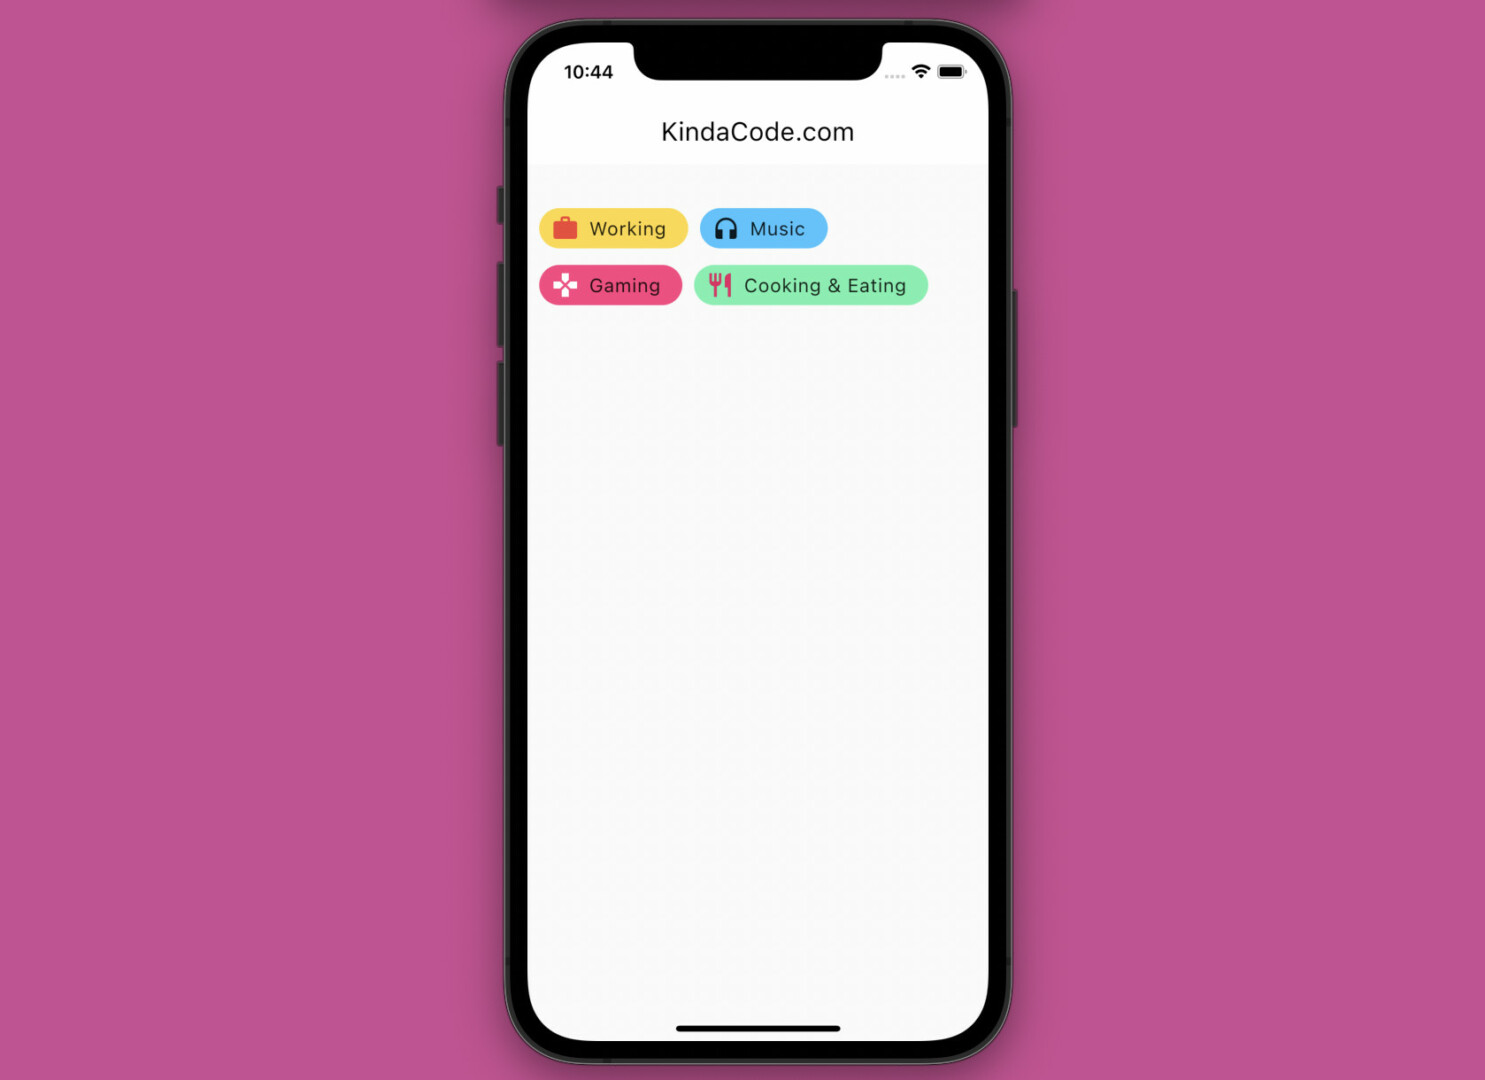
This small example shows you a simple and efficient way to display multiple chips together. We will use a Wrap widget as the parent of a list of chips. When the free space in the current line runs out, the chips will automatically go down the line. We can also conveniently set the distance between the chips thanks to the spacing property of the Wrap widget.
Screenshot:
The code:
// kindacode.com
// main.dart
import 'package:flutter/material.dart';

void main() {
  runApp(const MyApp());
}

class MyApp extends StatelessWidget {
  const MyApp({super.key});
  @override
  Widget build(BuildContext context) {
    return MaterialApp(
      // hide debug banner
      debugShowCheckedModeBanner: false,
      title: 'KindaCode.com',
      theme: ThemeData(
        // enable Material 3
        useMaterial3: true,
        primarySwatch: Colors.blue,
      ),
      home: const KindaCodeDemo(),
    );
  }
}

class KindaCodeDemo extends StatelessWidget {
  const KindaCodeDemo({super.key});
  @override
  Widget build(BuildContext context) {
    return Scaffold(
      appBar: AppBar(
        title: const Text('KindaCode.com'),
      ),
      body: Padding(
        padding: const EdgeInsets.symmetric(vertical: 30, horizontal: 10),
        child: Wrap(
            // space between chips
            spacing: 10,
            // list of chips
            children: const [
              Chip(
                label: Text('Working'),
                avatar: Icon(
                  Icons.work,
                  color: Colors.red,
                ),
                backgroundColor: Colors.amberAccent,
                padding: EdgeInsets.symmetric(vertical: 5, horizontal: 10),
              ),
              Chip(
                label: Text('Music'),
                avatar: Icon(Icons.headphones),
                backgroundColor: Colors.lightBlueAccent,
                padding: EdgeInsets.symmetric(vertical: 5, horizontal: 10),
              ),
              Chip(
                label: Text('Gaming'),
                avatar: Icon(
                  Icons.gamepad,
                  color: Colors.white,
                ),
                backgroundColor: Colors.pinkAccent,
                padding: EdgeInsets.symmetric(vertical: 5, horizontal: 10),
              ),
              Chip(
                label: Text('Cooking & Eating'),
                avatar: Icon(
                  Icons.restaurant,
                  color: Colors.pink,
                ),
                backgroundColor: Colors.greenAccent,
                padding: EdgeInsets.symmetric(vertical: 5, horizontal: 10),
              )
            ]),
      ),
    );
  }
}
In this example, chips only present information. In the next example, chips are interactable.
Complex Example: Dynamically Adding & Removing Chips
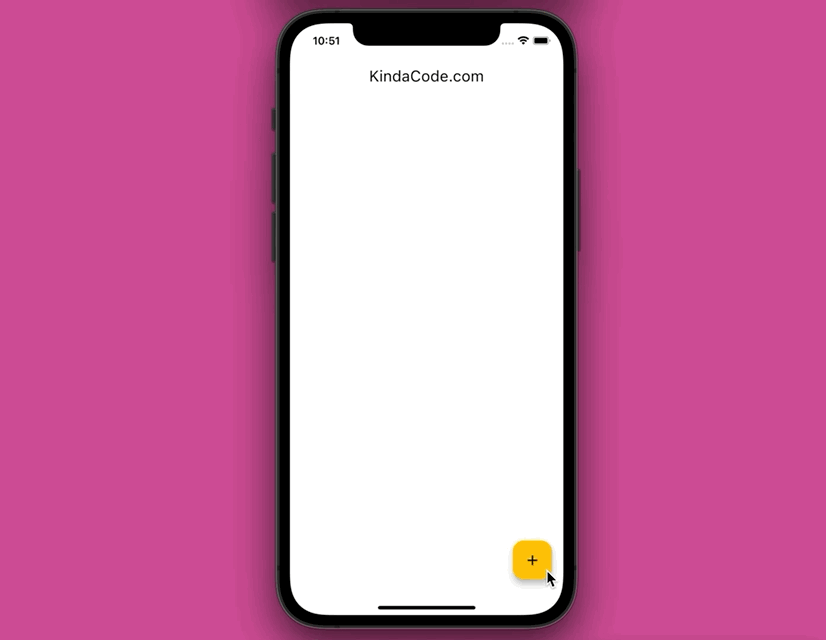
App Preview
The app we are going to build contains a floating action button. When this button is pressed, a dialog will show up to let us add a new chip. Each chip can be removed by tapping the delete icon associated with it.
Here’s how our app works:
The Complete Code
The final code in main.dart with explanations:
// main.dart
import 'package:flutter/material.dart';

void main() {
  runApp(const MyApp());
}

class MyApp extends StatelessWidget {
  const MyApp({Key? key}) : super(key: key);

  @override
  Widget build(BuildContext context) {
    return MaterialApp(
      debugShowCheckedModeBanner: false,
      title: 'KindaCode.com',
      theme: ThemeData(
        // use Material 3
        useMaterial3: true,
        primarySwatch: Colors.amber,
      ),
      home: const HomePage(),
    );
  }
}

// Data model for a chip
class ChipData {
  // an id is useful when deleting chip
  final String id;
  final String name;
  ChipData({required this.id, required this.name});
}

// HomePage widget
class HomePage extends StatefulWidget {
  const HomePage({Key? key}) : super(key: key);

  @override
  State<HomePage> createState() => _HomePageState();
}

class _HomePageState extends State<HomePage> {
  // list of chips
  final List<ChipData> _allChips = [];

  // Text controller (that will be used for the TextField shown in the dialog)
  final TextEditingController _textController = TextEditingController();
  // This function will be triggered when the floating actiong button gets pressed
  void _addNewChip() async {
    await showDialog(
        context: context,
        builder: (_) {
          return AlertDialog(
            title: const Text('Add a thing:'),
            content: TextField(
              controller: _textController,
            ),
            actions: [
              ElevatedButton(
                  onPressed: () {
                    setState(() {
                      _allChips.add(ChipData(
                          id: DateTime.now().toString(),
                          name: _textController.text));
                    });

                    // reset the TextField
                    _textController.text = '';

                    // Close the dialog
                    Navigator.of(context).pop();
                  },
                  child: const Text('Submit'))
            ],
          );
        });
  }

  // This function will be called when a delete icon associated with a chip is tapped
  void _deleteChip(String id) {
    setState(() {
      _allChips.removeWhere((element) => element.id == id);
    });
  }

  @override
  Widget build(BuildContext context) {
    return Scaffold(
      appBar: AppBar(
        title: const Text('KindaCode.com'),
      ),
      body: Padding(
        padding: const EdgeInsets.all(15),
        child: Wrap(
          spacing: 10,
          children: _allChips
              .map((chip) => Chip(
                    key: ValueKey(chip.id),
                    label: Text(chip.name),
                    backgroundColor: Colors.amber.shade200,
                    padding:
                        const EdgeInsets.symmetric(vertical: 7, horizontal: 10),
                    deleteIconColor: Colors.red,
                    onDeleted: () => _deleteChip(chip.id),
                  ))
              .toList(),
        ),
      ),
      floatingActionButton: FloatingActionButton(
        onPressed: _addNewChip,
        child: const Icon(Icons.add),
      ),
    );
  }
}
Conclusion
We’ve explored essential aspects of the Chip widget and gone through more than one example of using that thing in action. How gorgeous and convenient it is! If you’d like to learn more new and awesome things about modern Flutter, just take a look at the following articles:
- Flutter: Making a Dropdown Multiselect with Checkboxes
- Working with dynamic Checkboxes in Flutter
- Flutter: Making Beautiful Chat Bubbles (2 Approaches)
- Flutter: Creating OTP/PIN Input Fields (2 approaches)
- Flutter & SQLite: CRUD Example
- Using GetX (Get) for State Management in Flutter
- Using Provider for State Management in Flutter
You can also take a tour around our Flutter topic page and Dart topic page to see the latest tutorials and examples.


