


When developing real-world applications, you often have to work with dynamic data retrieved from servers or databases. There will be cases where you need to deal with a list where each item in the list will come with a checkbox that allows the user to select or deselect that item. Since items are non-permanent and rendered by dynamic data, checkboxes are also dynamic.
This tutorial walks you through a complete example of using dynamic checkboxes in Flutter.
Table of Contents
Overview
In Flutter, we can implement checkboxes by using the Checkbox widget or the CheckboxListTile widget. In the example to come, we’ll use the CheckboxListTile widget, which helps us conveniently add a checkbox with a label (both of them inhabit a list tile and the entire list tile is interactive: tapping anywhere inside it toggles the checkbox). Here’s the constructor:
CheckboxListTile({
  Key? key,
  required bool? value,
  required ValueChanged<bool?>? onChanged,
  Color? activeColor,
  Color? checkColor,
  bool? enabled,
  Color? tileColor,
  Widget? title,
  Widget? subtitle,
  bool isThreeLine = false,
  bool? dense,
  Widget? secondary,
  bool selected = false,
  ListTileControlAffinity controlAffinity = ListTileControlAffinity.platform,
  bool autofocus = false,
  EdgeInsetsGeometry? contentPadding,
  bool tristate = false,
  ShapeBorder? shape,
  OutlinedBorder? checkboxShape,
  Color? selectedTileColor,
  BorderSide? side,
  VisualDensity? visualDensity,
  FocusNode? focusNode,
  bool? enableFeedback
})
Example Preview
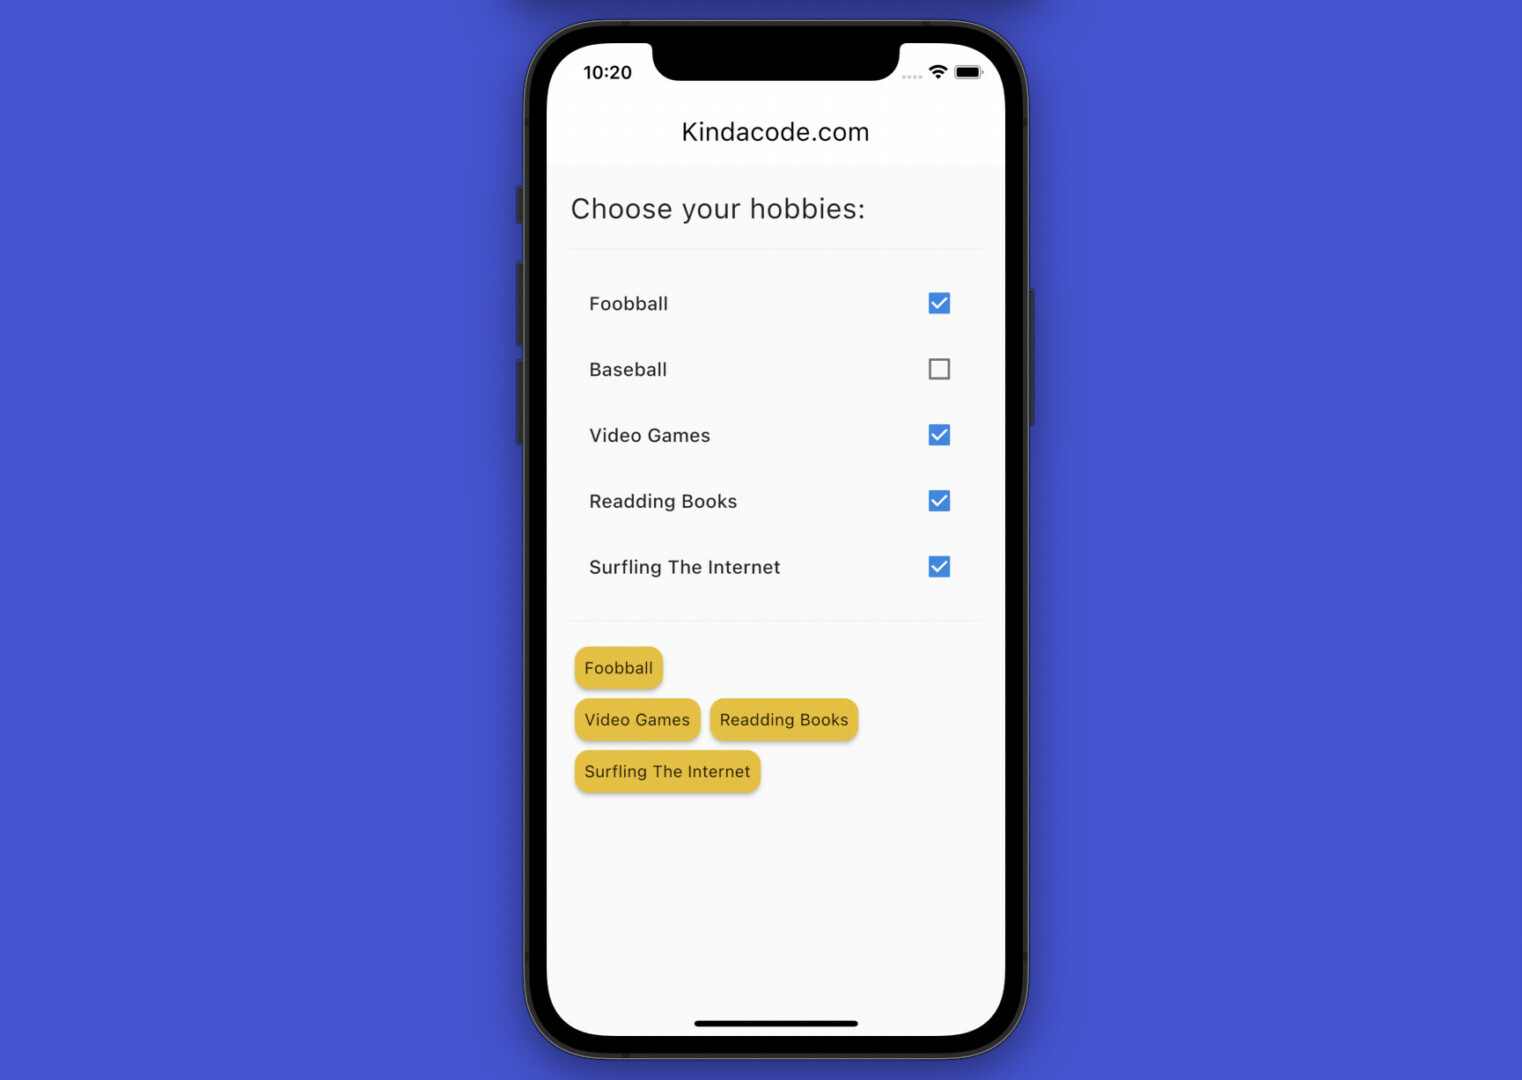
We’ll make a small app that displays a list of hobbies and recreational activities (in general, these things are usually fetched from an API or a database). The user can choose their hobbies by checking the corresponding checkboxes and the results will be reflected immediately on the screen.
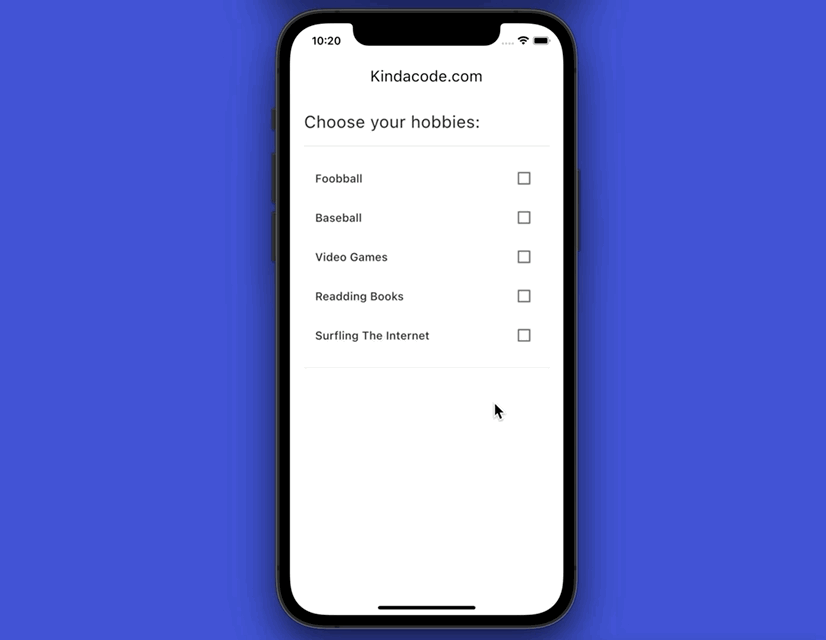
The animated GIF screenshot below will clearly describe the idea:
No more talking, let’s dive into the code.
The Code
1. Create a new Flutter project:
flutter create kindacode_exampleThe project name is totally up to you.
2. Remove all the default code in the lib/main.dart file and add the following:
import 'package:flutter/material.dart';

void main() {
  runApp(const MyApp());
}

class MyApp extends StatelessWidget {
  const MyApp({Key? key}) : super(key: key);

  @override
  Widget build(BuildContext context) {
    return MaterialApp(
      // Hide the debug banner
      debugShowCheckedModeBanner: false,
      title: 'Kindacode.com',
      theme: ThemeData(
          // use Material 3
          useMaterial3: true),
      home: const HomePage(),
    );
  }
}

class HomePage extends StatefulWidget {
  const HomePage({Key? key}) : super(key: key);

  @override
  State<HomePage> createState() => _HomePageState();
}

class _HomePageState extends State<HomePage> {
  // Generate a list of available hobbies here
  List<Map> availableHobbies = [
    {"name": "Foobball", "isChecked": false},
    {"name": "Baseball", "isChecked": false},
    {
      "name": "Video Games",
      "isChecked": false,
    },
    {"name": "Readding Books", "isChecked": false},
    {"name": "Surfling The Internet", "isChecked": false}
  ];

  @override
  Widget build(BuildContext context) {
    return Scaffold(
      appBar: AppBar(
        title: const Text('Kindacode.com'),
      ),
      body: SingleChildScrollView(
        child: Padding(
          padding: const EdgeInsets.all(20),
          child:
              Column(crossAxisAlignment: CrossAxisAlignment.start, children: [
            const Text(
              'Choose your hobbies:',
              style: TextStyle(fontSize: 24),
            ),
            const SizedBox(height: 10),
            const Divider(),
            const SizedBox(height: 10),

            // The checkboxes will be here
            Column(
                children: availableHobbies.map((hobby) {
              return CheckboxListTile(
                  value: hobby["isChecked"],
                  title: Text(hobby["name"]),
                  onChanged: (newValue) {
                    setState(() {
                      hobby["isChecked"] = newValue;
                    });
                  });
            }).toList()),

            // Display the result here
            const SizedBox(height: 10),
            const Divider(),
            const SizedBox(height: 10),
            Wrap(
              children: availableHobbies.map((hobby) {
                if (hobby["isChecked"] == true) {
                  return Card(
                    elevation: 3,
                    color: Colors.amber,
                    child: Padding(
                      padding: const EdgeInsets.all(8.0),
                      child: Text(hobby["name"]),
                    ),
                  );
                }

                return Container();
              }).toList(),
            )
          ]),
        ),
      ),
    );
  }
}
3. Launch the app by executing:
flutter runWrap Up
We’ve made a simple mobile app to learn about implementing multiple dynamic checkboxes and the CheckboxListTile widget in Flutter. If you’d like to explore more new things in Flutter and Dart, take a look at the following articles:
- Flutter: “I agree to terms” checkbox example
- Working with ListWheelScrollView in Flutter (2 Examples)
- Flutter: ExpansionPanelList and ExpansionPanelList.radio examples
- 2 Ways to Create Flipping Card Animation in Flutter
- Flutter and Firestore Database: CRUD example (null safety)
- Flutter: How to Make Spinning Animation without Plugins
You can also check out our Flutter category page or Dart category page for the latest tutorials and examples.


