


In Flutter, you can create a transparent or translucent app bar by doing the following things:
- Set the backgroundColor property of your AppBar widget to completely transparent (Colors.transparent) or translucent (a color with opacity less than 1)
- Set the elevation property of your AppBar widget to zero to remove the shadow (by default, material app bars in Flutter have drop shadows)
If you want the height of the body to be extended to include the height of the app bar and the top of the body is aligned with the top of the app bar, you have to set the extendBodyBehindAppBar property of your Scaffold widget to true (the default value is false).
Words might be boring and confusing. Below are three examples that cover the most common real-world use cases.
Examples
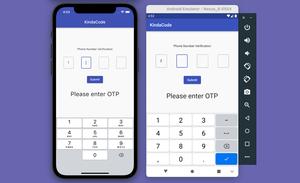
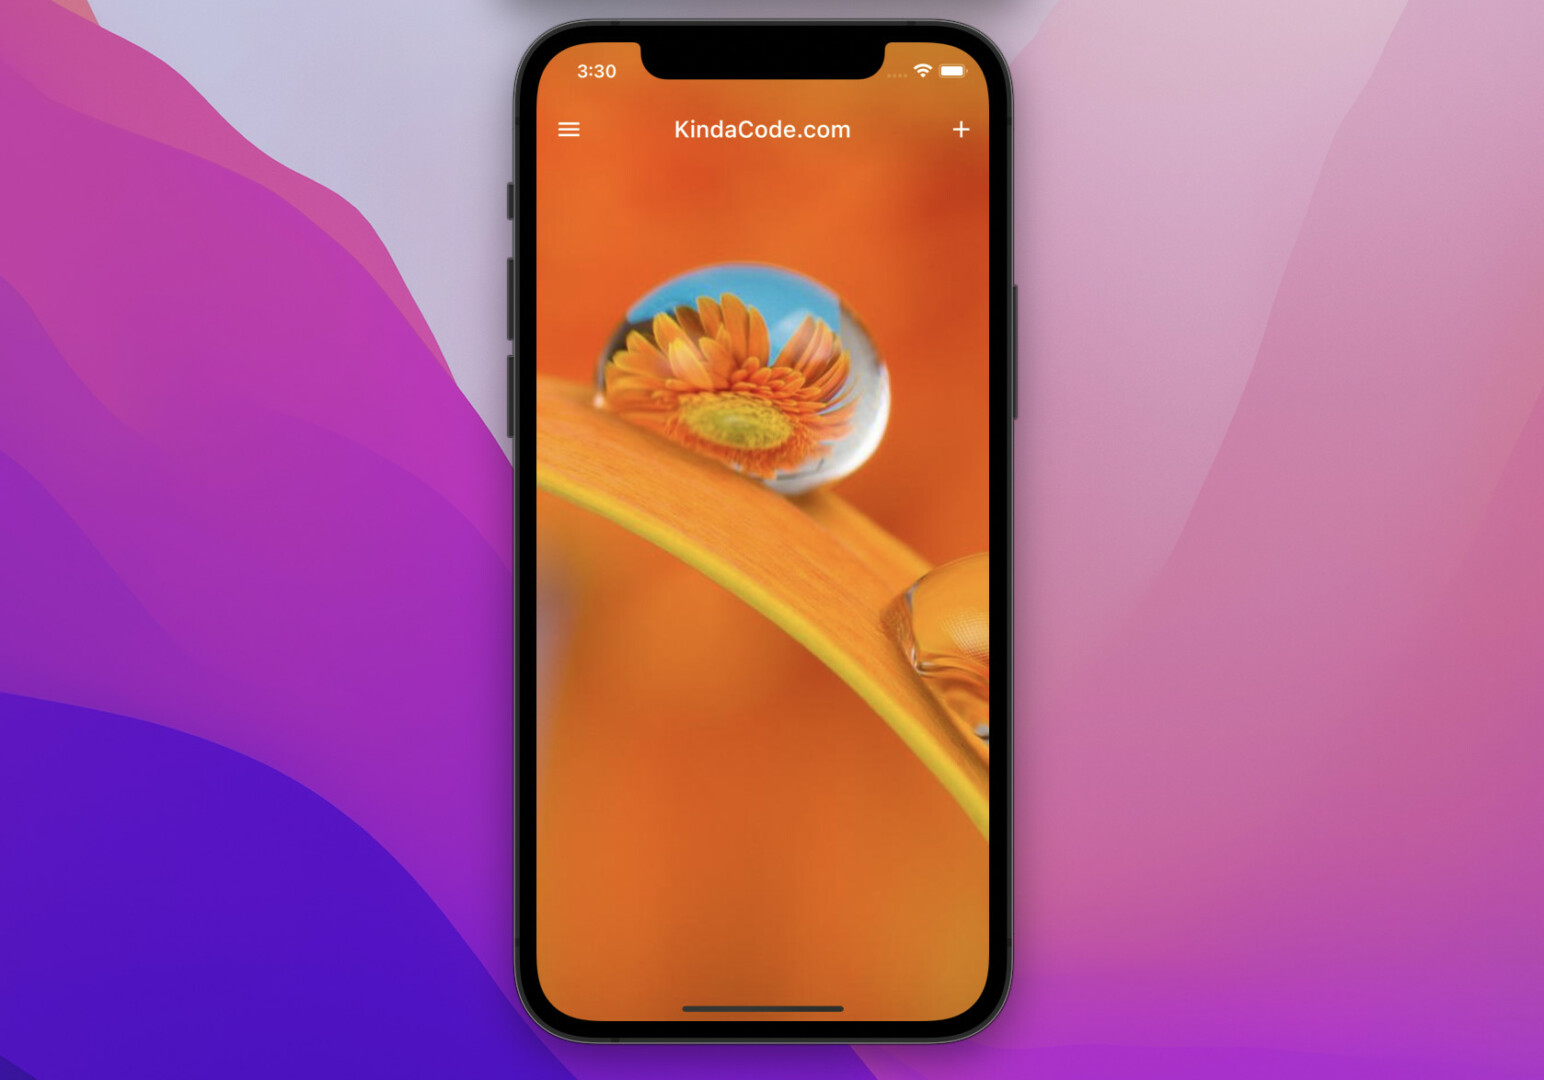
Transparent App Bar
Screenshot:
The code:
// KindaCode.com
// main.dart
import 'package:flutter/material.dart';
void main() {
runApp(const MyApp());
}
class MyApp extends StatelessWidget {
const MyApp({super.key});
@override
Widget build(BuildContext context) {
return MaterialApp(
// hide the debug banner
debugShowCheckedModeBanner: false,
title: 'KindaCode.com',
theme: ThemeData(
primarySwatch: Colors.blue,
),
home: const HomePage(),
);
}
}
class HomePage extends StatelessWidget {
const HomePage({super.key});
@override
Widget build(BuildContext context) {
return Scaffold(
extendBodyBehindAppBar: true,
appBar: AppBar(
leading: IconButton(
onPressed: () {},
icon: const Icon(Icons.menu),
),
title: const Text('KindaCode.com'),
backgroundColor: Colors.transparent,
elevation: 0,
actions: [IconButton(onPressed: () {}, icon: const Icon(Icons.add))],
),
body: Image.network(
'https://www.kindacode.com/wp-content/uploads/2022/05/orange-background.jpeg',
width: double.infinity,
height: double.infinity,
fit: BoxFit.cover,
));
}
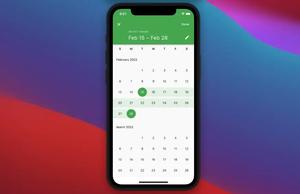
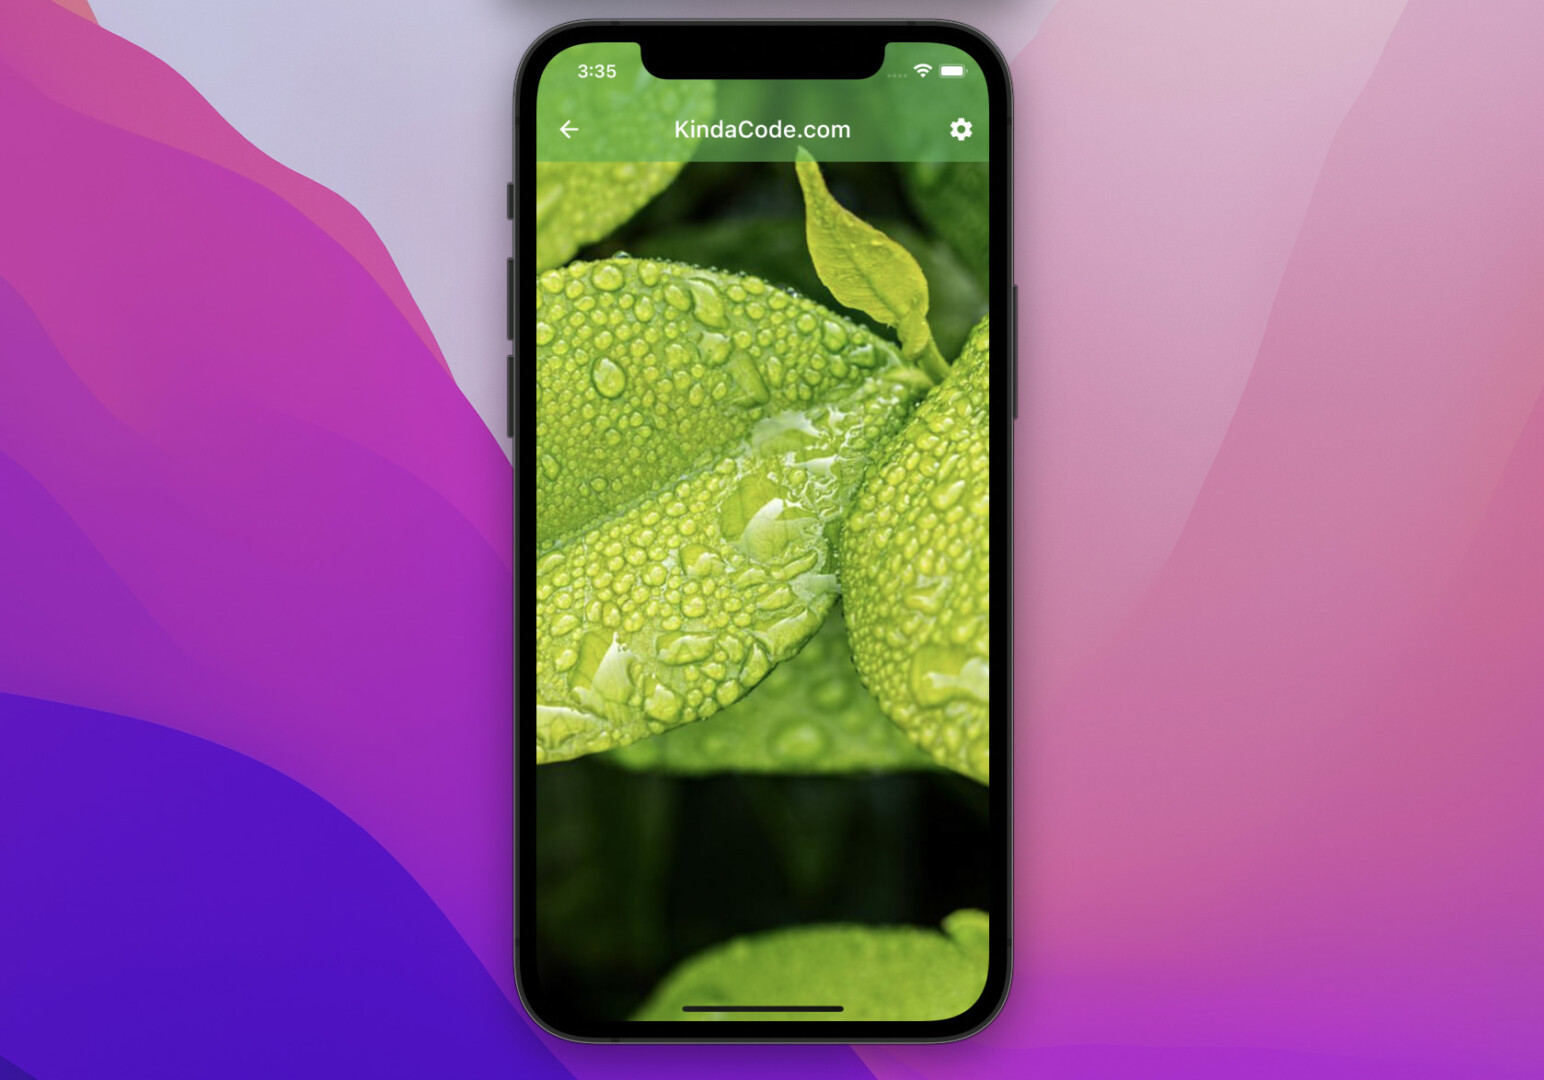
}Translucent App Bar
Screenshot:
The code:
// KindaCode.com
// main.dart
import 'package:flutter/material.dart';
void main() {
runApp(const MyApp());
}
class MyApp extends StatelessWidget {
const MyApp({super.key});
@override
Widget build(BuildContext context) {
return MaterialApp(
// hide the debug banner
debugShowCheckedModeBanner: false,
title: 'KindaCode.com',
theme: ThemeData(
primarySwatch: Colors.blue,
),
home: const HomePage(),
);
}
}
class HomePage extends StatelessWidget {
const HomePage({super.key});
@override
Widget build(BuildContext context) {
return Scaffold(
extendBodyBehindAppBar: true,
appBar: AppBar(
leading: IconButton(
onPressed: () {},
icon: const Icon(Icons.arrow_back),
),
title: const Text('KindaCode.com'),
backgroundColor: Colors.green.withOpacity(0.6),
elevation: 0,
actions: [
IconButton(onPressed: () {}, icon: const Icon(Icons.settings))
],
),
body: Image.network(
'https://www.kindacode.com/wp-content/uploads/2022/05/green.jpeg',
width: double.infinity,
height: double.infinity,
fit: BoxFit.cover,
));
}
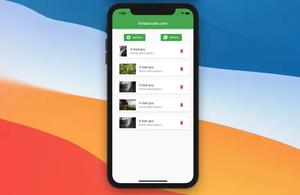
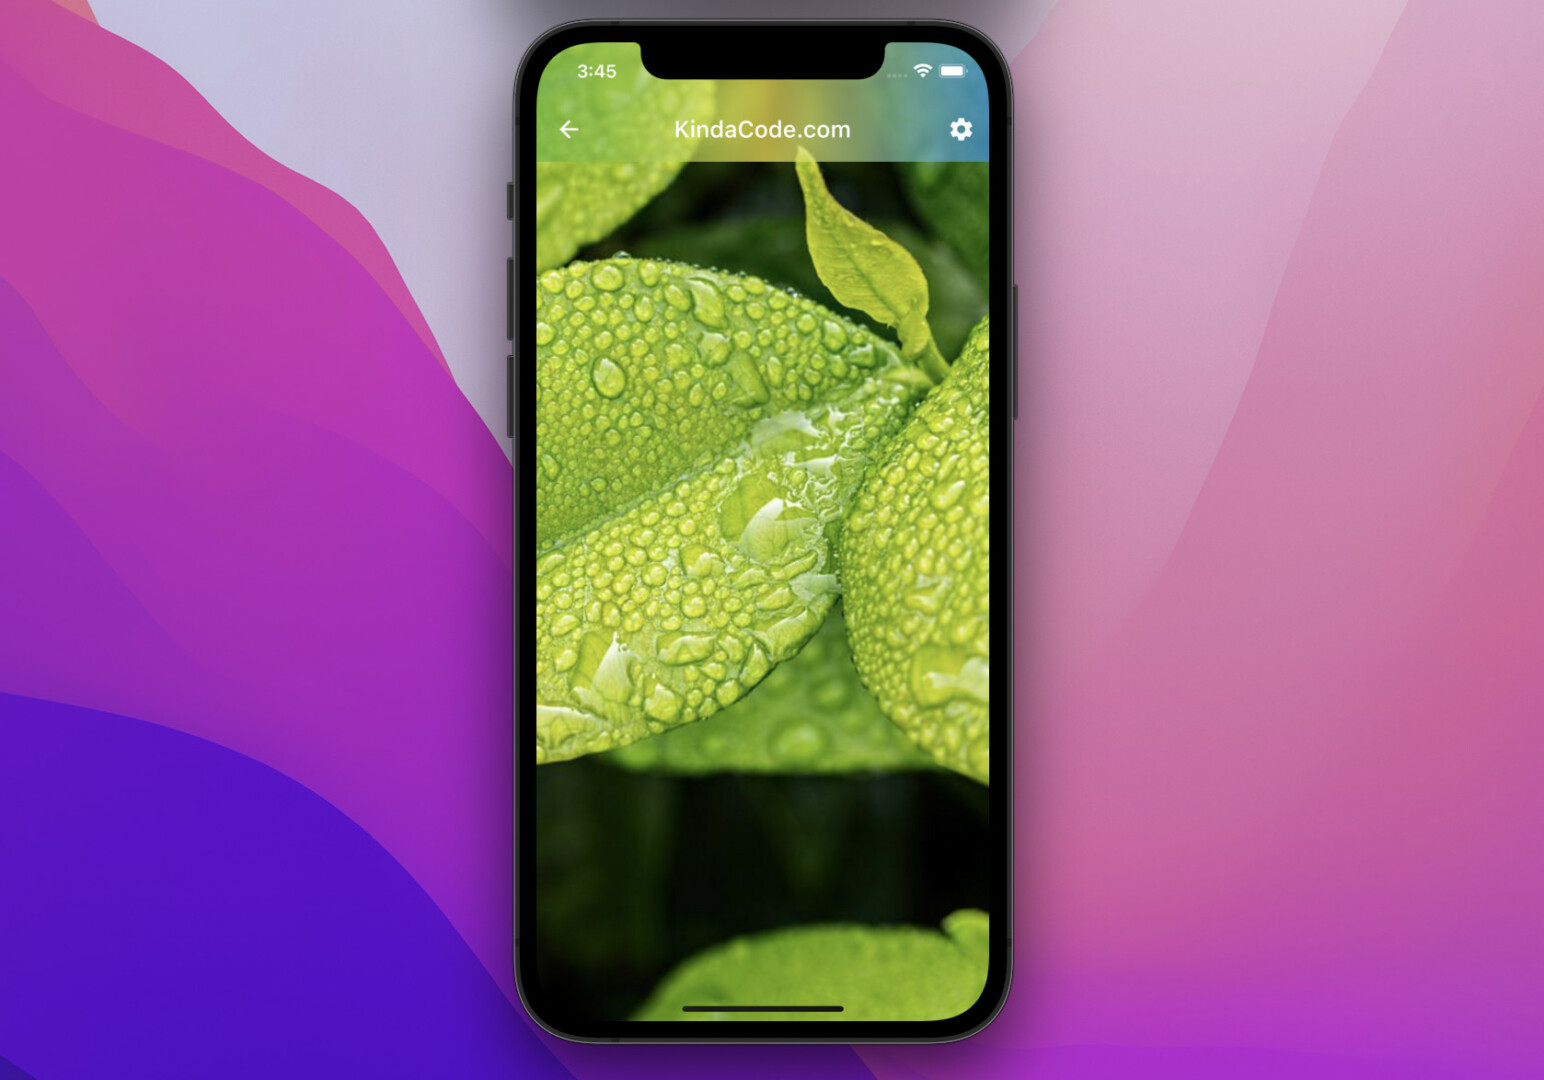
}Translucent App Bar with Color Gradient
This example is a little bit more complicated.
Screenshot:
The code:
// KindaCode.com
// main.dart
import 'package:flutter/material.dart';

void main() {
  runApp(const MyApp());
}

class MyApp extends StatelessWidget {
  const MyApp({super.key});

  @override
  Widget build(BuildContext context) {
    return MaterialApp(
      // hide the debug banner
      debugShowCheckedModeBanner: false,
      title: 'KindaCode.com',
      theme: ThemeData(
        primarySwatch: Colors.blue,
      ),
      home: const HomePage(),
    );
  }
}

class HomePage extends StatelessWidget {
  const HomePage({super.key});

  @override
  Widget build(BuildContext context) {
    return Scaffold(
        extendBodyBehindAppBar: true,
        appBar: AppBar(
          leading: IconButton(
            onPressed: () {},
            icon: const Icon(Icons.arrow_back),
          ),
          title: const Text('KindaCode.com'),
          elevation: 0,
          // this need to be set
          backgroundColor: Colors.transparent,
          // create gradient background color
          flexibleSpace: Container(
            decoration: BoxDecoration(
              gradient: LinearGradient(
                  begin: Alignment.centerLeft,
                  end: Alignment.centerRight,
                  colors: [
                    Colors.green.withOpacity(0.5),
                    Colors.yellow.withOpacity(0.7),
                    Colors.blue.withOpacity(0.7)
                  ]),
            ),
          ),
          actions: [
            IconButton(onPressed: () {}, icon: const Icon(Icons.settings))
          ],
        ),
        body: Image.network(
          'https://www.kindacode.com/wp-content/uploads/2022/05/green.jpeg',
          width: double.infinity,
          height: double.infinity,
          fit: BoxFit.cover,
        ));
  }
}
Conclusion
We’ve gone through a couple of examples of creating transparent and translucent app bars in Flutter. From now on, you’ll have more options to polish your app bars and make your user interfaces more attractive. If you’d like to explore more new and interesting stuff about modern Flutter, take a look at the following articles:
- Flutter: Global Styles for AppBar using AppBarTheme
- Flutter SliverAppBar Example (with Explanations)
- Flutter: Get the Heights of AppBar and CupertinoNavigationBar
- Flutter: How to Create a Custom Icon Picker from Scratch
- Text Overflow in Flutter: Tutorial & Examples
- Flutter & Hive Database: CRUD Example
You can also take a tour around our Flutter topic page and Dart topic page to see the latest tutorials and examples.


