


In Flutter, the overflow property of the Text, RichText, and DefaultTextStyle widgets specifies how overflowed content that is not displayed should be signaled to the user. It can be clipped, display an ellipsis (three dots), fade, or overflowing outside its parent widget.
Overview
The overflow property can be set using the TextOverflow enum:
- TextOverflow.clip: Truncates the text at the edge of the content area so the truncation can happen in the middle of a character.
- TextOverflow.ellipsis: Displays an ellipsis (‘…’) to represent clipped text. The ellipsis is displayed inside the content area, decreasing the amount of text displayed.
- TextOverflow.fade: Clips the overflowing inline content and applies a fade-out effect near the edge of the line box with complete transparency at the edge.
- TextOverflow.values: A list of the values in this enum (for example, TextOverflow.values[0] is equivalent to TextOverflow.clip, TextOverflow.values[1] is equivalent to TextOverflow.fade)
- TextOverflow.visible: Displays overflowing text outside of its container.
TextOverflow.ellipsis and TextOverflow.fade are widely used in real-world projects. One additional note is that the overflow property is often used with the softWrap (set to false) and maxLines (set to 1) properties, like this:
Text(
     'Welcome to KindaCode.com bla bla bla',
      style: TextStyle(fontSize: 24),
      softWrap: false,
      maxLines: 1,
      overflow: TextOverflow.fade,
)
Words might be confusing and boring. For more clarity, let’s examine a couple of examples below.
Examples
TextOverflow.clip
Screenshot:

The code:
Scaffold(
appBar: AppBar(title: const Text('KindaCode.com')),
body: Padding(
padding: const EdgeInsets.all(30),
child: Container(
color: Colors.grey.shade300,
child: const Text(
'Hello there. Welcome to the Moon',
style: TextStyle(fontSize: 30),
maxLines: 1,
softWrap: false,
overflow: TextOverflow.clip,
),
),
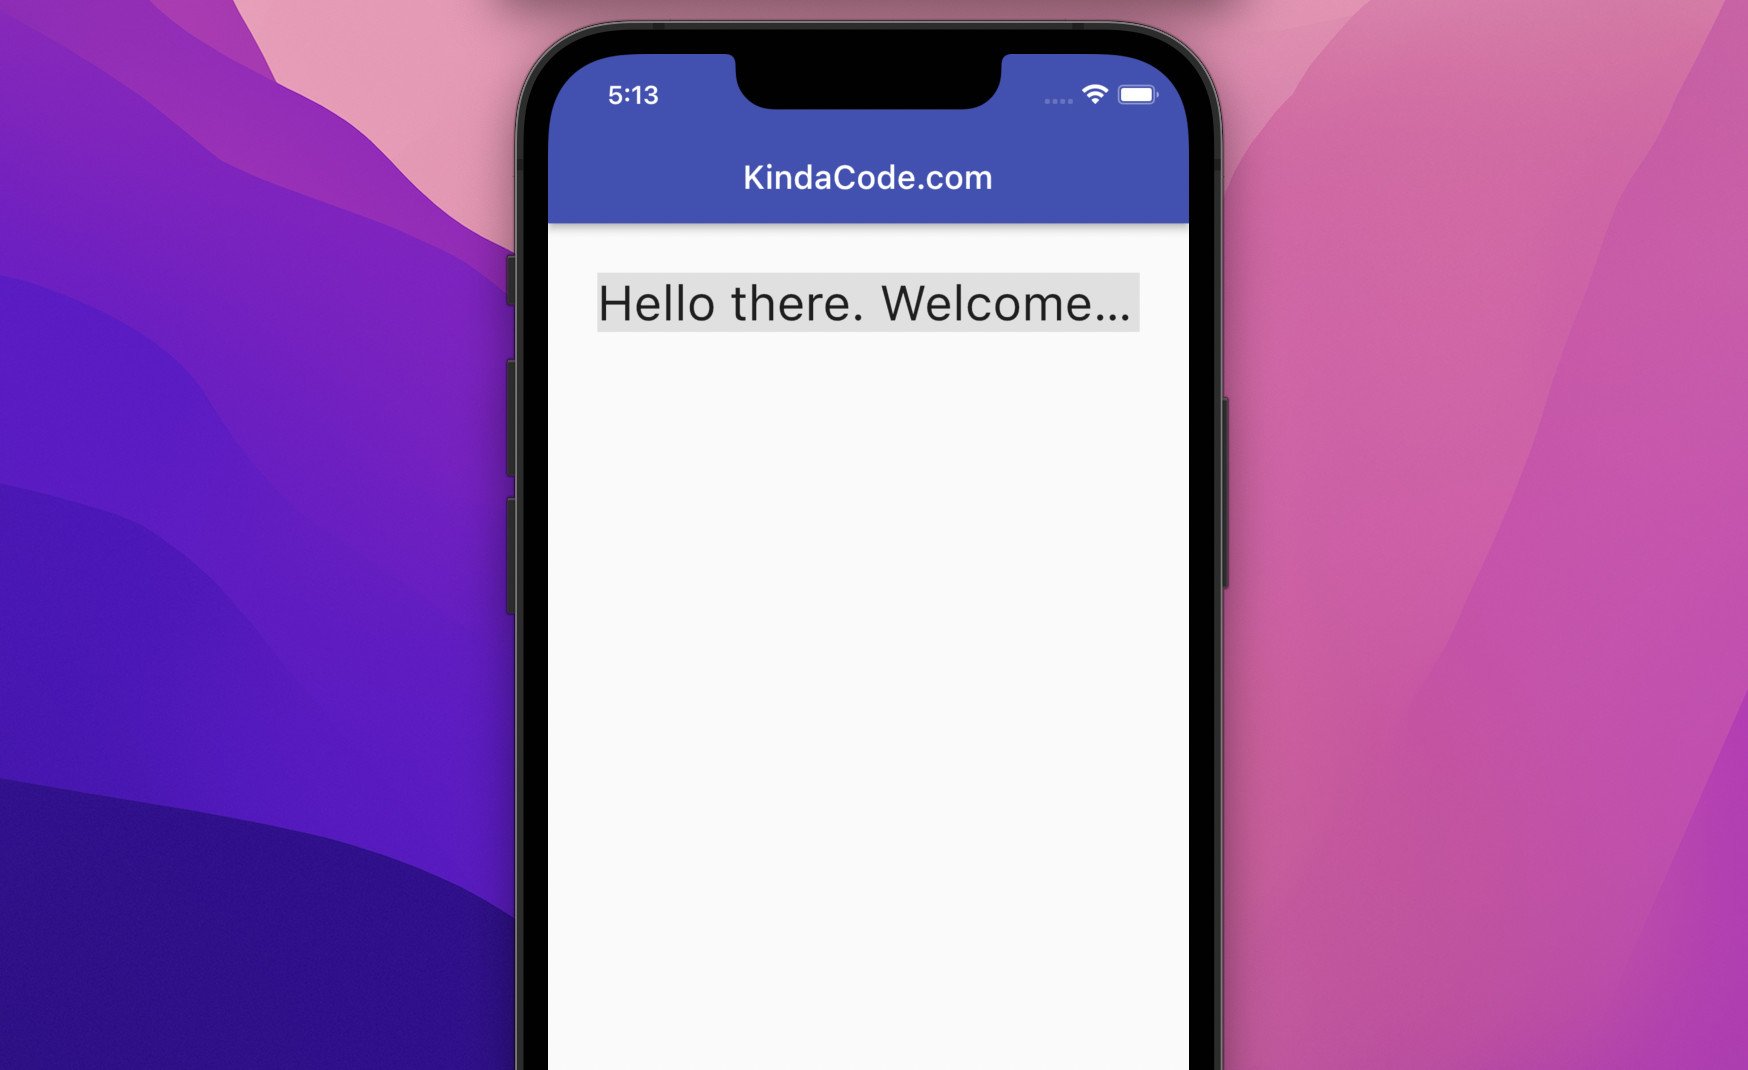
));TextOverflow.ellipsis
Screenshot:
The code:
Scaffold(
appBar: AppBar(title: const Text('KindaCode.com')),
body: Padding(
padding: const EdgeInsets.all(30),
child: Container(
color: Colors.grey.shade300,
child: const Text(
'Hello there. Welcome to the Moon',
style: TextStyle(fontSize: 30),
maxLines: 1,
softWrap: false,
overflow: TextOverflow.ellipsis,
),
),
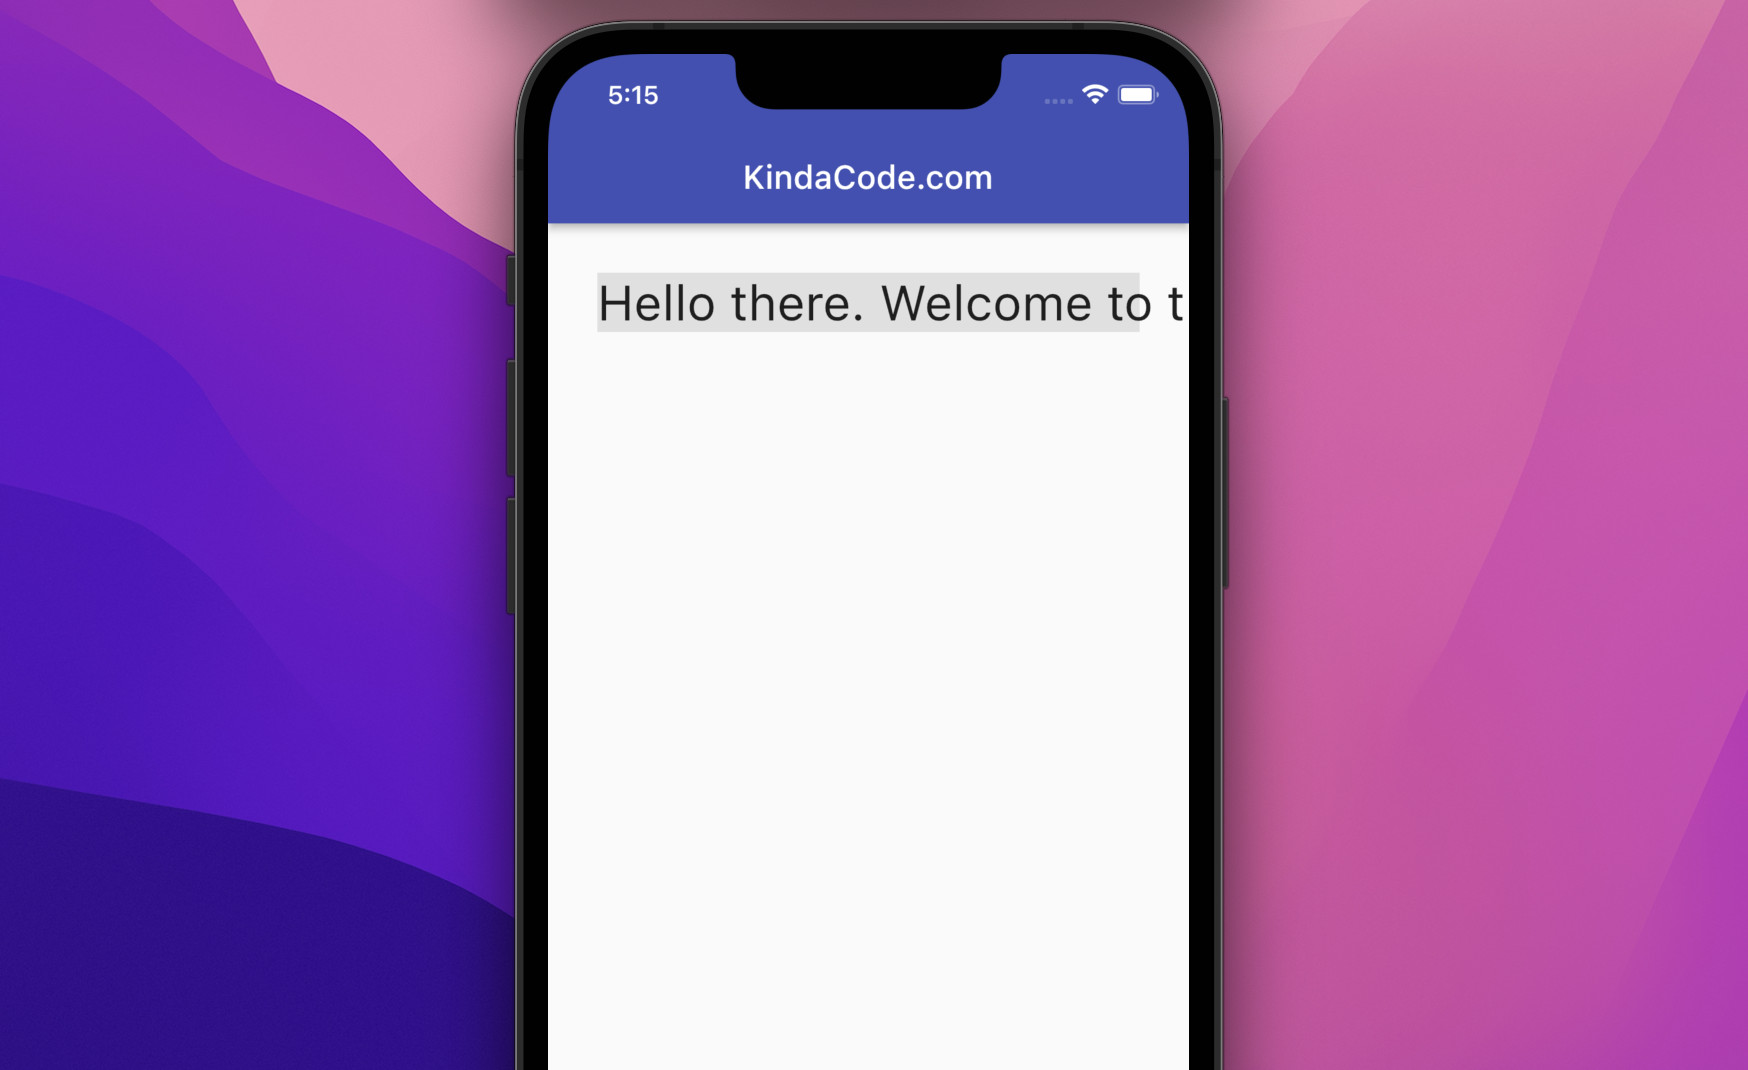
));TextOverflow.fade
Screenshot:

The code:
Scaffold(
appBar: AppBar(title: const Text('KindaCode.com')),
body: Padding(
padding: const EdgeInsets.all(30),
child: Container(
color: Colors.grey.shade300,
child: const Text(
'Hello there. Welcome to the Moon',
style: TextStyle(fontSize: 30),
maxLines: 1,
softWrap: false,
overflow: TextOverflow.fade,
),
),
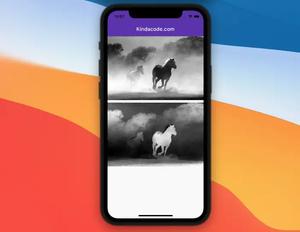
));TextOverflow.visible
Screenshot:
The code:
Scaffold(
appBar: AppBar(title: const Text('KindaCode.com')),
body: Padding(
padding: const EdgeInsets.all(30),
child: Container(
color: Colors.grey.shade300,
child: const Text(
'Hello there. Welcome to the Moon',
style: TextStyle(fontSize: 30),
maxLines: 1,
softWrap: false,
overflow: TextOverflow.visible,
),
),
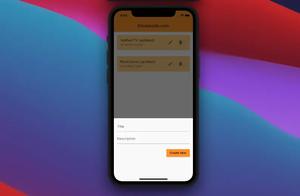
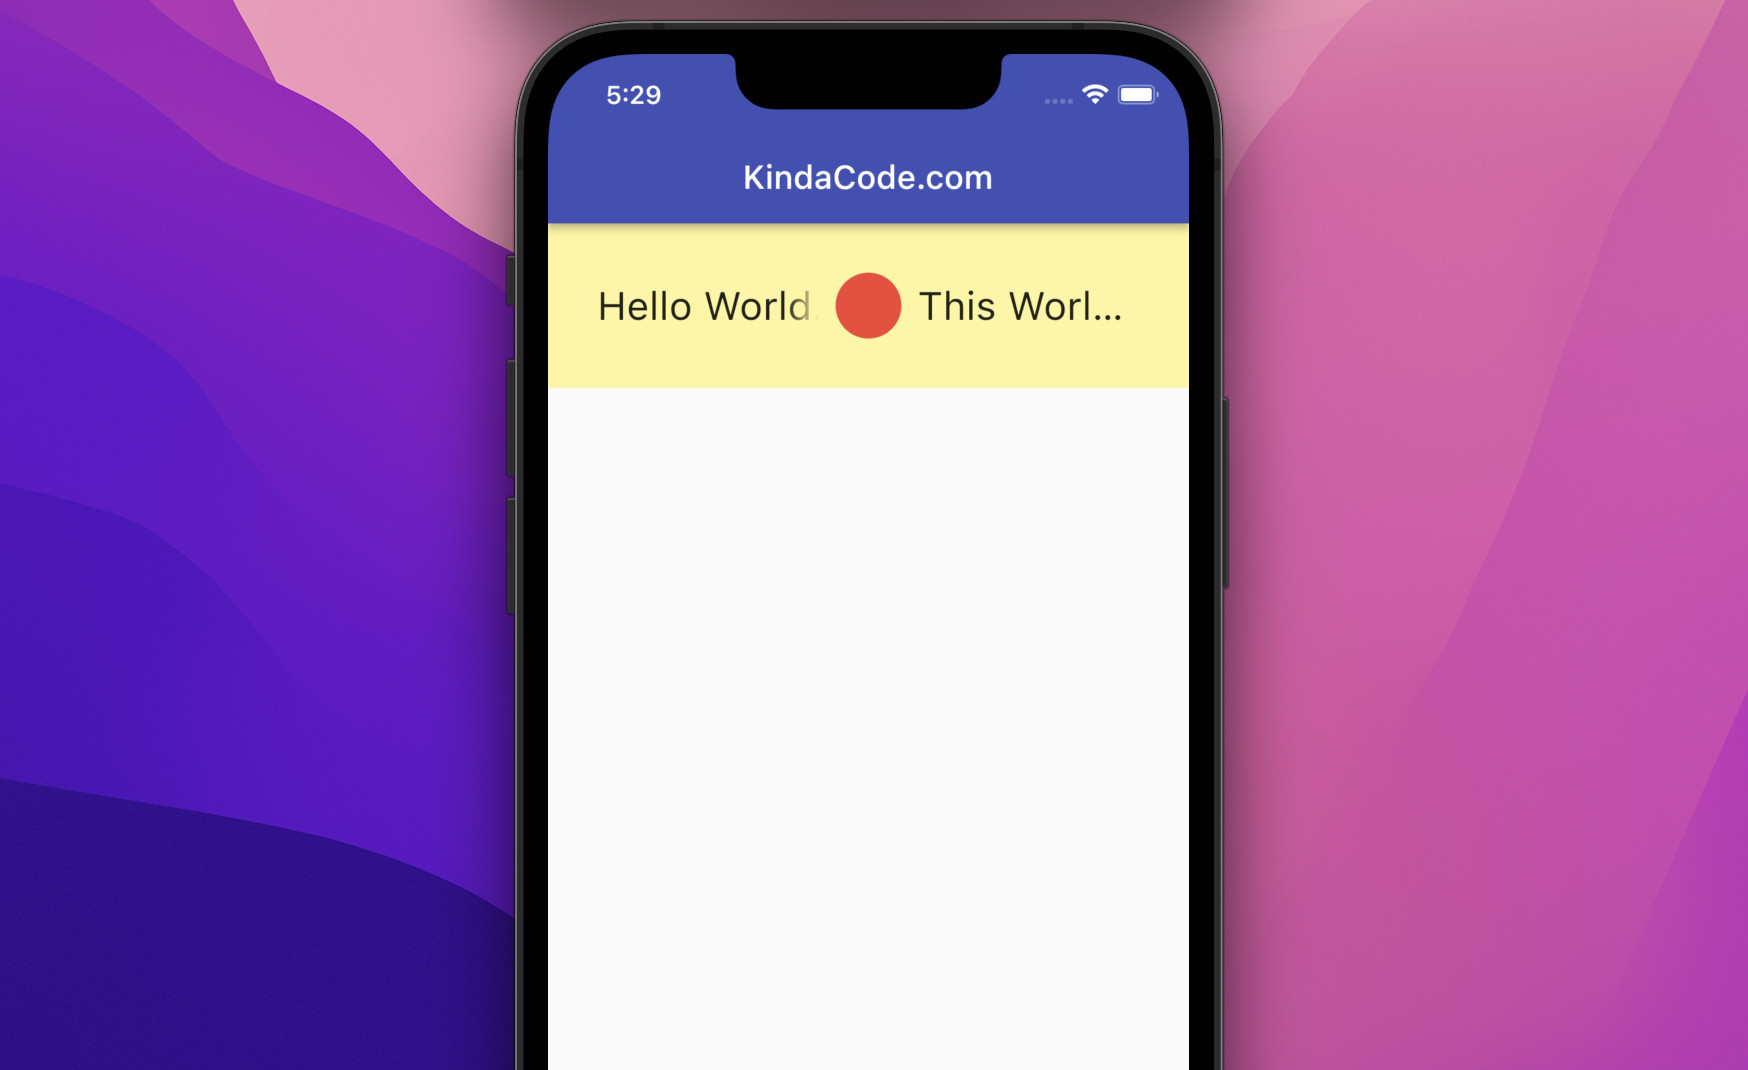
));Multiple Text widgets inside a Row
When you put multiple Text widgets (with other widgets) inside a Row, you can wrap your Text widgets within Expanded widgets to avoid Renderflex overflowed error:
══╡ EXCEPTION CAUGHT BY RENDERING LIBRARY ╞══════════════════════
The following assertion was thrown during layout:
A RenderFlex overflowed by 346 pixels on the right.

...
◢◤◢◤◢◤◢◤◢◤◢◤◢◤◢◤◢◤◢◤◢◤◢◤◢◤◢◤◢◤◢◤◢◤◢◤◢◤◢◤◢◤◢◤◢◤◢◤◢◤◢◤◢◤◢◤◢◤◢◤◢◤◢◤
═══════════════════════════════════════════════════════════════
Screenshot:
The code:
Scaffold(
        appBar: AppBar(title: const Text('KindaCode.com')),
        body: Container(
            padding: const EdgeInsets.all(30),
            color: Colors.yellow.shade200,
            child: Row(
              children: const [
                Expanded(
                  child: Text(
                    'Hello World. Some Long Text',
                    style: TextStyle(fontSize: 24),
                    softWrap: false,
                    maxLines: 1,
                    overflow: TextOverflow.fade,
                  ),
                ),
                SizedBox(
                  width: 10,
                ),
                CircleAvatar(
                  backgroundColor: Colors.red,
                ),
                SizedBox(
                  width: 10,
                ),
                Expanded(
                  child: Text(
                    'This World Is So Beautiful',
                    style: TextStyle(fontSize: 24),
                    softWrap: false,
                    maxLines: 1,
                    overflow: TextOverflow.ellipsis,
                  ),
                ),
              ],
)));
Conclusion
We’ve learned how to control text overflowing in Flutter. This knowledge is important for building neat, elegant, and professional user interfaces. If you’d like to explore more new and fascinating things about modern Flutter development, take a look at the following articles:
- Using Font Awesome Icons in Flutter
- Flutter & Hive Database: CRUD Example
- Flutter: Programmatically Check Soft Keyboard Visibility
- How to create a gradient background AppBar in Flutter
- Flutter: Text with Read More / Read Less Buttons
- Flutter Gradient Text Examples
You can also check out our Flutter category page or Dart category page for the latest tutorials and examples.


