


Many applications need a date range picker so that the user can filter records of financial transactions, orders, statistical data, or something like that, in a certain period. This article will show you how to implement a date range picker in Flutter without using any third-party plugins.
Overview
What is the point?
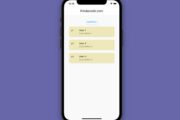
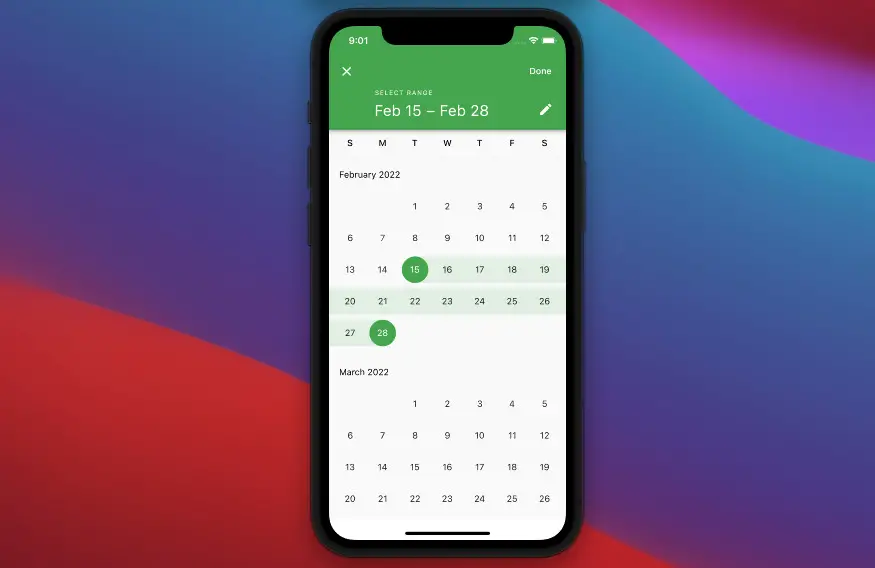
The showDateRangePicker() function can be used to show a full-screen modal dialog that contains a date range picker. This date range picker has two modes:
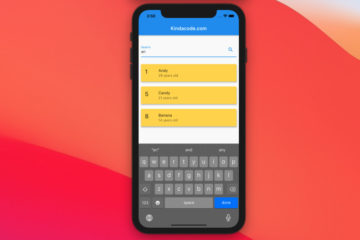
- Calendar mode (default): A scrollable calendar month grid to select start date and end date in an intuitively way
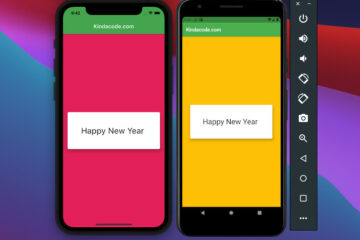
- Input mode: The user can switch from the calendar mode to this mode by tapping the edit button (with the pen icon). There are two text fields for start date and end date. Flutter will automatically detect invalid dates entered by the user and display an error message so you don’t have to worry about this scenario.
A minimum date range picker implementation:
DateTimeRange? result = await showDateRangePicker(
      context: context,
      firstDate: DateTime(2022, 1, 1), // the earliest allowable
      lastDate: DateTime(2030, 12, 31), // the latest allowable
      currentDate: DateTime.now(),
      saveText: 'Done',
);
Handling the returned result
If the user selects nothing and closes the picker, the result will be null. Otherwise, the result will be a DateTimeRange object. You can retrieve the start and the end date like so:
DateTime startDate = result?.start;
DateTime endDate = result?.end;
The start date and end date will look as follows:
2022-02-24 00:00:00.000In general, only the date part (year, month, day) is needed. You can remove the later part (hour, minute, second, and microsecond) like this:
String start = startDate.toString().split(' ')[0];
String end = endDate.toString().split(' ')[0];
For more clarity, please see the example below.
A Complete Example
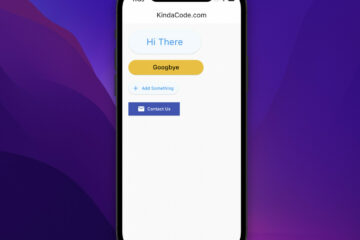
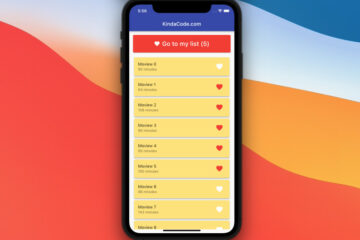
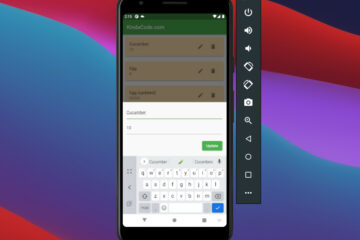
App Preview
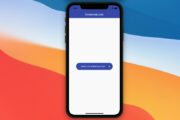
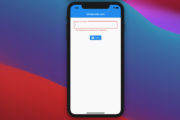
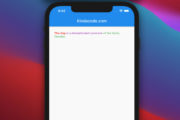
The sample app we are going to build has a floating action button. When the button is pressed, a date range picker will show up, and the user can select a date range from there. The result will be displayed on the screen.
Here’s how it works:
Final Code
The full source code with explanations:
// main.dart
import 'package:flutter/material.dart';

void main() {
  runApp(const MyApp());
}

class MyApp extends StatelessWidget {
  const MyApp({Key? key}) : super(key: key);

  @override
  Widget build(BuildContext context) {
    return MaterialApp(
      // Remove the debug banner
      debugShowCheckedModeBanner: false,
      title: 'KindaCode.com',
      theme: ThemeData(
        primarySwatch: Colors.green,
      ),
      home: const HomeScreen(),
    );
  }
}

class HomeScreen extends StatefulWidget {
  const HomeScreen({Key? key}) : super(key: key);

  @override
  State<HomeScreen> createState() => _HomeScreenState();
}

class _HomeScreenState extends State<HomeScreen> {
  DateTimeRange? _selectedDateRange;

  // This function will be triggered when the floating button is pressed
  void _show() async {
    final DateTimeRange? result = await showDateRangePicker(
      context: context,
      firstDate: DateTime(2022, 1, 1),
      lastDate: DateTime(2030, 12, 31),
      currentDate: DateTime.now(),
      saveText: 'Done',
    );

    if (result != null) {
      // Rebuild the UI
      print(result.start.toString());
      setState(() {
        _selectedDateRange = result;
      });
    }
  }

  @override
  Widget build(BuildContext context) {
    return Scaffold(
      appBar: AppBar(title: const Text('KindaCode.com')),
      body: _selectedDateRange == null
          ? const Center(
              child: Text('Press the button to show the picker'),
            )
          : Padding(
              padding: const EdgeInsets.all(30),
              child: Column(
                crossAxisAlignment: CrossAxisAlignment.start,
                children: [
                  // Start date
                  Text(
                    "Start date: ${_selectedDateRange?.start.toString().split(' ')[0]}",
                    style: const TextStyle(fontSize: 24, color: Colors.blue),
                  ),
                  const SizedBox(
                    height: 20,
                  ),
                  // End date
                  Text(
                      "End date: ${_selectedDateRange?.end.toString().split(' ')[0]}",
                      style: const TextStyle(fontSize: 24, color: Colors.red))
                ],
              ),
            ),
      // This button is used to show the date range picker
      floatingActionButton: FloatingActionButton(
        onPressed: _show,
        child: const Icon(Icons.date_range),
      ),
    );
  }
}
References
- showDateRangePicker function (flutter.dev)
- DateRangePickerDialog class (flutter.dev)
- DateTimeRange class (flutter.dev)
Afterword
You’ve learned the fundamentals of the date range picker in Flutter and examined an end-to-end example of using it in practice. If you’d like to explore more about the date-time stuff, take a look at the following articles:
- 4 Ways to Format DateTime in Flutter
- Working with Cupertino Date Picker in Flutter
- Dart: Convert Timestamp to DateTime and vice versa
- Flutter: Convert UTC Time to Local Time and Vice Versa
- 2 ways to convert DateTime to time ago in Flutter
- How to implement a loading dialog in Flutter
You can also take a tour around our Flutter topic page and Dart topic page to see the latest tutorials and examples.