


This article is about CupertinoSliverNavigationBar in Flutter. We’ll have a glance at the fundamentals of the widget and then walk through a complete example of implementing it in practice.
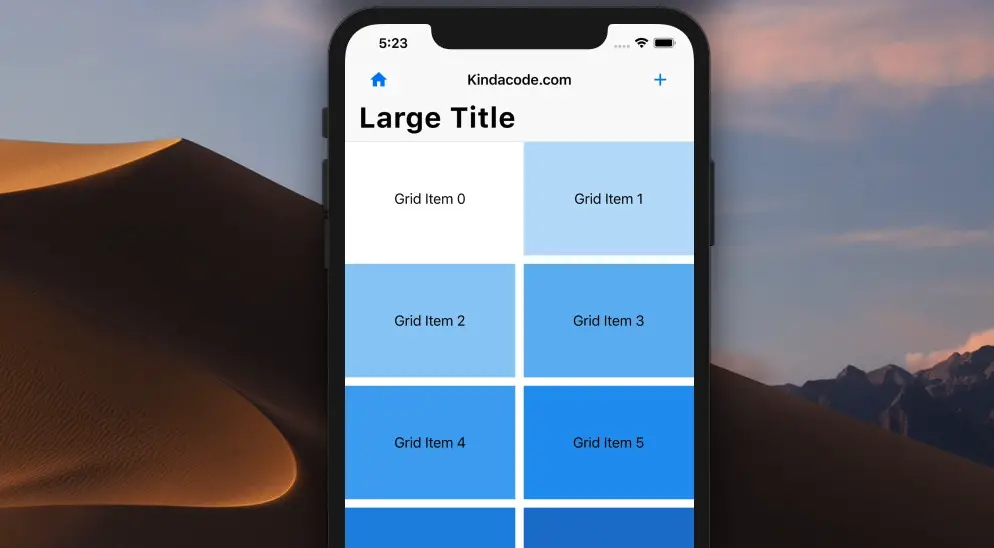
Table Of Contents
Overview
This iOS-style sliver navigation bar consists of 2 parts:
- A fixed menu bar on the top (usually contains icon buttons for navigation)
- A sliding area containing a large title below the menu bar
A CupertinoSliverNavigationBar must be placed in a sliver group like this:
CustomScrollView(
      slivers: [
        CupertinoSliverNavigationBar(
         /** */
        ),

        ///////////////// Other silver items
        SliverGrid(
         /** */
        )
      ],
)
Now, it’s time to see a real-world example.
The Example
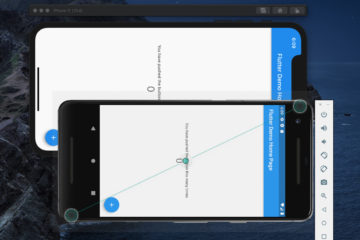
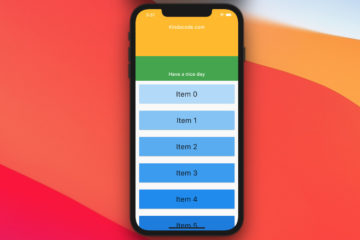
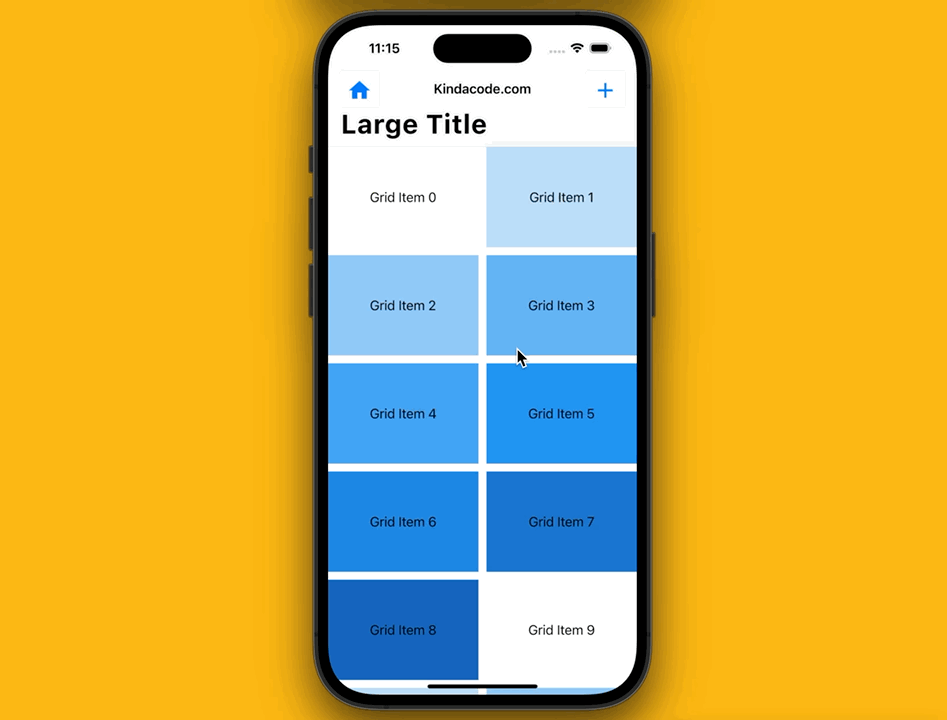
Preview:
The complete code:
import 'package:flutter/cupertino.dart';
import 'package:flutter/material.dart';

void main() {
  runApp(const MyApp());
}

class MyApp extends StatelessWidget {
  const MyApp({Key? key}) : super(key: key);

  @override
  Widget build(BuildContext context) {
    return const CupertinoApp(
      // Remove the debug banner
      debugShowCheckedModeBanner: false,
      title: 'Kindacode.com',
      home: MyHomePage(),
    );
  }
}

class MyHomePage extends StatefulWidget {
  const MyHomePage({Key? key}) : super(key: key);

  @override
  State<MyHomePage> createState() => _MyHomePageState();
}

class _MyHomePageState extends State<MyHomePage> {
  @override
  Widget build(BuildContext context) {
    return CupertinoPageScaffold(
        child: CustomScrollView(
      slivers: [
        // The CupertinoSliverNavigationBar
        CupertinoSliverNavigationBar(
          leading: Material(
              child: IconButton(
            icon: const Icon(Icons.home),
            onPressed: () {},
          )),
          middle: const Text('Kindacode.com'),
          trailing: Material(
              child: IconButton(
            icon: const Icon(Icons.add),
            onPressed: () {},
          )),
          largeTitle: const Text('Large Title'),
        ),

        // Other sliver elements
        SliverGrid(
          gridDelegate: const SliverGridDelegateWithMaxCrossAxisExtent(
            maxCrossAxisExtent: 200.0,
            mainAxisSpacing: 10.0,
            crossAxisSpacing: 10.0,
            childAspectRatio: 3 / 2,
          ),
          delegate: SliverChildBuilderDelegate(
            (BuildContext context, int index) {
              return Container(
                alignment: Alignment.center,
                color: Colors.blue[100 * (index % 9)],
                child: Text('Grid Item $index'),
              );
            },
            childCount: 20,
          ),
        )
      ],
    ));
  }
}
Hope this helps. Happy coding and have a nice day. If you’d like to explore more about sliver stuff and other exciting things in Flutter, take a look at the following articles:
- Flutter SliverList – Tutorial and Example
- Flutter: SliverGrid example
- Flutter SliverAppBar Example (with Explanations)
- Flutter: Add a Search Field to an App Bar (2 Approaches)
- Flutter form validation example
- Flutter & Hive Database: CRUD Example
You can also take a tour around our Flutter topic page and Dart topic page to see the latest tutorials and examples.