


The typewriter effect is a kind of animation where the text appears to be typed out letter by letter. This is often used in conversations in games, movies, videos, or in apps where you want the user’s attention to focus on some text.
This article shows you 2 different ways to create typewriter effects in Flutter. In the first approach, we’ll write code from scratch. In the second approach, we’ll make use of a third-party package to get the job done quickly. Without any further ado, let’s get our hands dirty.
Using self-written code
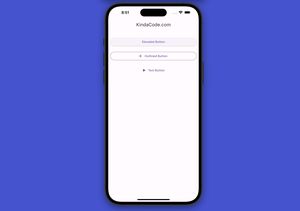
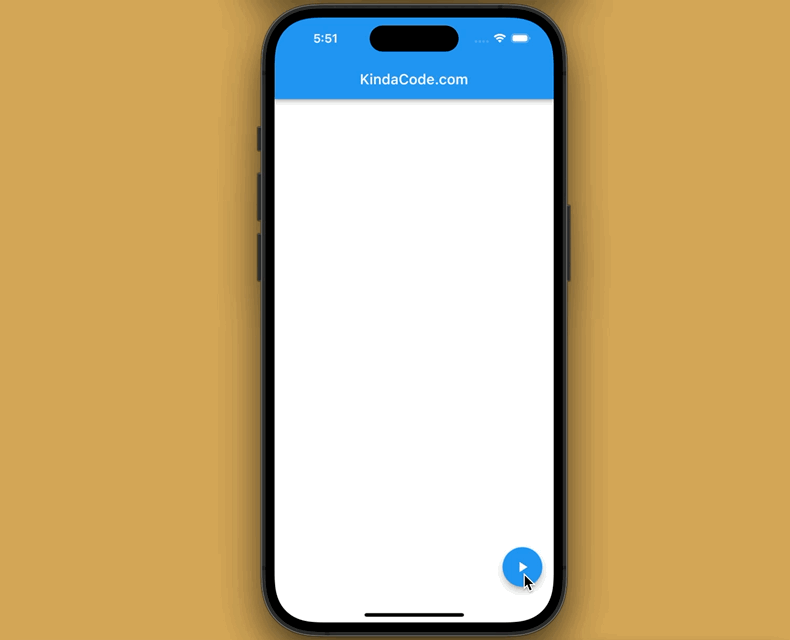
App Preview
This simple app has a floating action button. When this button gets hit, the text with typing effect will appear, letter by letter:
The Code
The complete code with explanations:
import 'package:flutter/material.dart';

void main() => runApp(const MyApp());

class MyApp extends StatelessWidget {
  const MyApp({super.key});

  @override
  Widget build(BuildContext context) {
    return MaterialApp(
      // Remove the debug banner
      debugShowCheckedModeBanner: false,
      title: 'KindaCode.com',
      theme: ThemeData(
        primarySwatch: Colors.blue,
      ),
      home: const KindaCodeDemo(),
    );
  }
}

class KindaCodeDemo extends StatefulWidget {
  const KindaCodeDemo({super.key});

  @override
  State<KindaCodeDemo> createState() => _KindaCodeDemoState();
}

class _KindaCodeDemoState extends State<KindaCodeDemo> {
  // The index of the current string
  int _currentIndex = 0;

  // The index of the current character
  int _currentCharIndex = 0;

  // The list of strings to display
  final List<String> _strings = [
    "Welcome to KindaCode.com",
    "With Flutter tutorials",
    "And fun examples",
    "And more...",
  ];

// The animation function
// It will be called when the user clicks on the play button
  void _typingAnimation() {
    setState(() {
      if (_currentCharIndex < _strings[_currentIndex].length) {
        _currentCharIndex++;
      } else {
        _currentIndex = (_currentIndex + 1) % _strings.length;
        _currentCharIndex = 0;
      }
    });

    Future.delayed(const Duration(milliseconds: 150), () {
      _typingAnimation();
    });
  }

  @override
  Widget build(BuildContext context) {
    return Scaffold(
        appBar: AppBar(
          title: const Text("KindaCode.com"),
        ),
        body: Center(
          child: Container(
            padding: const EdgeInsets.all(20),
            width: double.infinity,
            child: Align(
              alignment: Alignment.centerLeft,
              // The text to display
              // It will be updated when the user clicks on the play button
              child: Text(
                _strings[_currentIndex].substring(0, _currentCharIndex),
                style: const TextStyle(
                    fontSize: 24,
                    fontStyle: FontStyle.italic,
                    fontWeight: FontWeight.bold),
              ),
            ),
          ),
        ),
        // The play button
        // When the user clicks on it, the animation will start
        floatingActionButton: FloatingActionButton(
          onPressed: _typingAnimation,
          child: const Icon(Icons.play_arrow),
        ));
  }
}
The main point here is the _typingAnimation() function. The function sets the state to increment the _currentCharIndex variable by 1 and calls itself after a delay of 150 milliseconds. When _currentCharIndex reaches the end of the string, the code resets it to 0 and sets the _currentIndex to the next string in the list. The text displayed in the Container is now just a portion of the full string, from the beginning up to the current character (thanks to the substring() method). This creates the appearance of the text being typed out letter by letter.
Using a 3rd package
Using a third-party library can reduce the amount of time and effort for us. In the following example, we will use animated_text_kit, a great plugin for making the typewriter effect (and other kinds of text effects) with only a few lines of code needed to be written.
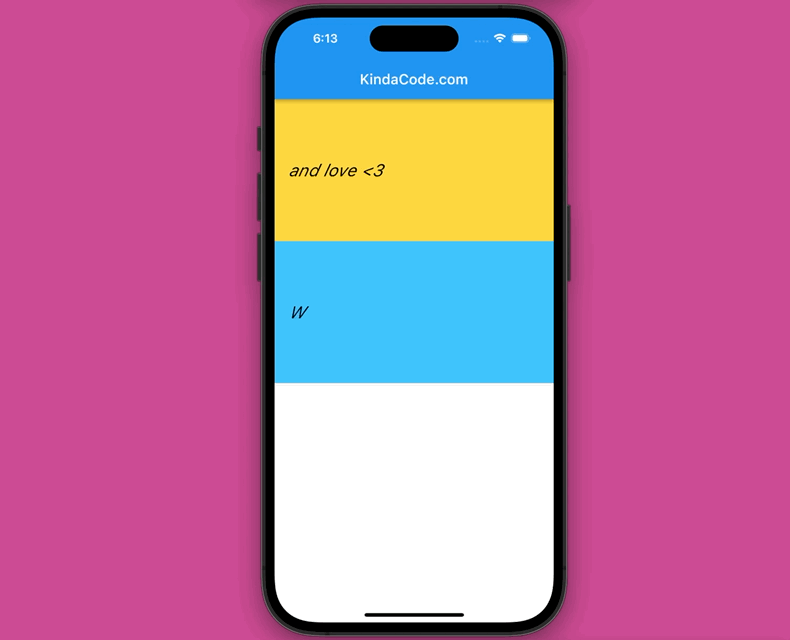
App Preview
We will use the TyperAnimatedText widget (for the text in the amber box) and the TypewriterAnimatedText widget (for the text in the blue box) provided by the plugin to implement the typing effect. There is only a slight difference between them.
The Code
Install the package:
flutter pub add animated_text_kitThen import it:
import 'package:animated_text_kit/animated_text_kit.dart';The complete code:
import 'package:flutter/material.dart';
import 'package:animated_text_kit/animated_text_kit.dart';

void main() {
  runApp(const MyApp());
}

class MyApp extends StatelessWidget {
  const MyApp({super.key});
  @override
  Widget build(BuildContext context) {
    return const MaterialApp(
      // hide the debug banner
      debugShowCheckedModeBanner: false,
      title: 'KindaCode.com',
      home: MyHomePage(),
    );
  }
}

class MyHomePage extends StatelessWidget {
  const MyHomePage({super.key});

  @override
  Widget build(BuildContext context) {
    return Scaffold(
      appBar: AppBar(
        title: const Text('KindaCode.com'),
      ),
      body: DefaultTextStyle(
        style: const TextStyle(
          fontSize: 24.0,
          fontStyle: FontStyle.italic,
          color: Colors.black,
        ),
        child: Column(children: [
          Container(
            padding: const EdgeInsets.all(20.0),
            width: double.infinity,
            height: 200,
            color: Colors.amberAccent,
            alignment: Alignment.centerLeft,
            child: AnimatedTextKit(
              // use the TypewriterAnimatedText widget
              animatedTexts: [
                TypewriterAnimatedText('Welcome to KindaCode.com'),
                TypewriterAnimatedText('with Flutter examples'),
                TypewriterAnimatedText('and love <3'),
              ],
              onTap: () {
                debugPrint("Do something");
              },
            ),
          ),
          Container(
            padding: const EdgeInsets.all(20.0),
            width: double.infinity,
            height: 200,
            color: Colors.lightBlueAccent,
            alignment: Alignment.centerLeft,
            child: AnimatedTextKit(
              // use the TyperAnimatedText widget
              animatedTexts: [
                TyperAnimatedText('Welcome to KindaCode.com'),
                TyperAnimatedText('with Flutter examples'),
                TyperAnimatedText('and love <3'),
              ],
              onTap: () {
                debugPrint("Do something");
              },
            ),
          ),
        ]),
      ),
    );
  }
}
Conclusion
We’ve walked through 2 different approaches to applying the typewriter effect to text in Flutter. The first one is long and a little tedious, but you can do anything you want with it. The second one is quick and neat but depends on a third-party package. Which one will you choose? Please let us know by leaving a comment.
Continue learning more new and interesting stuff about Flutter by taking a look at the following articles:
- Flutter: Making a Tic Tac Toe Game from Scratch
- Flutter: Making a Length Converter from Scratch
- Flutter & VS Code: Auto Trigger Hot Reload on Save
- How to Parse and Render XML Data in Flutter
- 2 Ways to Create Flipping Card Animation in Flutter
- Best Plugins to Easily Create Animations in Flutter
You can also tour around our Flutter topic page or Dart topic page for the most recent tutorials and examples.


