

The following examples show you a couple of different ways to insert separators between items in a list view in Flutter.
Example 1: Using ListView.separated
In Flutter, you can use ListView.separated to easily create a list view whose items are separated by separators (or dividers). A separator only appears between two list items and never stands before the first or sits after the last item.
Simple implementation:
final _myList = [
// Your list data here
];
/* .. */
ListView.separated(
itemCount: _myList.length,
itemBuilder: (context, index){
return /* Your list item widget here */;
},
separatorBuilder: (context, index){
return /* Your separator widget here */;
}
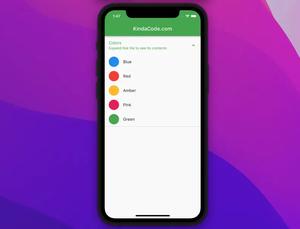
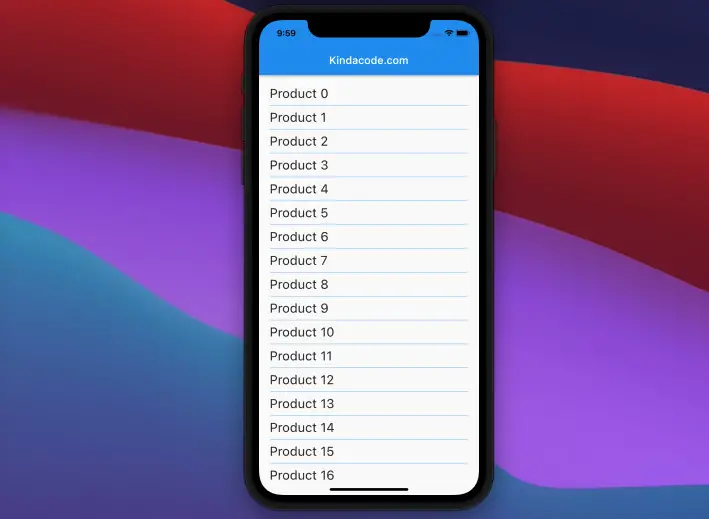
),The example below uses the Divider widget to create separators.
Preview:
The full code with explanations:
// main.dart
import 'package:flutter/material.dart';
void main() {
runApp(const MyApp());
}
class MyApp extends StatelessWidget {
const MyApp({Key? key}) : super(key: key);
@override
Widget build(BuildContext context) {
return MaterialApp(
// Remove the debug banner
debugShowCheckedModeBanner: false,
title: 'Kindacode.com',
theme: ThemeData(primaryColor: Colors.blue),
home: HomePage(),
);
}
}
class HomePage extends StatelessWidget {
HomePage({Key? key}) : super(key: key);
// A list of fiction products
final List<String> _myList = List.generate(100, (index) => 'Product $index');
@override
Widget build(BuildContext context) {
return Scaffold(
appBar: AppBar(
title: const Text('Kindacode.com'),
),
body: Padding(
padding: const EdgeInsets.all(20),
child: ListView.separated(
itemCount: _myList.length,
// The list items
itemBuilder: (context, index) {
return Text(
_myList[index],
style: const TextStyle(fontSize: 24),
);
},
// The separators
separatorBuilder: (context, index) {
return Divider(
color: Theme.of(context).primaryColor,
);
}),
),
);
}
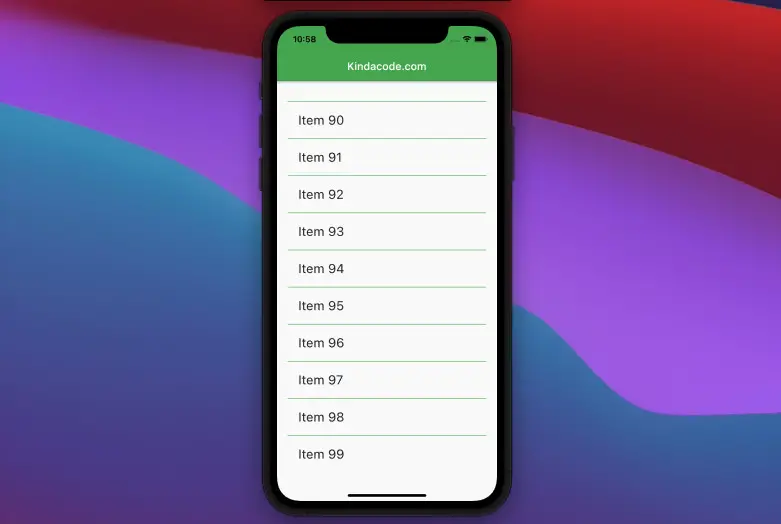
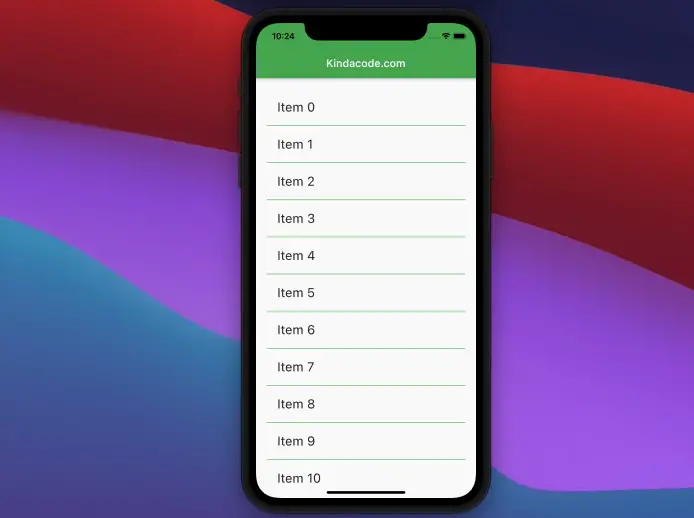
}Example 2: Adding a top border to every item widget except the first one
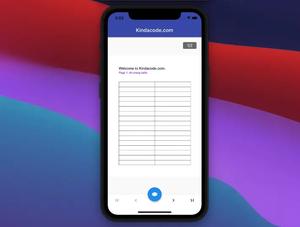
In this example, we will create separators by giving all items except the first a top border.
Note: If you just give all the items in the list a bottom border, then the last item will have one. This may be an undesirable result in many situations.
Preview:
The code:
// main.dart
import 'package:flutter/material.dart';
void main() {
runApp(const MyApp());
}
class MyApp extends StatelessWidget {
const MyApp({Key? key}) : super(key: key);
@override
Widget build(BuildContext context) {
return MaterialApp(
// Remove the debug banner
debugShowCheckedModeBanner: false,
title: 'Kindacode.com',
theme: ThemeData(primarySwatch: Colors.green),
home: HomePage(),
);
}
}
class HomePage extends StatelessWidget {
HomePage({Key? key}) : super(key: key);
// List data
final List<String> _myList = List.generate(100, (index) => 'Item $index');
@override
Widget build(BuildContext context) {
return Scaffold(
appBar: AppBar(
title: const Text('Kindacode.com'),
),
body: Padding(
padding: const EdgeInsets.all(20),
child: ListView.builder(
itemCount: _myList.length,
// The list items
itemBuilder: (context, index) {
return Container(
padding: const EdgeInsets.all(20),
decoration: BoxDecoration(
border: index == 0
? const Border() // This will create no border for the first item
: Border(
top: BorderSide(
width: 1,
color: Theme.of(context)
.primaryColor)), // This will create top borders for the rest
),
child: Text(
_myList[index],
style: const TextStyle(fontSize: 24),
),
);
},
),
),
);
}
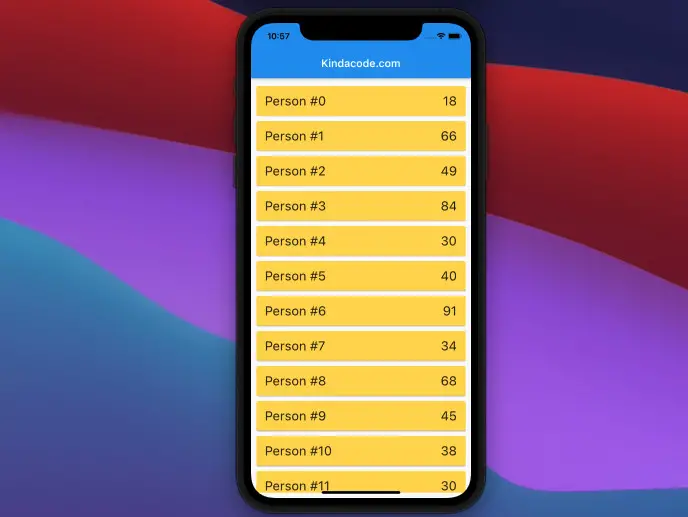
}Example 3: Using the Card widget
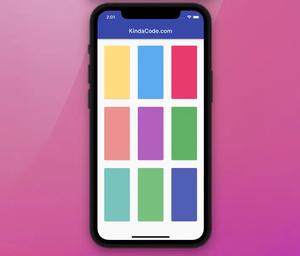
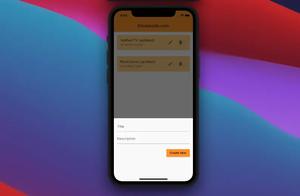
The two examples above make the separators horizontal lines. In this example, we will create separators that are wide ranges with a color that is different from the background color of each list item.
Preview:
The code:
// main.dart
import 'package:flutter/material.dart';
import 'dart:math';

void main() {
  runApp(const MyApp());
}

class MyApp extends StatelessWidget {
  const MyApp({Key? key}) : super(key: key);

  @override
  Widget build(BuildContext context) {
    return MaterialApp(
      // Remove the debug banner
      debugShowCheckedModeBanner: false,
      title: 'Kindacode.com',
      theme: ThemeData(primaryColor: Colors.blue),
      home: HomePage(),
    );
  }
}

class HomePage extends StatelessWidget {
  HomePage({Key? key}) : super(key: key);

  // Dummy list data
  final List<Map<String, dynamic>> _people = List.generate(100,
      (index) => {'name': 'Person #$index', 'age': Random().nextInt(100) + 1});

  @override
  Widget build(BuildContext context) {
    return Scaffold(
      appBar: AppBar(
        title: const Text('Kindacode.com'),
      ),
      body: Padding(
        padding: const EdgeInsets.all(10),
        child: ListView.builder(
          itemCount: _people.length,
          // The list items
          itemBuilder: (context, index) {
            return Card(
              margin: const EdgeInsets.symmetric(vertical: 5),
              color: Colors.amberAccent,
              child: ListTile(
                title: Text(
                  _people[index]['name'],
                  style: const TextStyle(fontSize: 24),
                ),
                trailing: Text(
                  _people[index]['age'].toString(),
                  style: const TextStyle(fontSize: 24),
                ),
              ),
            );
          },
        ),
      ),
    );
  }
}
Conclusion
We’ve gone through a few techniques for implementing a list view whose items that separated by separators. These are useful and sooner or later you will find some scenarios where you need one of them. If you would like to explore more about Flutter and Dart, take a look at the following articles:
- Flutter + Firebase Storage: Upload, Retrieve, and Delete files
- Flutter: ListTile examples
- Flutter AnimatedList – Tutorial and Examples
- Flutter and Firestore Database: CRUD example
- How to create a Filter/Search ListView in Flutter
- Flutter: How to put multiple ListViews inside a Column
You can also check out our Flutter topic page or Dart topic page for the latest tutorials and examples.


