


This concise, example-based article shows you how to place multiple ListViews inside a Column in Flutter.
The TL;DR
To put multiple ListViews inside a Column in Flutter, you have to provide a constrained height for each ListView. Why is this important? Because a ListView is a scrollable widget that does not have an intrinsic height. This means that it does not know how much space it should take up on the screen. If you put a ListView inside a Column, which is another scrollable widget, the ListView will try to expand infinitely to fit the Column, which is impossible. This will cause an error called “RenderFlex overflowed”.
To avoid this error, you need to tell the ListView how much space it can use on the screen. You can do this by wrapping it with a widget that provides a height constraint, such as Expanded, SizedBox, or CustomScrollView. These widgets will limit the height of the ListView and make it scrollable within that space. This way, the ListView, and the Column can work together without overflowing.
Details Explanations with Examples
Wrapping each ListView with an Expanded widget
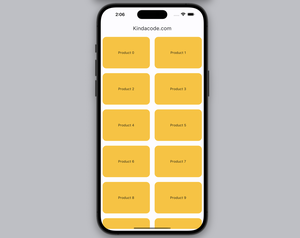
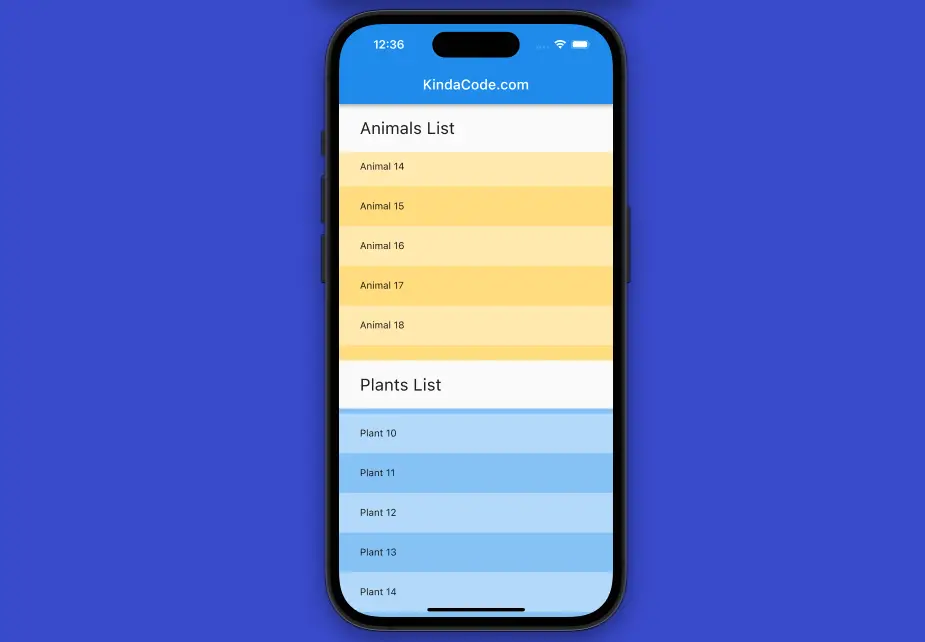
By doing this, your ListView widgets will fill the available space along the main axis of the Column. In the following example, we’ll display a list of animals and a list of plants within a single Column widget.
Example preview:

The code:
import 'package:flutter/material.dart';

void main() {
  runApp(const MyApp());
}

class MyApp extends StatelessWidget {
  const MyApp({super.key});

  @override
  Widget build(BuildContext context) {
    return MaterialApp(
      // hide the debug banner
      debugShowCheckedModeBanner: false,
      title: 'KindaCode.com',
      theme: ThemeData(
        primarySwatch: Colors.blue,
      ),
      home: const HomePage(),
    );
  }
}

class HomePage extends StatefulWidget {
  const HomePage({super.key});

  @override
  State<HomePage> createState() => _HomePageState();
}

class _HomePageState extends State<HomePage> {
  final animals = List.generate(100, (index) => "Animal $index");
  final plants = List.generate(100, (index) => "Plant $index");

  @override
  Widget build(BuildContext context) {
    return Scaffold(
        appBar: AppBar(title: const Text("KindaCode.com")),
        body: Column(
          crossAxisAlignment: CrossAxisAlignment.start,
          children: [
            // animals
            Container(
              padding: const EdgeInsets.symmetric(vertical: 20, horizontal: 30),
              child: const Text(
                'Animals List',
                style: TextStyle(fontSize: 24),
              ),
            ),
            Expanded(
                child: ListView.builder(
              itemCount: animals.length,
              itemBuilder: (context, index) => Container(
                  padding:
                      const EdgeInsets.symmetric(vertical: 20, horizontal: 30),
                  color: index % 2 == 0
                      ? Colors.amber.shade100
                      : Colors.amber.shade200,
                  child: Text(animals[index])),
            )),

            // plants
            Container(
              padding: const EdgeInsets.symmetric(vertical: 20, horizontal: 30),
              child: const Text(
                'Plants List',
                style: TextStyle(fontSize: 24),
              ),
            ),
            Expanded(
                child: ListView.builder(
              itemCount: plants.length,
              itemBuilder: (context, index) => Container(
                  padding:
                      const EdgeInsets.symmetric(vertical: 20, horizontal: 30),
                  color: index % 2 == 0
                      ? Colors.blue.shade100
                      : Colors.blue.shade200,
                  child: Text(plants[index])),
            )),
          ],
        ));
  }
}
Wrapping each ListView with a SizedBox widget
By doing this, you will give each ListView a fixed height.
Example:
Column(
  children: [
    SizedBox(height: 200.0, child: listView1),
    SizedBox(height: 200.0, child: listView2),
  ],
)
You can also use a Container widget instead of a SizedBox widget if you need more options (color, border, etc).
Using a CustomScrollView with SliverList widgets
This can help you create a scrollable list of widgets with different heights.
Sample code:
CustomScrollView(
  slivers: [
    SliverList(
      delegate: SliverChildBuilderDelegate(
        (context, index) => list1()[index],
        childCount: _list1().length,
      ),
    ),
    SliverList(
      delegate: SliverChildBuilderDelegate(
        (context, index) => list2()[index],
        childCount: _list2().length,
      ),
    ),
  ],
)
You can find more details and complete examples about sliver stuff in Flutter through the following tutorials:
- Flutter SliverList – Tutorial and Example
- Flutter SliverAppBar Example (with Explanations)
- Flutter: SliverGrid example
- Flutter CupertinoSliverNavigationBar: Tutorial & Example
Final Words
You’ve learned more than one technique to set up several ListViews within a Column. This knowledge might be very super useful in many kinds of mobile and web apps. Continue your journey with Flutter and explore more new and interesting things by taking a look at the following articles:
- 2 Ways to Create Typewriter Effects in Flutter
- Hero Widget in Flutter: Tutorial & Example
- Using GetX to make GET/POST requests in Flutter
- How to make an image carousel in Flutter
- Using NavigationRail and BottomNavigationBar in Flutter
You can also tour around our Flutter topic page or Dart topic page for the most recent tutorials and examples.


