


This succinct, practical article shows you 3 different ways to disable/inactivate a Link in a React application that uses React Router 6 (the latest version). We will explore the fundamentals and then apply them in a complete example. Without any further ado, let’s get started.
The 3 Approaches
Using CSS pointer-events property
The CSS pointer-events cursor property specifies whether or not an element reacts to pointer events. If it is set to none, the associated element (button, link, etc) will do nothing on click.
A quick example of using inline style with pointer-events:
<Link to='/contact' style={{pointerEvents: 'none' }}>
   Contact KindaCode.com
</Link>
And here’s how we disable a Link with separate CSS:
<Link to='/contact' className='inactive'>Contact KindaCode.com</Link>CSS:
.inactive {
  pointer-events: none;
}
Using event.preventDefault()
We can also disable a Link by calling the event.preventDefault() method in the onClick event handler function, like so:
// the event handler function
const handleClick = (event) => {
    event.preventDefault();
};

// The Link
<Link to={'/about-us'} onClick={handleClick}>
    About KindaCode.com
</Link>
Conditionally rendering the Link component
In this method, we save the disabled/enabled state of a Link in a variable and use this variable to render the UI conditionally:
// state variable
const [isDisabled, setIsDisabled] = useState(true);

// Implement the Link in JSX
<>
  {isDisabled
       ? <span>This Link is Disabled</span>
       : <Link to="/hello">Hello Buddy</Link>
</>
If you still feel uncertain about all of this, see the intuitive, end-to-end example below to get a better understanding.
Full Example
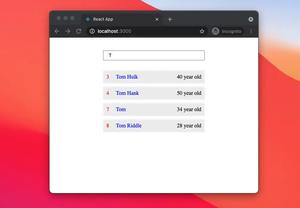
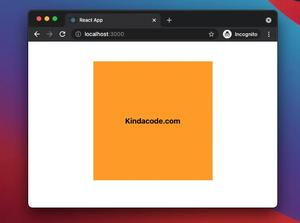
App Preview
The demo we’re going to make consists of 2 pages:
- Home page
- Contact page
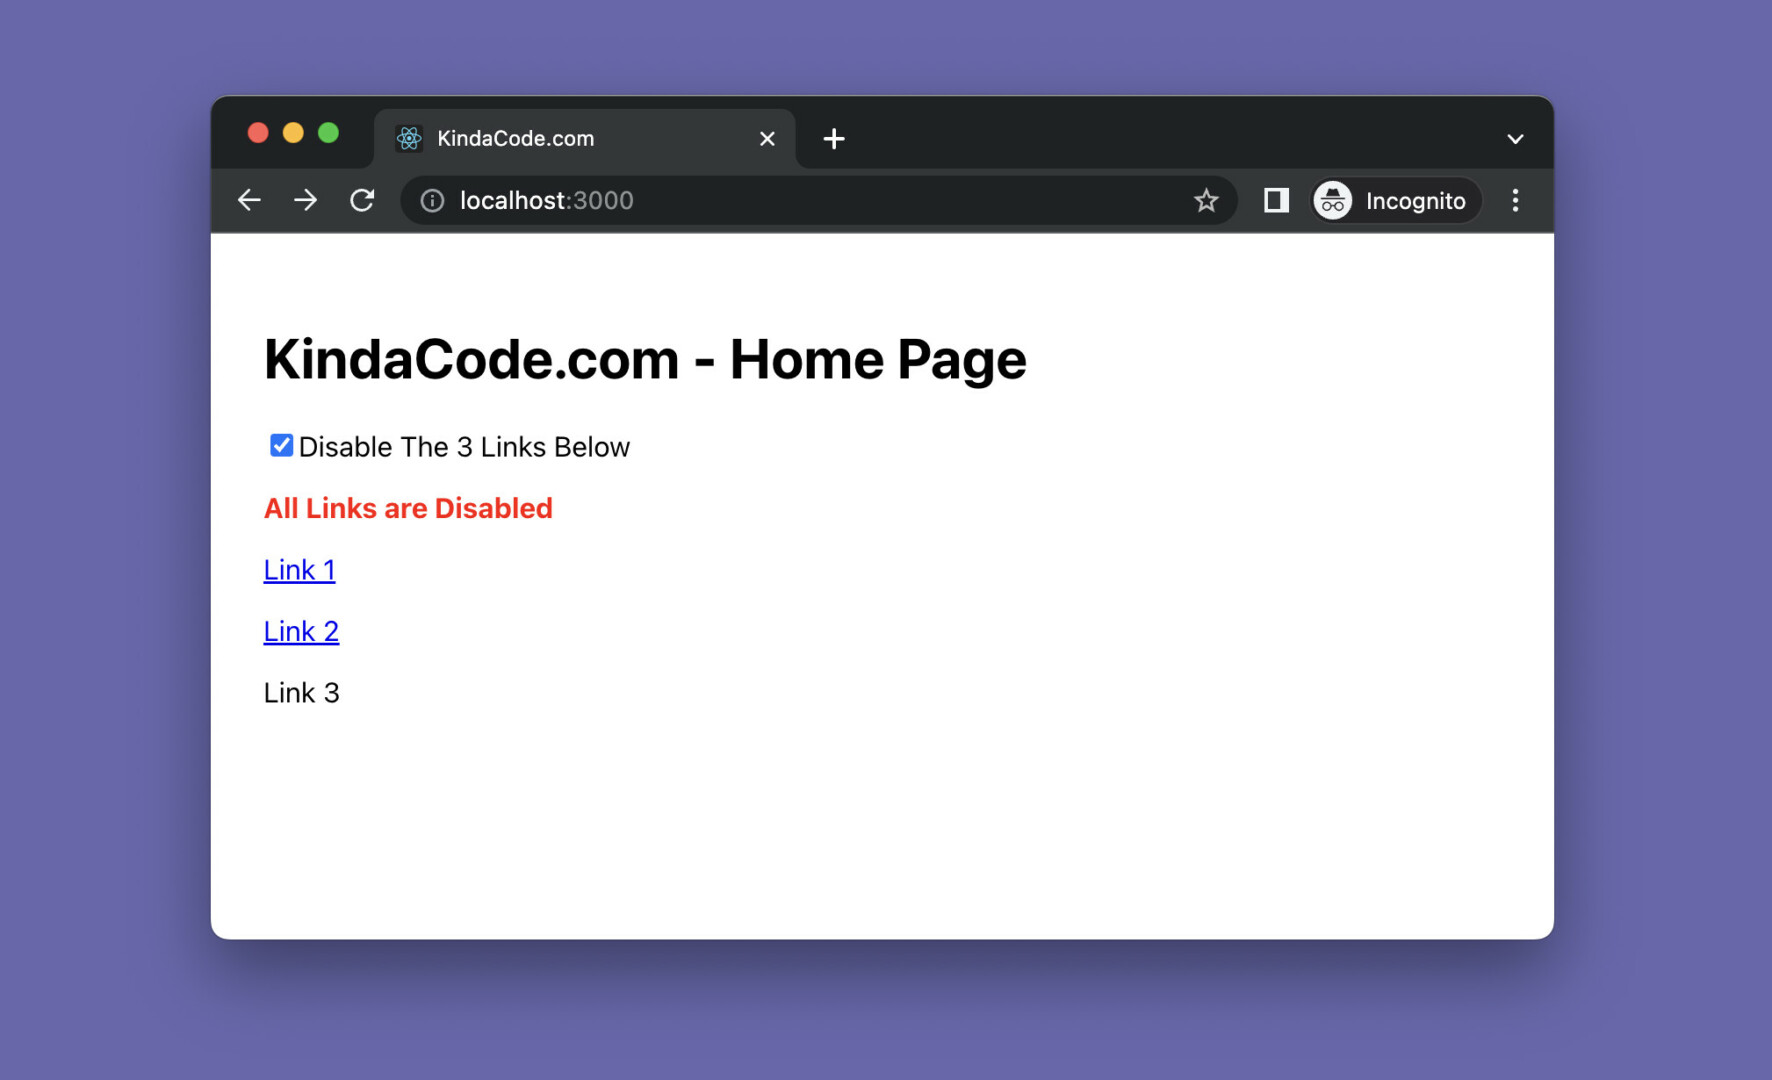
On the home page, there are a checkbox and 3 links (all lead to the Contact page). In the beginning, these links work as normal. However, when you check the checkbox, they become disabled and no longer work. The animated GIF screenshot below clearly describes it:
The Steps
1. Create a new React project:
npx create-react-app kindacode-exampleThe name is totally up to you. As of now, we’ll only care about a single file: src/App.js.
2. Install React Router:
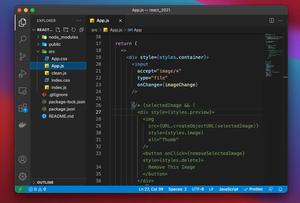
npm i react-router-dom3. The full source code for src/App.js (with explanations):
// KindaCode.com
// src/App.js
import { useState } from 'react';
import { BrowserRouter, Routes, Route, Link } from 'react-router-dom';

function App() {
  return (
    <BrowserRouter>
      <Routes>
        <Route path='/' element={<HomePage />} />
        <Route path='/contact' element={<ContactPage />} />
      </Routes>
    </BrowserRouter>
  );
}

// Home Page
const HomePage = () => {
  // this determines if the link is disabled or not
  const [isDisabled, setIsDisabled] = useState(false);

  // this function is triggered when the checkbox is checked/unchecked
  const toggleLink = () => {
    setIsDisabled(!isDisabled);
  };

  return (
    <div style={{ padding: 30 }}>
      <h1>KindaCode.com - Home Page</h1>
      <div>
        <label htmlFor='my-checkbox'>
          <input
            id='my-checkbox'
            type='checkbox'
            value={isDisabled}
            onChange={toggleLink}
          />
          Disable The 3 Links Below
        </label>
      </div>

      {/* Display a message to inform the user about the links */}
      {isDisabled ? (
        <p>
          <strong style={{ color: 'red' }}>All Links are Disabled</strong>
        </p>
      ) : (
        <p>
          <strong style={{ color: 'blue' }}>All Links are Enabled</strong>
        </p>
      )}

      {/* Link 1 - event.preventDefault() */}
      <p>
        <Link
          to={'/contact'}
          onClick={(event) => {
            if (isDisabled) {
              event.preventDefault();
            }
          }}
        >
          Link 1
        </Link>
      </p>

      {/* Link 2 - pointerEvents */}
      <p>
        <Link
          to={'/contact'}
          style={{ pointerEvents: isDisabled ? 'none' : 'auto' }}
        >
          Link 2
        </Link>
      </p>

      {/* Link 3 - conditionally render the working/non-working Link */}
      <p>
        {isDisabled ? <span>Link 3</span> : <Link to={'/contact'}>Link 3</Link>}
      </p>
    </div>
  );
};

// Contact
const ContactPage = () => {
  return (
    <div style={{ padding: 30 }}>
      <h1>Contact KindaCode.com</h1>
    </div>
  );
};

export default App;
4. Run the project in the development mode:
npm startFinally, go to http://localhost:3000 to play with it.
Conclusion
We’ve covered several techniques to disable a Link in React Router. All of them are neat and work well. Choose the one you like to go with.
React is an interesting and powerful front-end technology that can help you create fabulous things. Continue learning and discovering more new stuff about it by taking a look at the following articles:
- React: How to Detect Caps Lock is On
- React + TypeScript: Handle onCopy, onCut, and onPaste events
- React + TypeScript: Image onLoad & onError Events
- React: How to Create an Image Carousel from Scratch
- React: How to Create a Responsive Navbar from Scratch
- React Router: How to Create a Custom Back Button
You can also check our React category page and React Native category page for the latest tutorials and examples.