

This article walks you through the basics and a few practical examples of handling keyboard events in a React app that is written in TypeScript. We’ll use modern React features including hooks and functional components. You won’t see old-fashioned stuff like class components or things related to them.
Overview
There are 3 keyboard events:
- onKeyDown: This event is fired when the user presses a key.
- onKeyUp: This event is triggered when the user releases a key.
- onKeyPress: This event is not fired for all keys (Ctrl, Alt, Esc, etc). In order to detect whether the user has pressed a key, use onKeyDown event instead.
In React, you can listen to the keyboard events on input elements or other HTML elements like div.
Example 1: Keyboard Events and Input Element
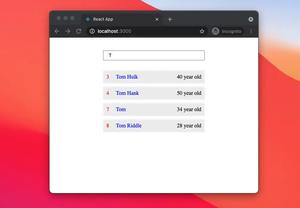
App Preview
This demo app contains a text input. The user can interact with it by using one of the following keys:
- Escape (ESC): To clear the text that has been typed.
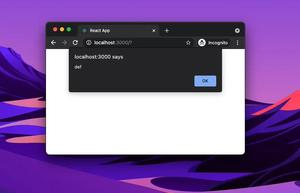
- Enter: To display the entered text with an alert.
Here’s how it works:
The Code
1. Create a brand new TypeScript React project:
npx create-react-app kindacode_example --template typescript2. Remove all of the default code in src/App.jsx and add this:
// App.tsx
// Kindacode.com
import React, { useState } from "react";
import "./App.css";

const App = () => {
  const [enteredText, setEnteredText] = useState("");

  // onKeyDown handler function
  const keyDownHandler = (event: React.KeyboardEvent<HTMLInputElement>) => {
    if (event.code === "Enter") {
      alert(`You have typed "${enteredText}"`);
    }
  };

  // onKeyUp handler function
  const keyUpHandler = (event: React.KeyboardEvent<HTMLInputElement>) => {
    if (event.code === "Escape") {
      const confirm = window.confirm(
        "Are you sure want to clear this text feild?"
      );

      if (confirm) {
        setEnteredText("");
      }
    }
  };

  // onKeyPress handler function
  const keyPressHandler = (event: React.KeyboardEvent<HTMLInputElement>) => {
    // Do something you like with "event"
  };

  return (
    <div className="container">
      <input
        onKeyDown={keyDownHandler}
        onKeyUp={keyUpHandler}
        onKeyPress={keyPressHandler}
        type="text"
        className="text-input"
        value={enteredText}
        onChange={(e) => setEnteredText(e.target.value)}
      />
    </div>
  );
};

export default App;
3. The code in src/App.css:
/*
App.css
Kindacode.com
 */

 .container {
   margin-top: 100px;
   display: flex;
   justify-content: center;
 }

 .text-input {
   width: 300px;
   padding: 10px;
   border-radius: 15px;
   outline: none;
 }
Example 2: Keyboard Events and Div Element
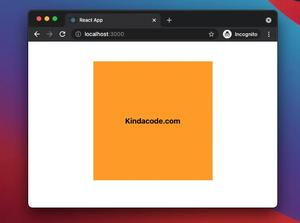
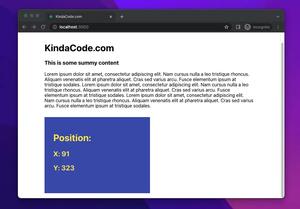
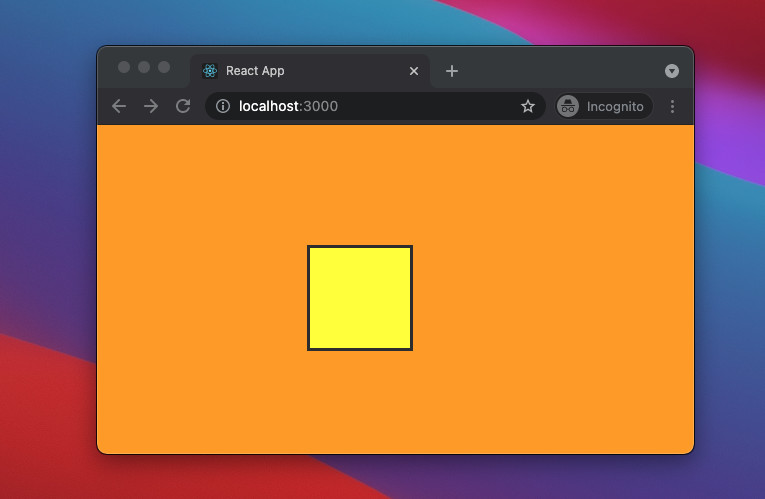
App Preview
In this example, we will use the Up, Down, Left, and Right arrow keys to control a yellow box on the screen. This box can move up, down, left, or right based on the key you pressed.
The Code
1. The code in src/App.jsx:
// App.tsx
// Kindacode.com
import React, { useState } from "react";
import "./App.css";

const App = () => {
  const [left, setLeft] = useState(0);
  const [top, setTop] = useState(0);

  // onKeyDown handler function
  const keyDownHandler = (event: React.KeyboardEvent<HTMLDivElement>) => {
    console.log(event.code);
    if (event.code === "ArrowUp") {
      setTop((top) => top - 10);
    }

    if (event.code === "ArrowDown") {
      setTop((top) => top + 10);
    }

    if (event.code === "ArrowLeft") {
      setLeft((left) => left - 10);
    }

    if (event.code === "ArrowRight") {
      setLeft((left) => left + 10);
    }
  };

  return (
    <div className="container" tabIndex={0} onKeyDown={keyDownHandler}>
      <div className="box" style={{ top: top, left: left }}></div>
    </div>
  );
};

export default App;
2. The code in src/App.css:
/*
App.css
Kindacode.com
 */

.container {
  width: 100vw;
  height: 100vh;
  background: orange;
}

.box {
  width: 100px;
  height: 100px;
  background: yellow;
  border: 3px solid #333;
  position: fixed;
}
Conclusion
We’ve gone through a couple of end-to-end examples of handling keyboard events in React and TypeScript. From now on, you will feel more comfortable when working with these things. If you’d like to explore more about modern React and TypeScript, take a look at the following articles:
- React + TypeScript: Multiple Dynamic Checkboxes
- React + TypeScript: Password Strength Checker example
- React + TypeScript: Using Inline Styles Correctly
- React + TypeScript: Create an Autosize Textarea from scratch
- React + TypeScript: Handling onFocus and onBlur events
You can also check our React category page and React Native category page for the latest tutorials and examples.