
The onClick event occurs when an element is clicked. This element can be a button, a div element, an image, etc.
This article walks you through a couple of different examples of handling the onClick event in a React app that is written in TypeScript. We’ll see the modern features of React like hooks and functional components. You won’t see old-fashioned stuff like class components.
Example 1: Button onClick
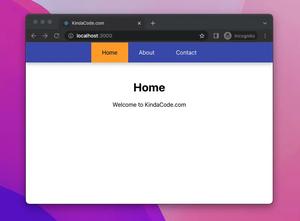
App Preview
This tiny app contains 4 different buttons but we will only use a single function to handle the onClick events that fired when one of them clicked. The name of the clicked button will be displayed on the screen. We also call the preventDefault() method to prevent it from submitting the form.
Here’s how it works:
The Code
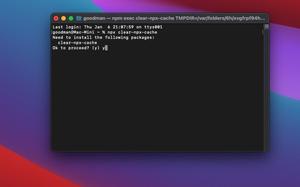
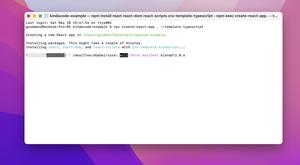
1. Create a brand new React project:
npx create-react-app kindacode_example --template typescript2. Remove the default code in src/App.tsx and add the following:
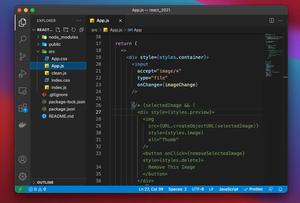
// App.tsx
// Kindacode.com
import React, { useState } from "react";
import "./App.css";

const App = (): JSX.Element => {
  const [clickedButton, setClickedButton] = useState('');

  const buttonHandler = (event: React.MouseEvent<HTMLButtonElement>) => {
    event.preventDefault();

    const button: HTMLButtonElement = event.currentTarget;
    setClickedButton(button.name);
  };

  return (
    <div className="container">
      <h3>Kindacode.com</h3>
      <form>
        <button onClick={buttonHandler} className="button" name="button 1">
          Button 1
        </button>

        <button onClick={buttonHandler} className="button" name="button 2">
          Button 2
        </button>

        <button onClick={buttonHandler} className="button" name="button 3">
          Button 3
        </button>

        <button onClick={buttonHandler} className="button" name="button 4">
          Button 4
        </button>
      </form>
      <h1>
        {clickedButton !== ""
          ? `You have clicked "${clickedButton}"`
          : "No button clicked yet"}
      </h1>
    </div>
  );
};

export default App;
3. Replace unwanted CSS in src/App.css with the code below:
/*
App.css
Kindacode.com
 */

.container {
  margin: 30px auto;
  width: 500px;

  display: flex;
  flex-direction: column;
  justify-content: center;
  align-items: center;
}

.button {
  margin: 10px 5px;
  padding: 15px 30px;
  background: purple;
  color: white;
  cursor: pointer;
  border-radius: 30px;
  border: none;
}

.button:hover {
  background: orangered;
}

h1 {
  color: red;
  font-style: italic;
}
4. Run the project and navigate to http://localhost:3000 on your browser.
Example 2: onClick event fired on an arbitrary element
A Common Pitfall
When an element nests inside another element, the onClick event may be triggered on both the child and the parent when the child is clicked. In general, that is not what we want.
To prevent the event of the parent from being fired in this case, we need to call:
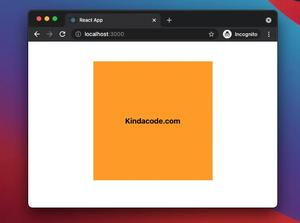
event.stopPropagation();App Preview
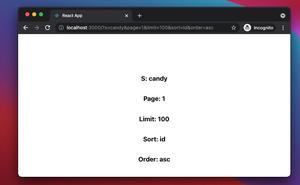
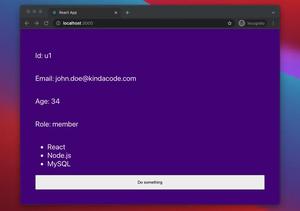
This sample React app contains 3 elements:
div: The parent element that contains 2 other children.img: This image is a child of the parent div.h1: This heading is a child of the parent div.
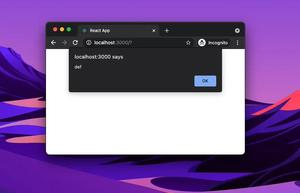
When an element is clicked, information about its size and tag name will be displayed in the console logs.
The Code
1. Here’s the full source code in App.tsx:
// App.tsx
// Kindacode.com
import React from "react";
import "./App.css";

const App = () => {
  // This function will be triggered when the "container" is clicked
  const divClickedHandler = (event: React.MouseEvent<HTMLDivElement>) => {
    const div = event.currentTarget;
    console.log(
      "Element name: ",
      div.tagName,
      "Width: ",
      div.clientWidth,
      "Height: ",
      div.clientHeight
    );
  };

  // This function will be triggered when the headline is clicked
  const headingClickedHandler = (
    event: React.MouseEvent<HTMLHeadingElement>
  ) => {
    event.stopPropagation();

    const heading = event.currentTarget;
    console.log(
      "Element name: ",
      heading.tagName,
      "Width: ",
      heading.clientWidth,
      "Height: ",
      heading.clientHeight
    );
  };

  // This function will be triggered when the image is clicked
  const imgClickedHandler = (event: React.MouseEvent<HTMLImageElement>) => {
    event.stopPropagation();

    const img = event.currentTarget;
    console.log(
      "Element name: ",
      img.tagName,
      "Width: ",
      img.clientWidth,
      "Height: ",
      img.clientHeight
    );
  };

  return (
    <div className="container" onClick={divClickedHandler}>
      <h1 onClick={headingClickedHandler}>Kindacode.com</h1>
      <img
        src="https://www.kindacode.com/wp-content/uploads/2021/08/cat.jpeg"
        alt="Kindacode.com"
        onClick={imgClickedHandler}
      />
    </div>
  );
};

export default App;
2. And this is App.css:
/*
App.css
Kindacode.com
 */

.container {
  box-sizing: border-box;
  margin: 30px auto;
  width: 800px;
  padding: 30px;
  background: orange;

  display: flex;
  flex-direction: column;
  justify-content: center;
  align-items: center;
}
Conclusion
We’ve examined 2 end-to-end examples of handling the onClick event in React and TypeScript. If you’d like to learn more new and interesting things about modern React and front-end development, take a look at the following articles:
- React + TypeScript: Handling Keyboard Events
- React + TypeScript: Multiple Dynamic Checkboxes
- React + TypeScript: Password Strength Checker example
- React + TypeScript: Using Inline Styles Correctly
- React: Show Image Preview before Uploading
- React + TypeScript: Handling Select onChange Event
- React + TypeScript: Making a Reading Progress Indicator
You can also check our React category page and React Native category page for the latest tutorials and examples.