
The end-to-end example below covers the most important aspects you need to know when working with radio button groups in a React application written in TypeScript. We will write code from scratch and use the modern features of React including hooks and functional components. Old-fashioned things like class-based components will be absent.
Table of Contents
The Example
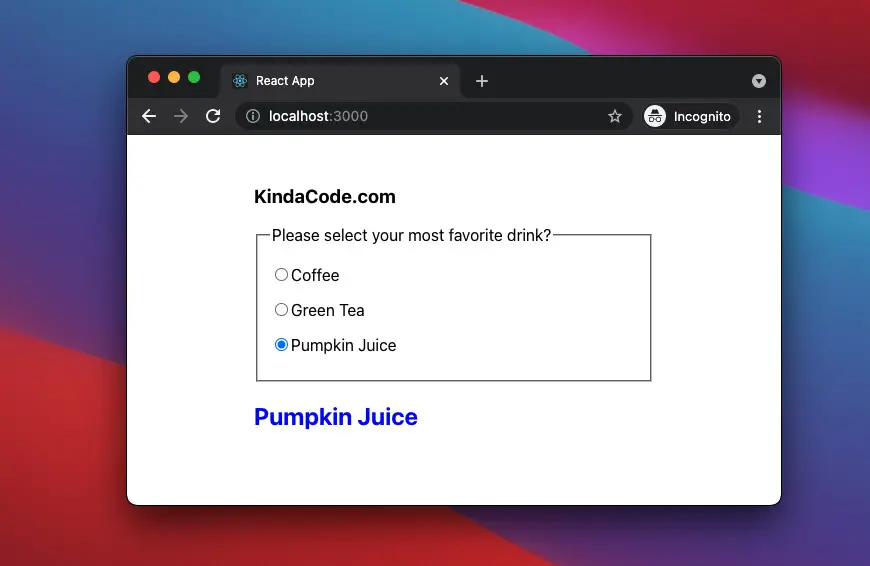
App Preview
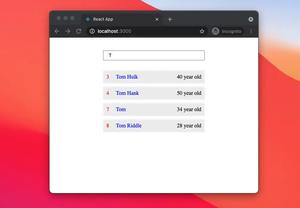
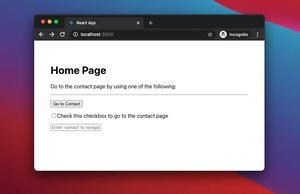
The sample app we are going to make contains a radio button group that lets a user choose his or her most favorite drink. When a radio is checked (only one radio can be selected at a time), the name of the drink associated with it will show up right below the fieldset.
Here’s how it works:
The Code
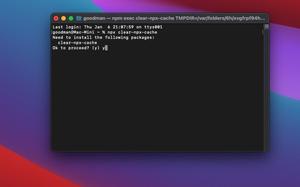
1. Create a new React project:
npx create-react-app kindacode_ts_react --template typescriptThe name doesn’t matter. Use whatever you like.
2. Replace all of the default code in your src/App.tsx with the following:
// App.tsx
import React, { useState } from "react";
import "./App.css";

const App = () => {
  // The selected drink
  const [selectedDrink, setSelectedDrink] = useState<String>();

  // This function will be triggered when a radio button is selected
  const radioHandler = (event: React.ChangeEvent<HTMLInputElement>) => {
    setSelectedDrink(event.target.value);
  };

  return (
    <div className="container">
      <h3>KindaCode.com</h3>
      <fieldset>
        <legend>Please select your most favorite drink?</legend>
        <p>
          <input
            type="radio"
            name="drink"
            value="Coffee"
            id="coffee"
            onChange={radioHandler}
          />
          <label htmlFor="coffee">Coffee</label>
        </p>

        <p>
          <input
            type="radio"
            name="drink"
            value="Tea"
            id="tea"
            onChange={radioHandler}
          />
          <label htmlFor="tea">Green Tea</label>
        </p>

        <p>
          <input
            type="radio"
            name="drink"
            value="Pumpkin Juice"
            id="pumpkin"
            onChange={radioHandler}
          />
          <label htmlFor="pumpkin">Pumpkin Juice</label>
        </p>
      </fieldset>

      {/* Display the selected drink */}
      {selectedDrink && <h2>{selectedDrink}</h2>}
    </div>
  );
};

export default App;
3. A little CSS in order to make the app look better:
/* src/App.css */

.container {
  width: 400px;
  height: 240px;
  margin:  50px auto;
}

h2 {
  color: blue;
}
4. Run your project and go to http://localhost:3000 to check the result.
Conclusion
We’ve gone through a complete example of implementing and handling radio group buttons in a React app that is based on TypeScript. If you’d like to explore more new and interesting stuff about modern React and frontend development, take a look at the following articles:
- React + TypeScript: Making a Custom Context Menu
- React + TypeScript: Multiple Select example
- How to Use Bootstrap 5 and Bootstrap Icons in React
- React + TypeScript: onMouseOver & onMouseOut events
- React + TypeScript: Create an Autosize Textarea from scratch
- React + TypeScript: Multiple Dynamic Checkboxes
You can also check our React category page and React Native category page for the latest tutorials and examples.