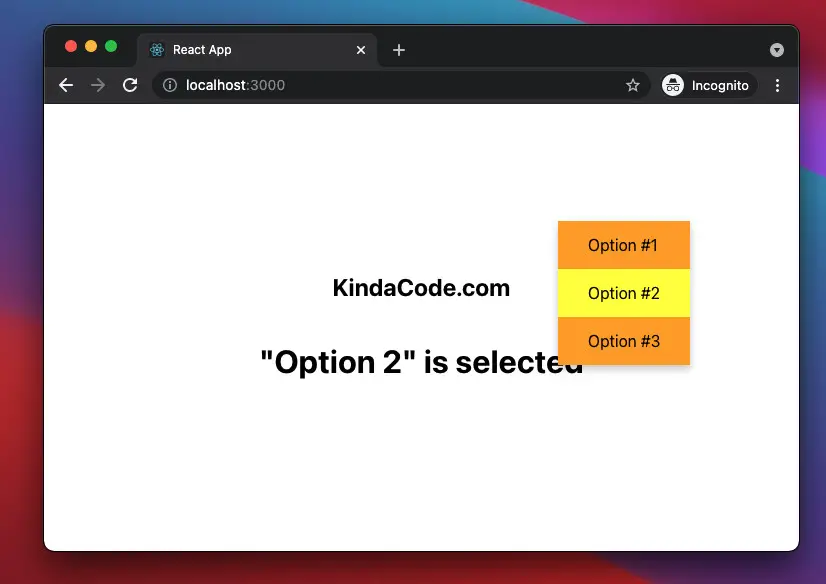
This article walks you through an end-to-end example of creating a custom context menu in a React app that is written in TypeScript. We’ll use new features of React like hooks and functional components. You won’t see old-fashioned stuff like class-based components or something like that.
Overview
By default, a context menu will show up when you right-click somewhere on a web page with options like “Back”, “Forward”, “Reload”, “Save as…”, “Print…”, etc. However, there might be times when you need a custom context menu with your own defined choices.
React’s event system provides an event named “onContextMenu” that can help us take control of the context menu. To disable the default context menu, use:
event.preventDefault();In general, a custom context menu needs to satisfy at least the following conditions:
- Its position must correspond to the position of the mouse pointer.
- It will disappear when the user left clicks somewhere outside.
Without any further ado, let’s see how its works in action.
The Example
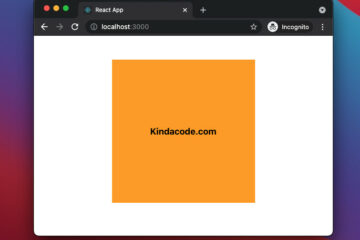
Preview
The Code
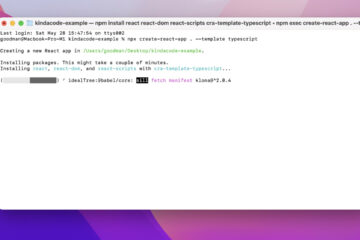
1. Create a new project:
npx create-react-app kindacode_ts_react --template typescript2. Here’s the code in src/App.tsx with explanations:
// App.tsx
// Kindacode.com
import React, { useState } from "react";
import "./App.css";

const App = () => {
  // Show or hide the custom context menu
  const [isShown, setIsShown] = useState(false);

  // The position of the custom context menu
  const [position, setPosition] = useState({ x: 0, y: 0 });

  // Show the custom context menu
  const showContextMenu = (event: React.MouseEvent<HTMLDivElement>) => {
    // Disable the default context menu
    event.preventDefault();

    setIsShown(false);
    const newPosition = {
      x: event.pageX,
      y: event.pageY,
    };

    setPosition(newPosition);
    setIsShown(true);
  };

  // Hide the custom context menu
  const hideContextMenu = (event: React.MouseEvent<HTMLDivElement>) => {
    setIsShown(false);
  };

  // Do what you want when an option in the context menu is selected
  const [selectedValue, setSelectedValue] = useState<String>();
  const doSomething = (selectedValue: String) => {
    setSelectedValue(selectedValue);
  };

  return (
    <div
      className="container"
      onContextMenu={showContextMenu}
      onClick={hideContextMenu}
    >
      <h2>KindaCode.com</h2>
      {selectedValue && (
        <h1>
          "{selectedValue}" is selected
        </h1>
      )}

      {/* Define the custom context menu */}
      {isShown && (
        <div
          style={{ top: position.y, left: position.x }}
          className="custom-context-menu"
        >
          <div className="option" onClick={() => doSomething("Option 1")}>
            Option #1
          </div>
          <div className="option" onClick={() => doSomething("Option 2")}>
            Option #2
          </div>
          <div className="option" onClick={() => doSomething("Option 3")}>
            Option #3
          </div>
        </div>
      )}
    </div>
  );
};

export default App;
3. Finally, replace all of the default code in your src/App.css with the following:
/*
App.css
Kindacode.com
 */

.container {
  width: 100vw;
  height: 100vh;
  display: flex;
  flex-direction: column;
  justify-content: center;
  align-items: center;
  z-index: 1;
}

.custom-context-menu {
  position: fixed;
  z-index: 10;
  background: orange;
  box-shadow: 0 4px 8px rgba(0, 0, 0, 0.2);
}

.option {
  cursor: pointer;
  padding: 15px 30px;
}

.option:hover {
  background: yellow;
}
Now run the project and check the result.
Conclusion
We’ve examined a complete example of implementing a custom context menu in a React application that uses TypeScript. If you’d like to learn more about modern React and stuff related to frontend development, take a look at the following articles:
- React + TypeScript: Multiple Select example
- React + TypeScript: onMouseOver & onMouseOut events
- React + TypeScript: Image onLoad & onError Events
- React + TypeScript: Multiple Dynamic Checkboxes
- React + TypeScript: Password Strength Checker example
- React: Create an Animated Side Navigation from Scratch
You can also check our React category page and React Native category page for the latest tutorials and examples.









Thank you very much! I didn’t expect it to work that easily. Keep up the good work, I’ll make sure to visit this website more often.
Thank you Erol