Table of Contents
Introduction
The onScroll event occurs when an element’s scrollbar is being scrolled.
This article walks you through an end-to-end example of handling the onScroll event in a React application. We’ll use TypeScript and modern features of React including hooks and functional components. You won’t see old-fashioned stuff like class-based components or things relate to them.
The Complete Example
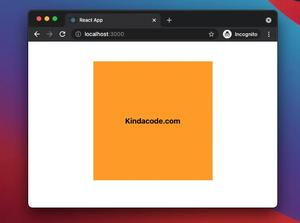
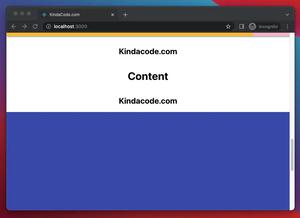
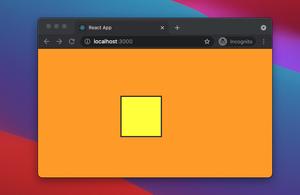
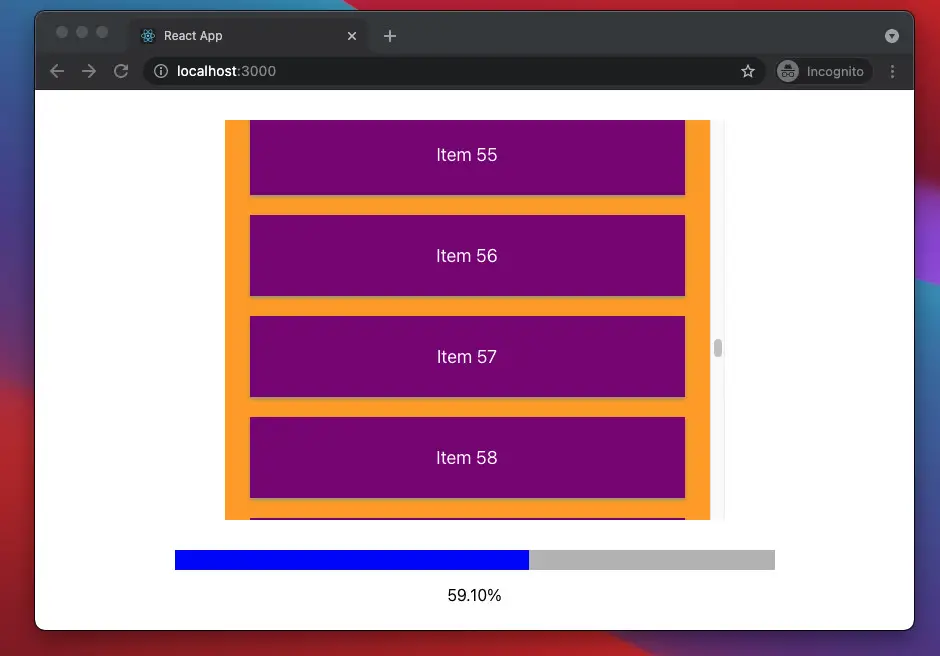
The simple app we are going to make contains an orange box, a list, and a progress bar. The box has a fixed height of 400px. The list resides inside the box and displays a large number of items. The progress bar indicates how many items were viewed (or more precisely, the percentage of items viewed) by the user when they scrolled down.
Preview
A demo is worth more than a thousand words. Here’s how our app works:
The Code
1. Create a new React project by executing the following command:
npx create-react-app kindacode_react_ts --template typescriptThe project name is totally up to you.
2. The full source code in src/App.tsx with explanations:
// App.tsx
// Kindacode.com
import React, { useState } from "react";

// Generate some dummy data
const DUMMY_DATA = Array.from({ length: 100 }, (x, i) => {
  return {
    id: i,
    title: `Item ${i}`,
  };
});

const App = () => {
  const [progress, setProgress] = useState(0);

  // This function is triggered when the user scroll
  const scrollHandler = (event: React.UIEvent<HTMLDivElement>) => {
    const containerHeight = event.currentTarget.clientHeight;
    const scrollHeight = event.currentTarget.scrollHeight;

    const scrollTop = event.currentTarget.scrollTop;
    setProgress(((scrollTop + containerHeight) / scrollHeight) * 100);
  };

  return (
    <>
      {/* The container */}
      <div style={styles.container} onScroll={scrollHandler}>
        {/* The list */}
        <div style={styles.list}>
          {DUMMY_DATA.map((item) => (
            // A single item
            <div style={styles.item} key={item.id}>
              {item.title}
            </div>
          ))}
        </div>
      </div>

      {/* The progress bar */}
      <div style={styles.progressBar}>
        <div style={{ ...styles.progressValue, width: `${progress}%` }}></div>
      </div>
      <p style={styles.text}>{progress.toFixed(2)}%</p>
    </>
  );
};

// Styling
const styles = {
  container: {
    width: 500,
    height: 400,
    margin: "30px auto",
    overflowY: "auto",
    overflowX: "hidden",
    background: "orange",
  },
  list: {
    width: "100%",
  },
  item: {
    margin: "20px 25px",
    padding: "30px 20px",
    boxShadow: "0 2px 4px #999",
    background: "purple",
    fontSize: "18px",
    textAlign: "center",
    color: "#fff",
  },
  progressBar: {
    width: 600,
    height: 20,
    margin: "auto",
    backgroundColor: "#bbb",
  },
  progressValue: {
    height: "100%",
    backgroundColor: "blue",
  },
  text: {
    textAlign: 'center'
  }
} as const;

export default App;
3. Run the project:
npm startAnd go to http://localhost:3000 to check the result.
Conclusion
We’ve built a simple app to get a better understanding of the onScroll event in React and TypeScript. If you’d like to explore more new and interesting things in modern React and frontend development, take a look at the following articles:
- React + TypeScript: Handle onCopy, onCut, and onPaste events
- React + TypeScript: Making a Custom Context Menu
- React Router Dom: Scroll To Top on Route Change
- CSS: Styling Scrollbar Example
- How to Create a Scroll To Top Button in React
- React: Show Image Preview before Uploading
You can also check our React category page and React Native category page for the latest tutorials and examples.