

This article walks you through a complete example of displaying an image preview before uploading. We are going to use React hooks and pure Javascript. No third-party packages are necessary.
Table of Contents
The Example
Preview
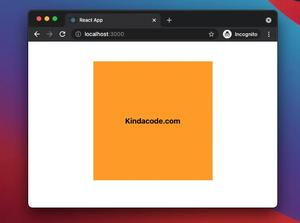
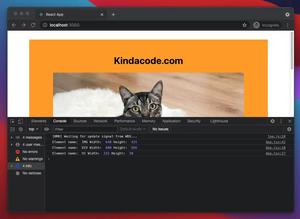
The React app we are going to build has a file input. When you select an image with this file input, an image preview will show up below it. There is also a “Remove This Image” button that lets you remove the selected image and the preview as well.
Here’s the demo:
The Full Code
Create a new React app and replace the default code in ./src/App.js with the following:
// App.js
// Kindacode.com
import { useState } from "react";

const App = () => {
  const [selectedImage, setSelectedImage] = useState();

  // This function will be triggered when the file field change
  const imageChange = (e) => {
    if (e.target.files && e.target.files.length > 0) {
      setSelectedImage(e.target.files[0]);
    }
  };

  // This function will be triggered when the "Remove This Image" button is clicked
  const removeSelectedImage = () => {
    setSelectedImage();
  };

  return (
    <>
      <div style={styles.container}>
        <input
          accept="image/*"
          type="file"
          onChange={imageChange}
        />

        {selectedImage && (
          <div style={styles.preview}>
            <img
              src={URL.createObjectURL(selectedImage)}
              style={styles.image}
              alt="Thumb"
            />
            <button onClick={removeSelectedImage} style={styles.delete}>
              Remove This Image
            </button>
          </div>
        )}
      </div>
    </>
  );
};

export default App;

// Just some styles
const styles = {
  container: {
    display: "flex",
    flexDirection: "column",
    justifyContent: "center",
    alignItems: "center",
    paddingTop: 50,
  },
  preview: {
    marginTop: 50,
    display: "flex",
    flexDirection: "column",
  },
  image: { maxWidth: "100%", maxHeight: 320 },
  delete: {
    cursor: "pointer",
    padding: 15,
    background: "red",
    color: "white",
    border: "none",
  },
};
Now run the project and test it with your own photos.
Conclusion
We’ve gone through an end-to-end example of displaying an image preview before uploading it in React. If you’d like to learn more new and exciting stuff about modern React and React Native, have a look at the following article:
- 2 Ways to Render HTML Content in React and JSX
- React + TypeScript: Handling onFocus and onBlur events
- React + TypeScript: Drag and Drop Example
- How to fetch data from APIs with Axios and Hooks in React
- How to implement tables in React Native
- How to Get Platform Information in React Native
You can also check our React category page and React Native category page for the latest tutorials and examples.