

This article shows you 2 different ways to change file encoding (UTF-8, UTF-8 with BOM, UTF-16 LE, ISO, DOS, Arabic, Japanese, etc) in VS Code (Visual Studio Code). The first approach works for a single file, and the second one can be used for the workplace or at the user level.
Change Encoding for a Single File
The settings below only apply to a single code file. Other files in your project will stay with the current encoding.
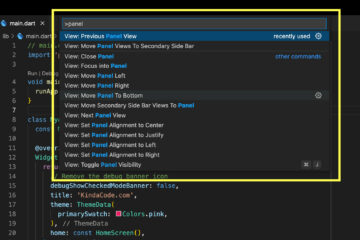
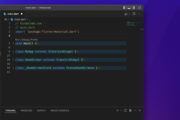
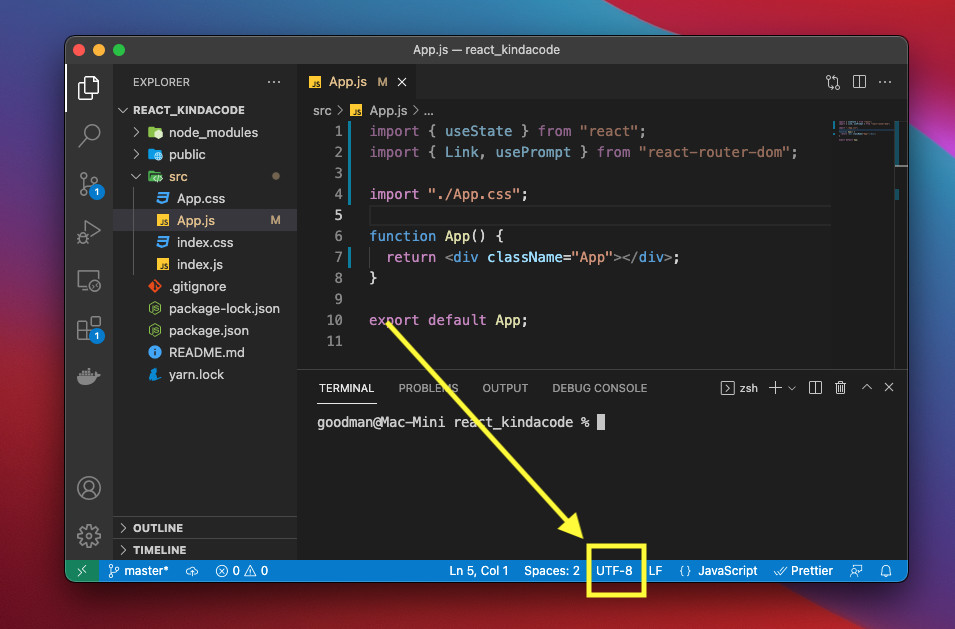
1. Head to the bottom bar and click on UTF-8:
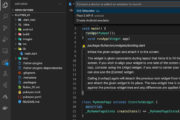
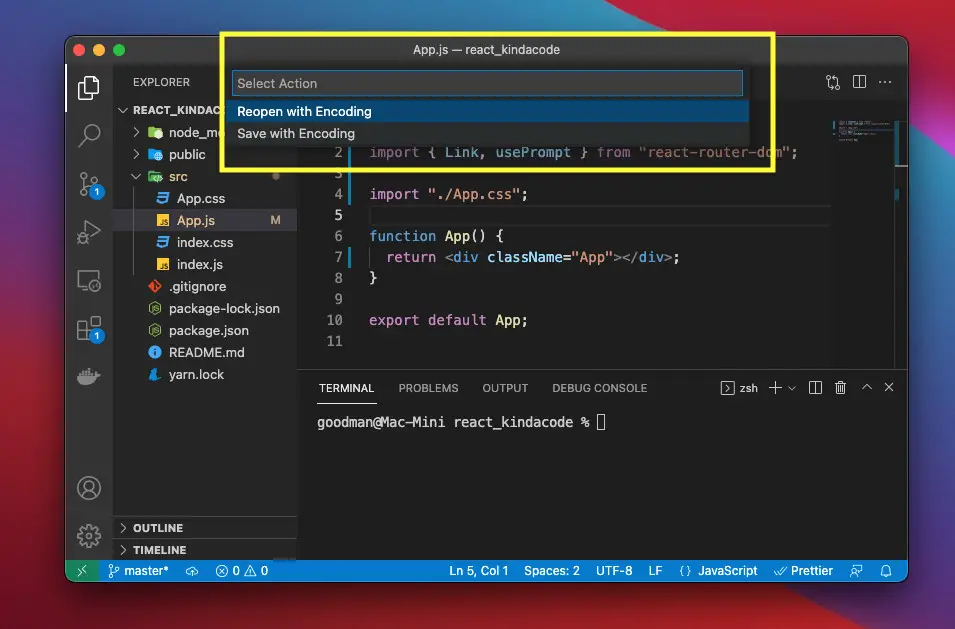
2. Select Reopen with Encoding or Save with Encoding (based on your need):
3. Select an encoding standard from the list:
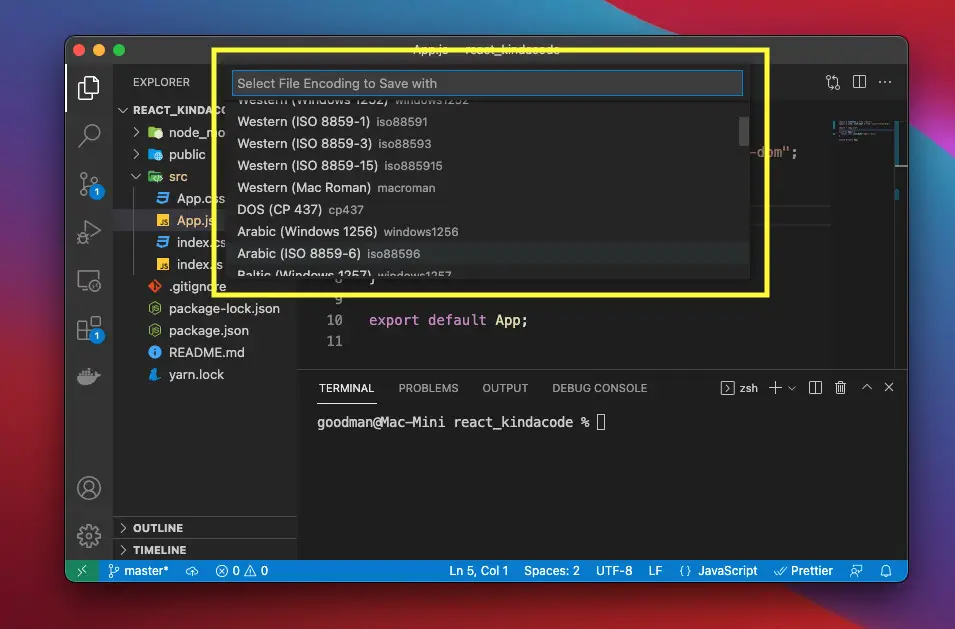
And your file will be saved/opened with the newly selected encoding.
Demo:
Change File Encoding Globally
The steps below affect every newly created file (but do not affect the old files).
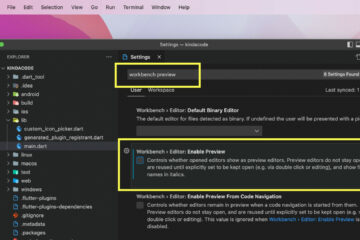
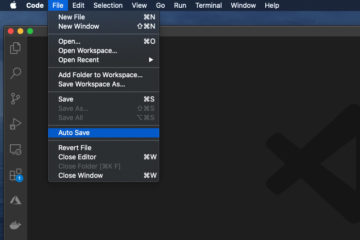
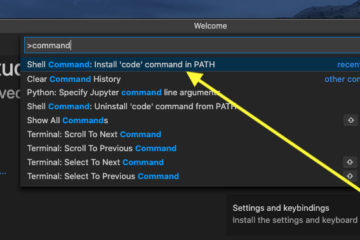
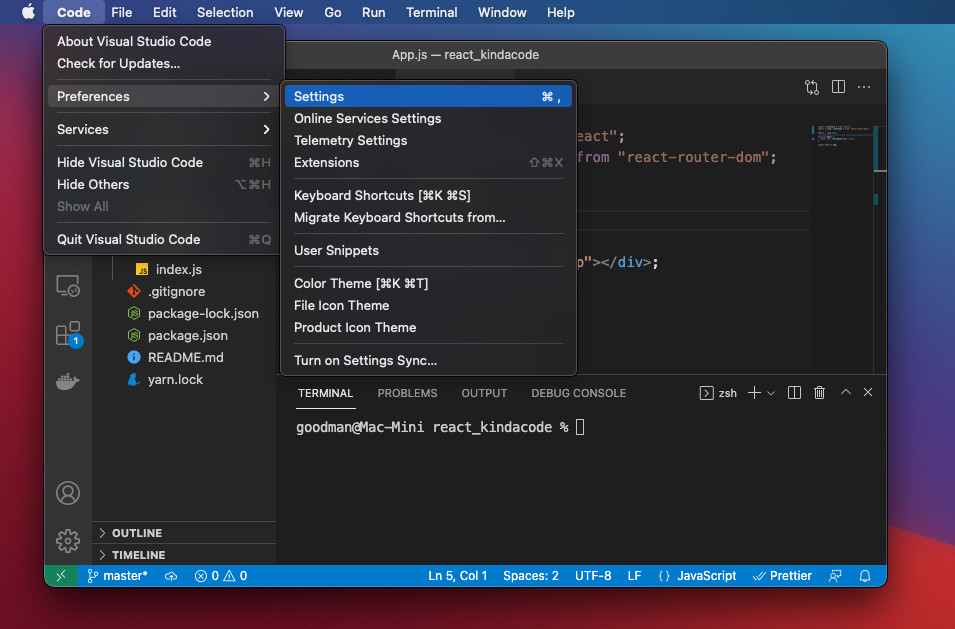
1. Go to the Settings area of VS Code:
- Mac: Code > Preferences > Settings (hotkeys: Command + ,)
- Windows: File > Preferences > Settings (hotkeys: Ctrl + ,)
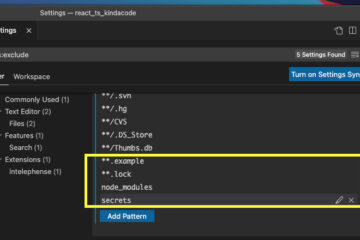
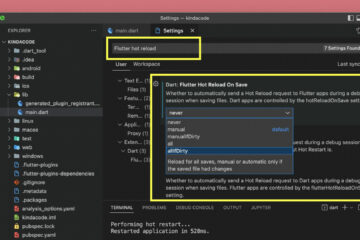
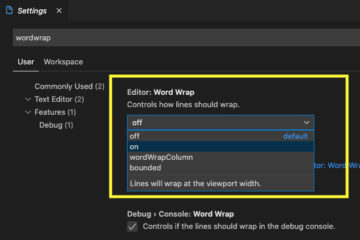
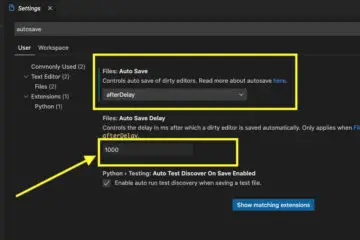
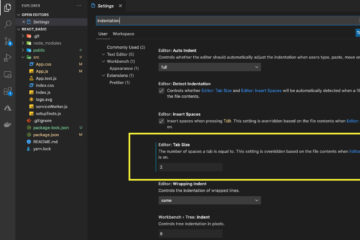
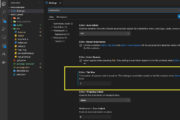
2. Type “encoding” into the search field, head to the Files: Encoding section, and select what you want from the drop-down. See the following screenshot for more clarity:

Your change will be automatically saved.
Conclusion
You’ve learned how to change file encoding in VS Code. If you’d like to explore more new and useful stuff about this awesome IDE, take a look at the following articles:
- VS Code: Prevent Single-Child Folders from Being Merged
- VS Code: Customizing the Bottom Status Bar
- VS Code: 3 Ways to Change Terminal Font Size
- VS Code: How to Hide/Show the Mini Map
- VS Code: How to Disable/Enable Suggestions on Hover
- VS Code: Making Comments in React and JSX
You can also check out our Visual Studio Code topic page for more tips and tricks to improve your producibility and coding experience.