

This article shows you how to change the Auto Save Delay in VS Code (Visual Studio Code).
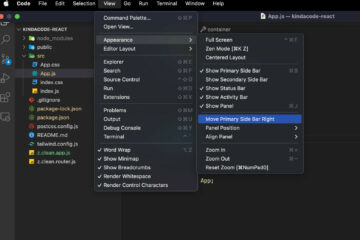
- Go to the Settings page.
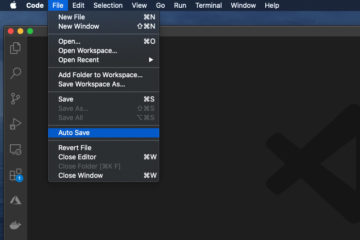
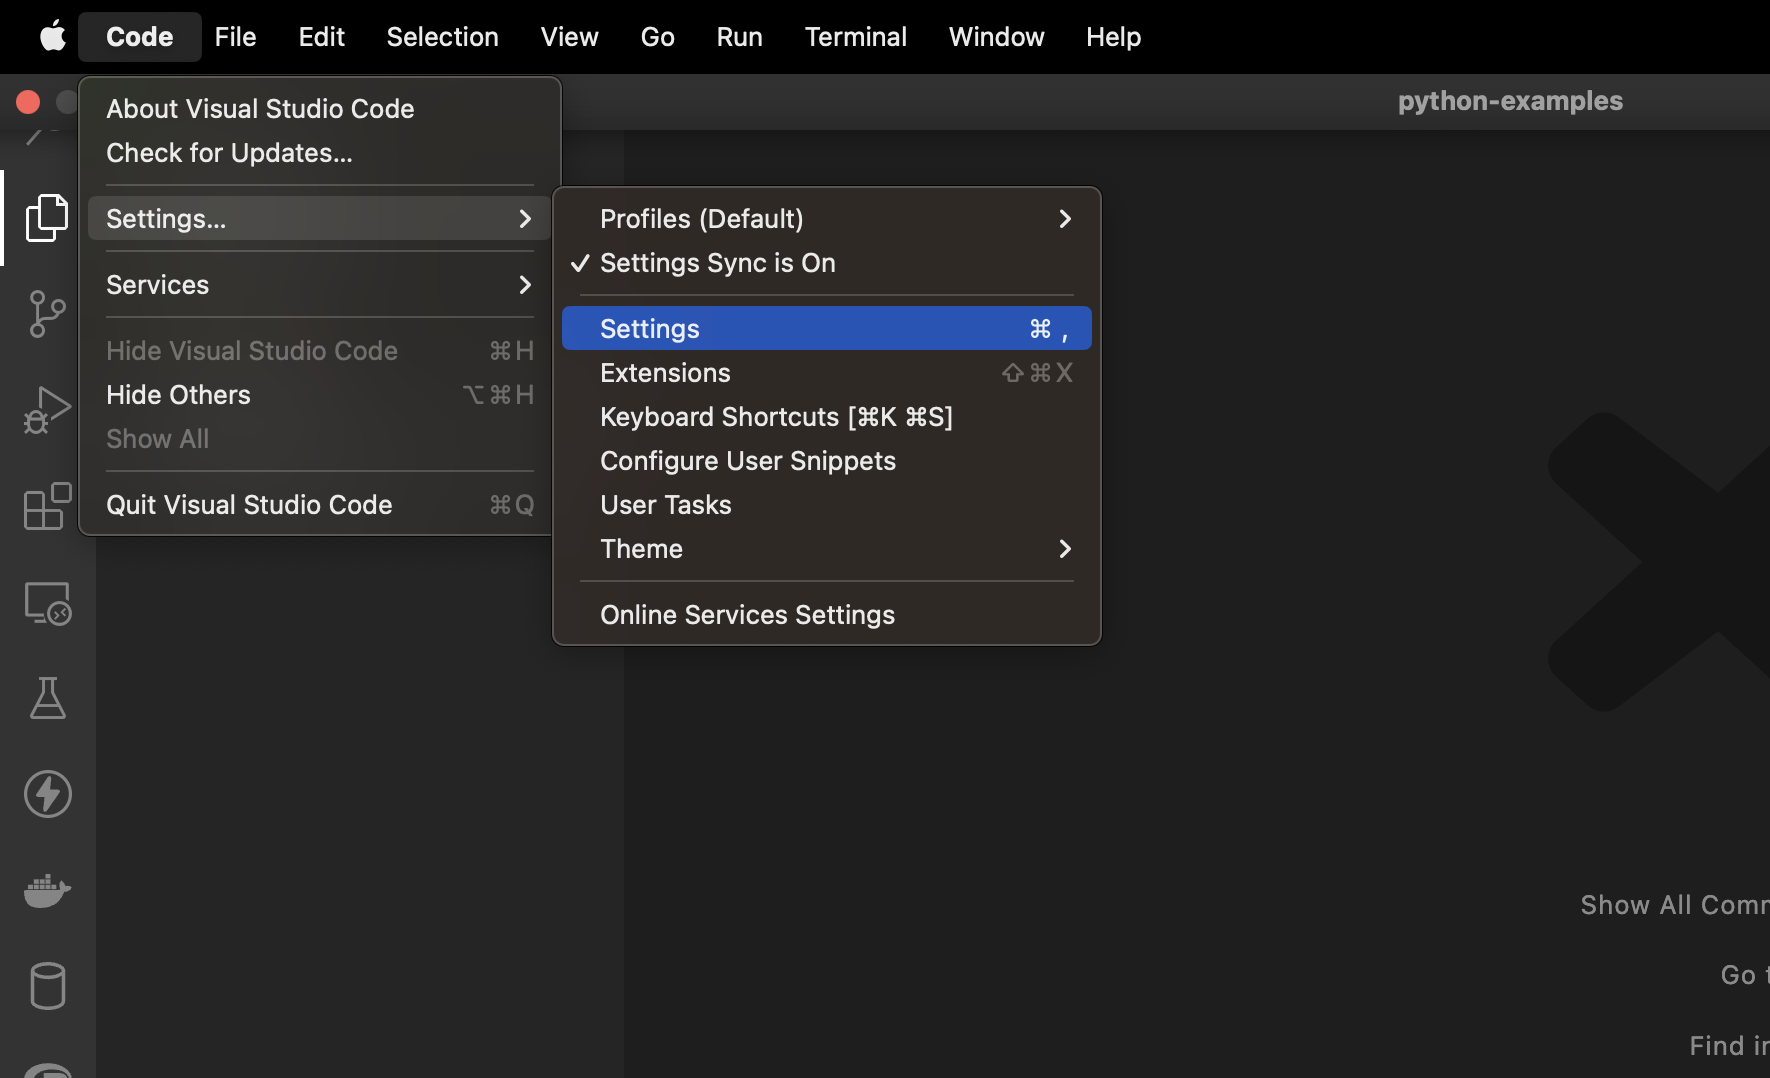
Go to Code > Settings… (or Preferences) > Settings (macOS) or File > Preferences > Settings (Windows).
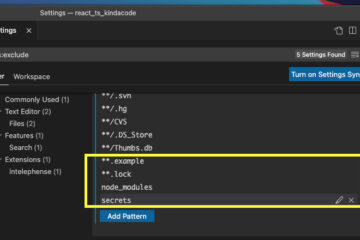
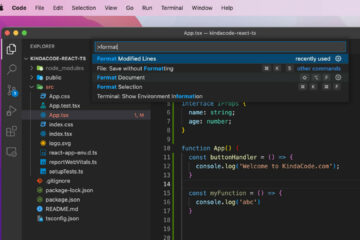
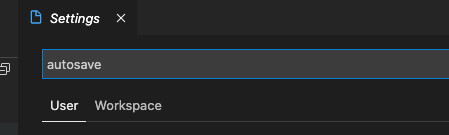
- Search for “Autosave”
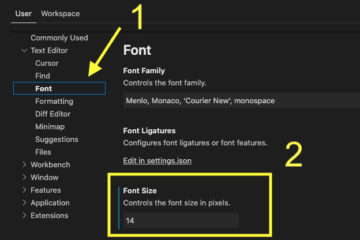
Type “autosave” in the search field to search.
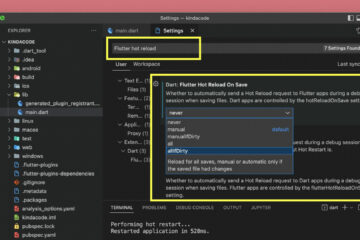
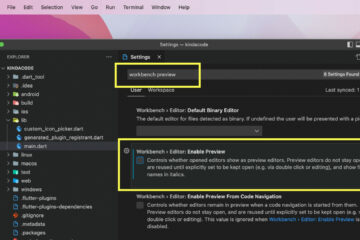
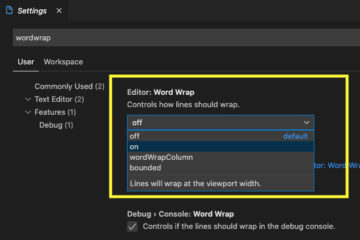
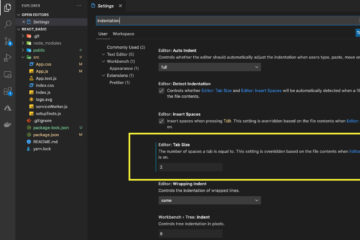
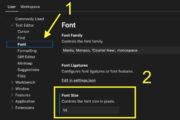
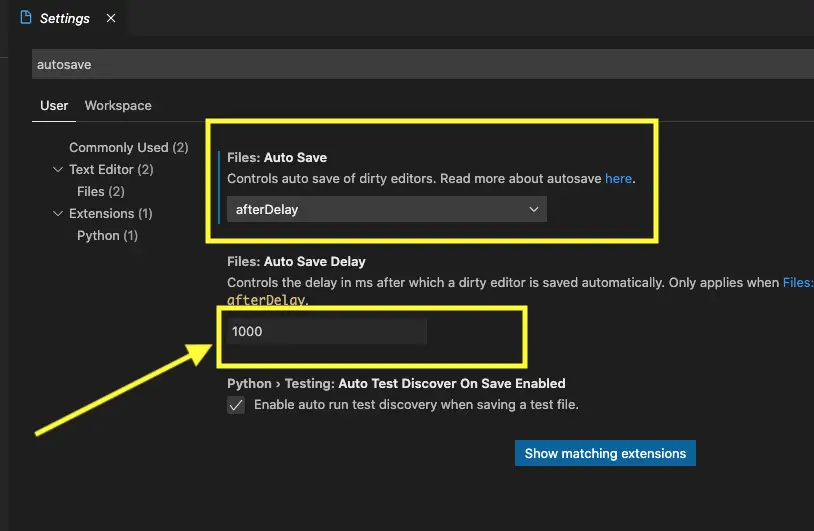
- Adjust the Auto Save Delay
Make sure “afterDely” is selected in the “File: Auto Save” section then enter the number of milliseconds you want for the delay in the input field in the “File: Auto Save Delay” area.
Done. Your changes will be automatically saved.
Further reading:
- 2 ways to check your VS Code version
- VS Code: Prevent Single-Child Folders from Being Merged
- VS Code: How to Hide/Show the Mini Map
- Open Android emulator/ iOS simulator using VS Code
- VS Code: How to Render Whitespace Characters
- VS Code: 3 Ways to Change Color of Comments
You can also check out our Visual Studio Code topic page for more tips and tricks to improve your producibility and coding experience.