This concise and straightforward article shows you a couple of different ways to compare two files using VS Code (Visual Studio Code). The first approach is to use your mouse, and the second one is to use the command line.
Table of Contents
Using Your Mouse
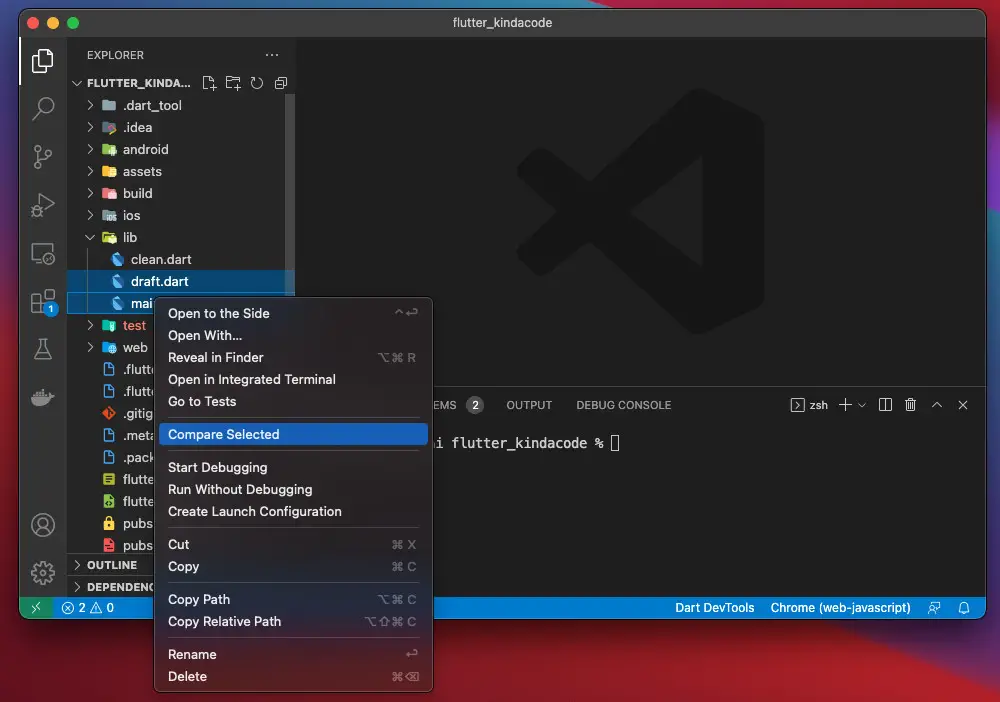
1. Hold the Ctrl key (if you’re using Windows) or the Command key (if you’re on a Mac) and select the two files you want to compare with your mouse, right-click, then select “Compare Selected” from the drop-down menu. See the screenshot below to get a better understanding:
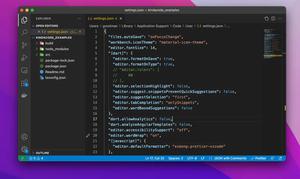
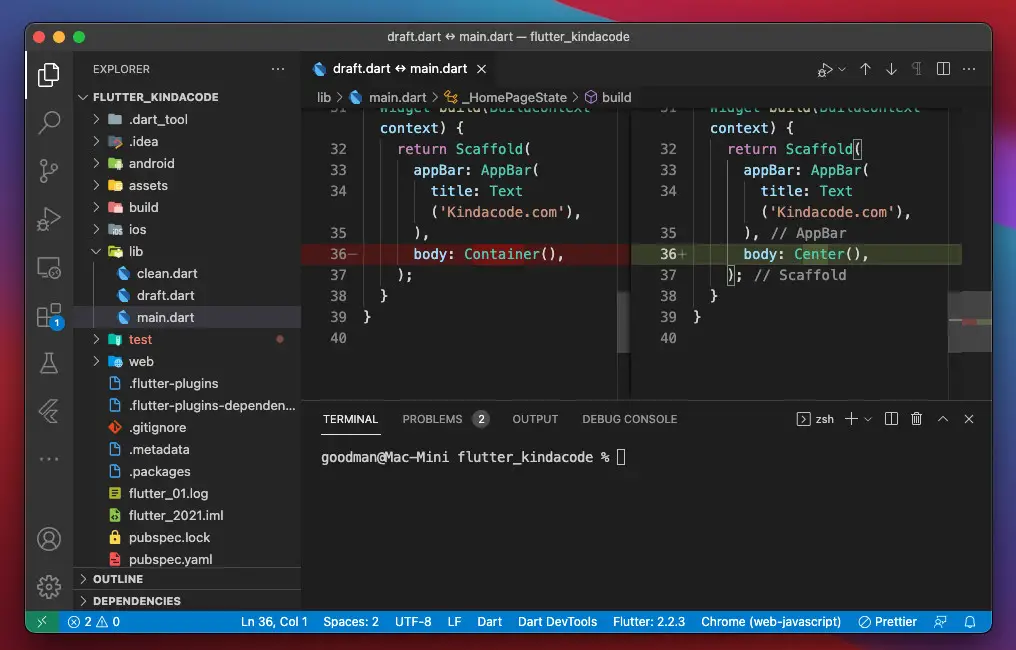
2. The difference will be highlighted as follows:
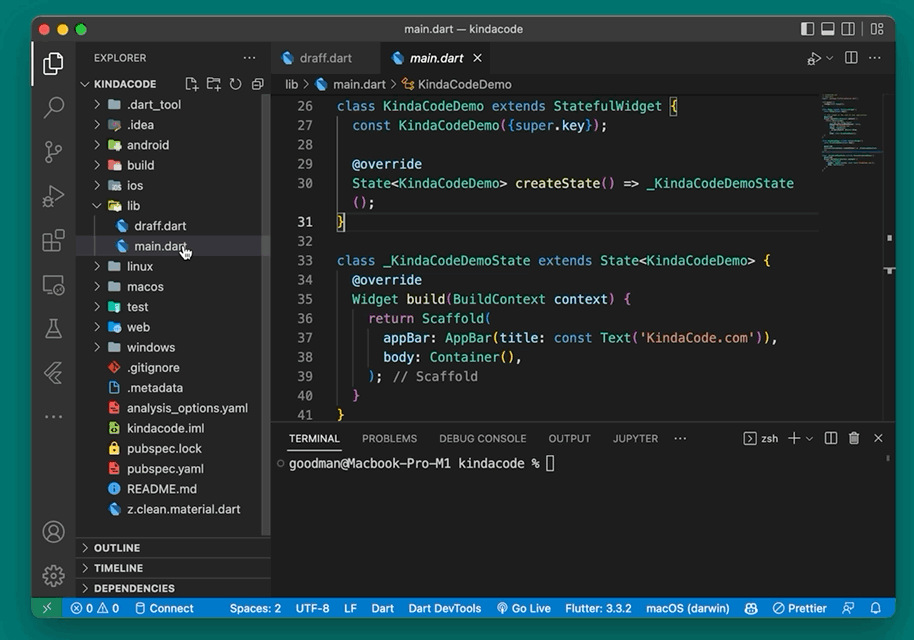
The animated GIF below clearly tells what I mean:
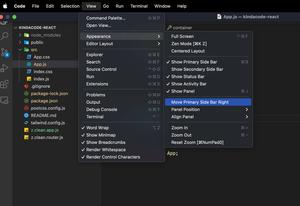
Using Command Line
The command that can be used to check the diff between two files:
code --diff [path to file 1] [path to file 2]When you run the command above, you may run into this error:
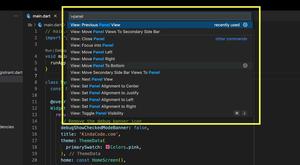
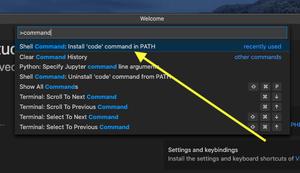
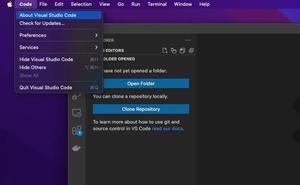
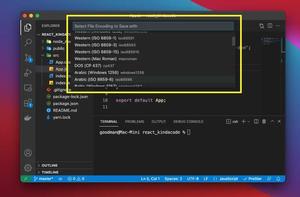
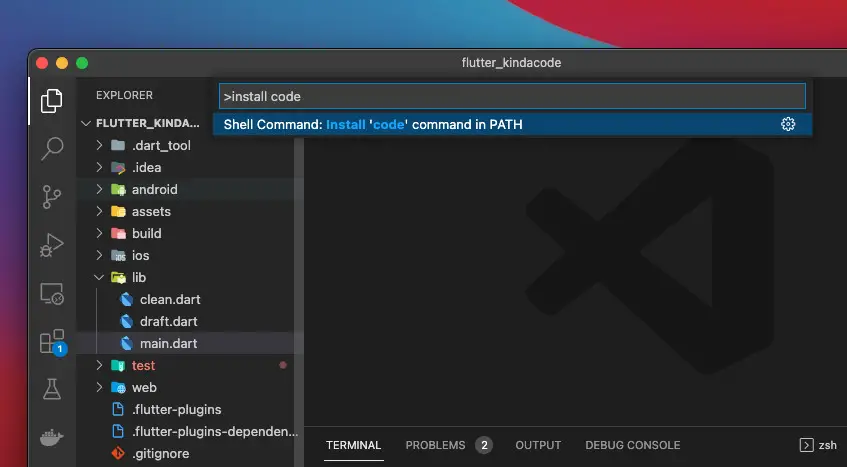
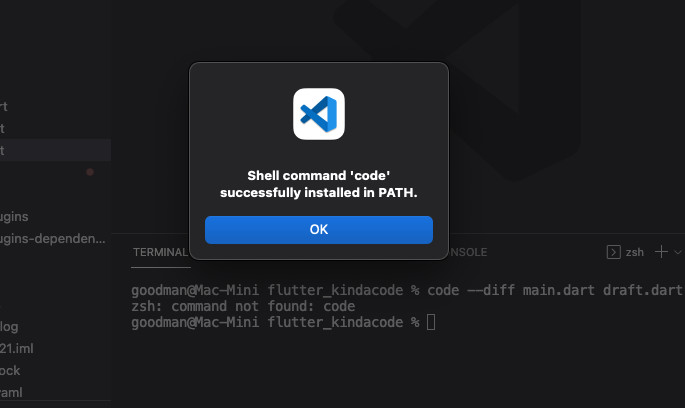
command not found: codeSolution: Open Command Palette (press Command + Shift + P on Mac and Ctrl + Shift + P on Windows), search for “install code” and select “Shell Command: Install ‘code’ command in PATH”:
And you will see this:
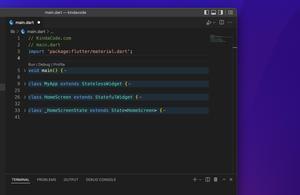
Example:
code --diff ./lib/main.dart ./lib/draft.dartThe result:

Conclusion
We’ve gone through two different ways to check the difference between two files by using VS Code. If you’d like to explore more about this excellent IDE, take a look at the following articles:
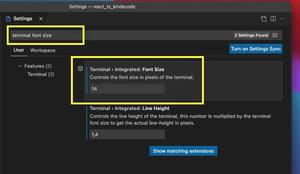
- VS Code: 3 Ways to Change Terminal Font SIze
- VS Code: Set Preferred Quote Type for Quick Fixes
- VS Code: Hide Specific Files/Folders from the Left Sidebar
- VS Code: How to Use Custom Settings for a Project
- VS Code: How to Hide/Show the Mini Map
- VS Code: How to Disable/Enable Suggestions on Hover
You can also check our VS Code topic page for the latest guides, tips, and tricks.