


This article shows you how to use some specific settings for only a particular project in VS Code (Visual Studio Code). This will come in handy when you have a project that requires special settings but you don’t want to change the current global settings.
Using GUI (Graphic User Interface)
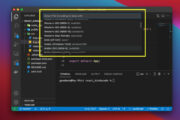
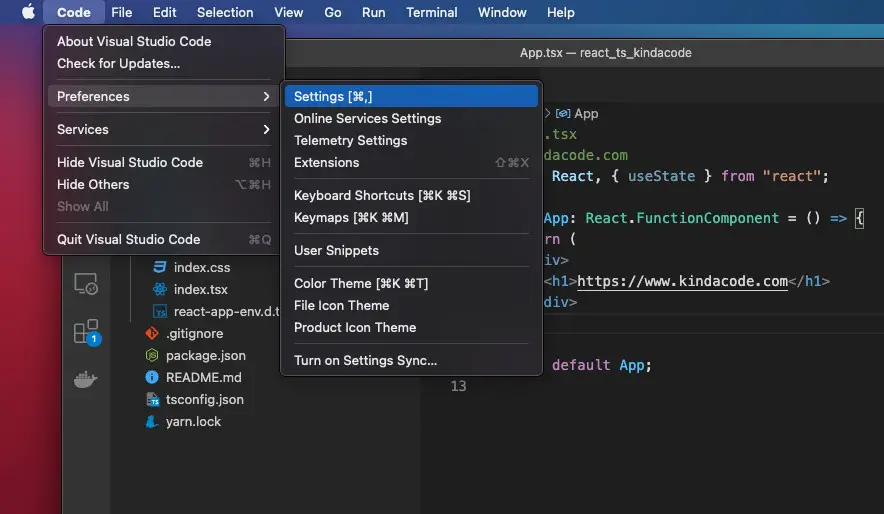
1. Open your project with VS Code and head to the Settings page:
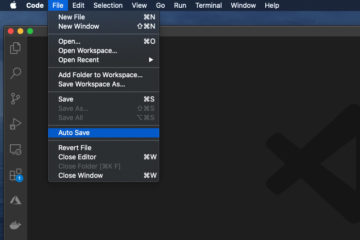
- Mac: Code > Preferences > Settings
- Windows: File > Preferences > Settings
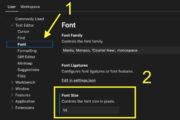
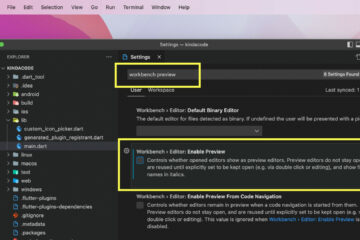
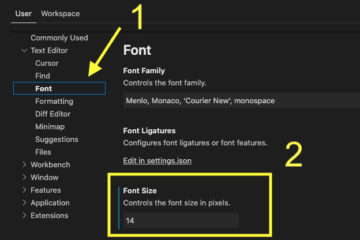
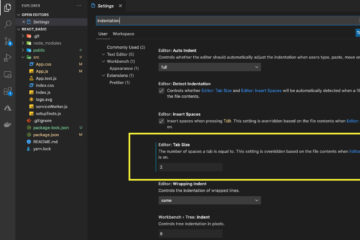
2. Select the Workspace tab and made your changes here.
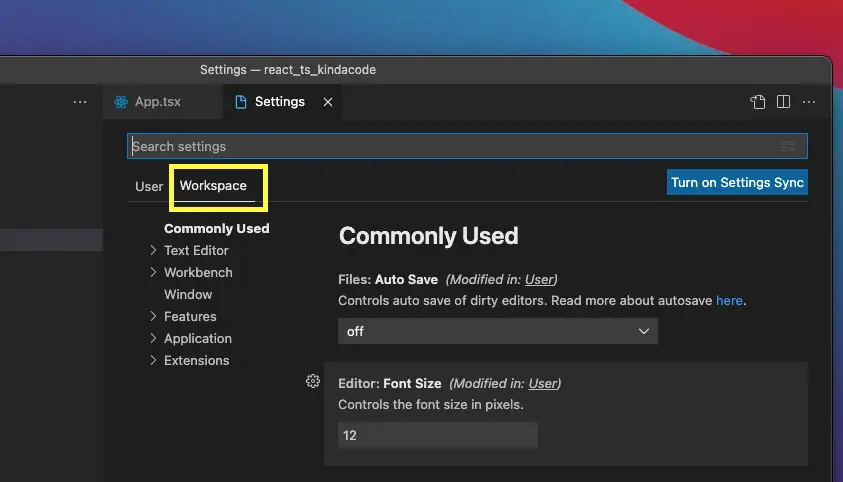
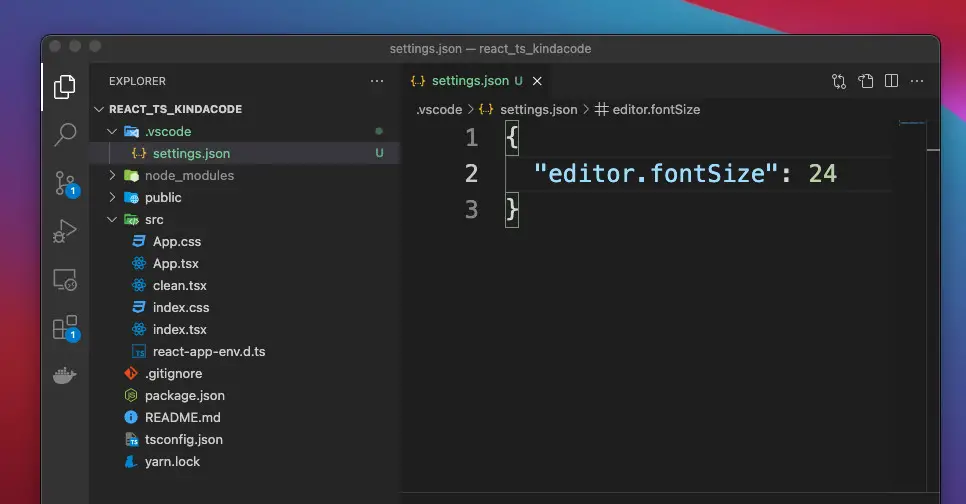
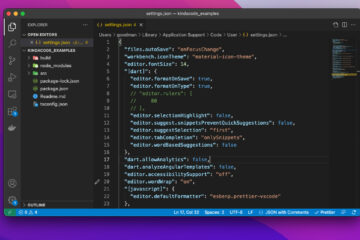
For example, I will increase the font size to 24 for a project named “react_ts_kindacode” like this:

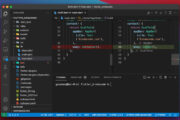
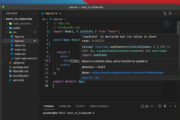
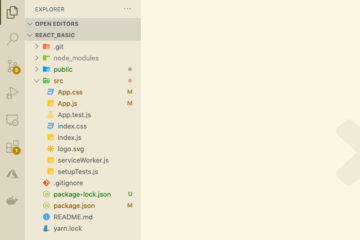
The update only affects the “react_ts_kindacode” project but not others:
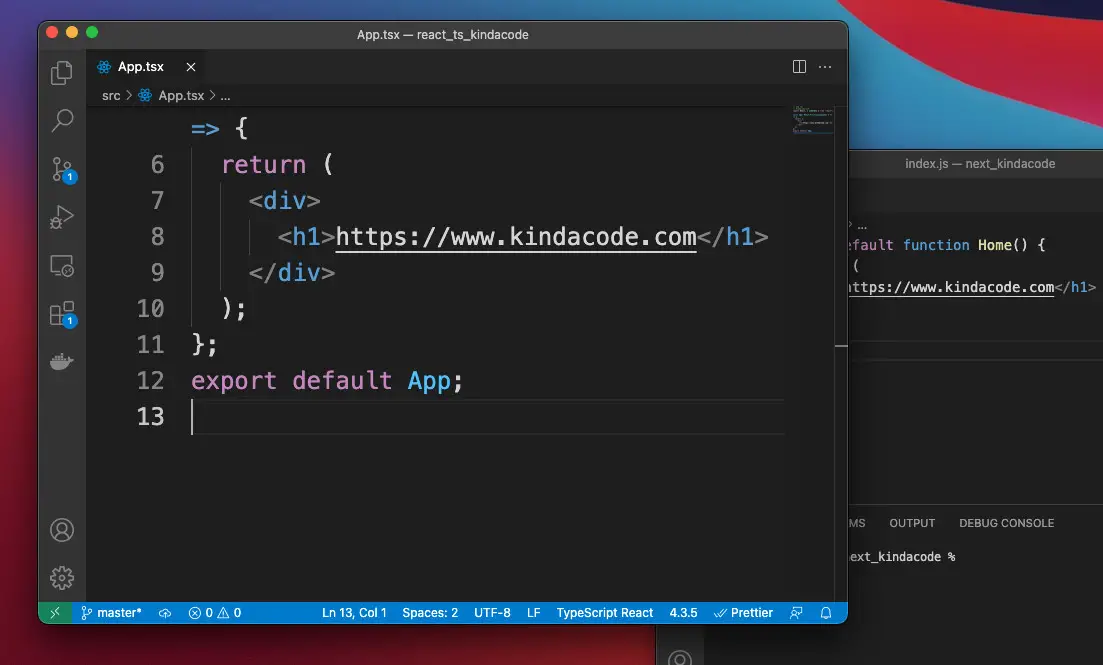
If you take a closer look at the left-hand sidebar of your VS Code, you will see a new folder named “.vscode” at the root level directory inside your project. This folder contains a file called “settings.json”:
Manually adding a .vscode folder
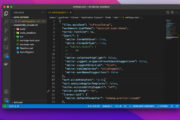
Using GUI might be cumbersome in some circumstances if you work in a team and every member has to use the same configuration. In this case, you can manually create a “.vscode” folder at the root of your project. After that, add a new “settings.json” and declare your settings here. Now you can easily share your settings with others by pushing to a git server or copying/pasting by hand.
Further reading:
- VS Code: How to Collapse/Expand Blocks of Code
- VS Code: Customizing the Bottom Status Bar
- VS Code: 3 Ways to Change Terminal Font SIze
- VS Code: How to Compare Two Files (Find the Difference)
- VS Code: Set Preferred Quote Type for Quick Fixes
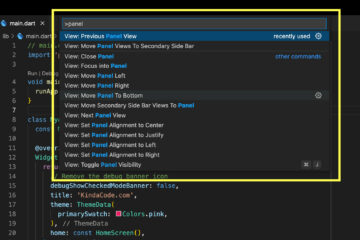
- VS Code: How to Position/Align the Bottom Panel
You can also check out our Visual Studio Code topic page for more tips and tricks to improve your producibility and coding experience.


This was a great and straight-to-the-point guide! Thanks!!