
This article walks you through a couple of different ways to display whitespace characters (space characters) in VS Code (Visual Studio Code).
Using Your Mouse
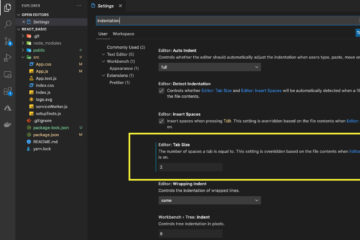
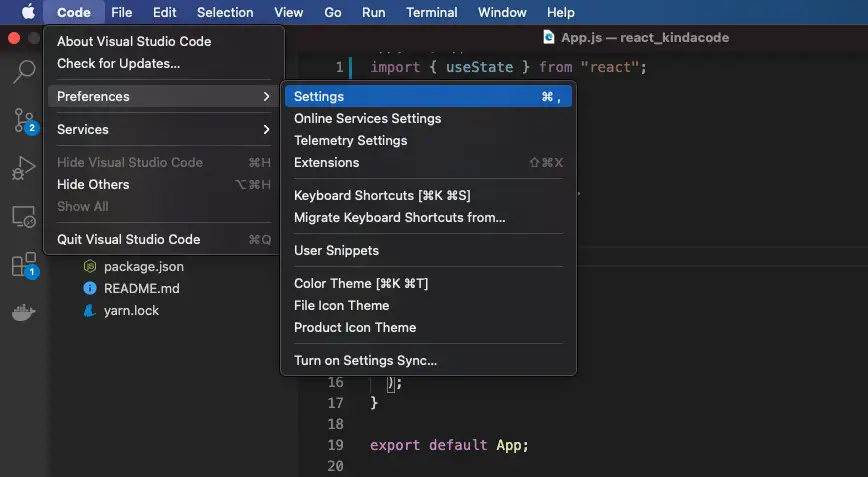
1. Go to the Settings page of VS Code:
- Mac: Code > Preferences > Settings (hotkeys: Command + ,)
- Windows: File > Preferences > Settings (hotkeys: Ctrl + ,)
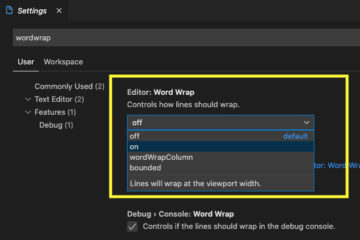
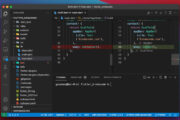
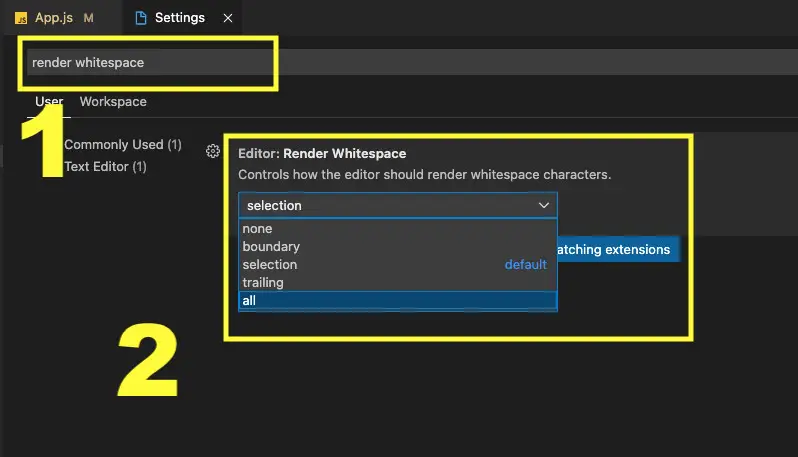
2. Type render whitespace into the search field, then head to the Editor: Render Whitespace section. Click on the dropdown, then select all from the menu as follows:
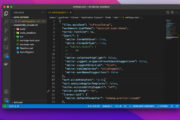
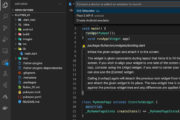
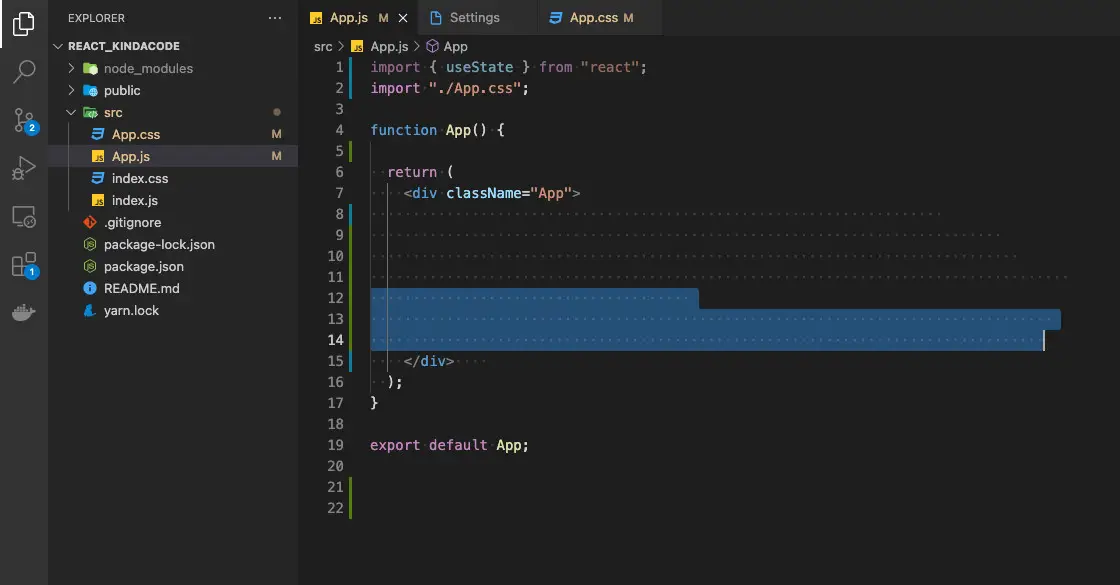
Your change will be automatically saved and applied. Go back to your code file and try to hit your space key on your keyboard several times. You will see something like this (the whitespace characters will show up as small fuzzy dots):
Creating a Settings.json File
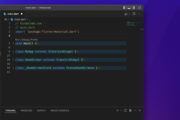
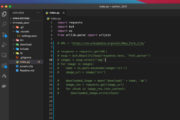
1. In the root of the project you are working with, create a new folder named .vscode, then add a new file called settings.json inside it:

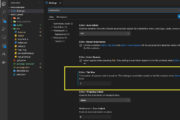
2. Add the following to the JSON file you created in the previous step:
{
"editor.renderWhitespace": "all",
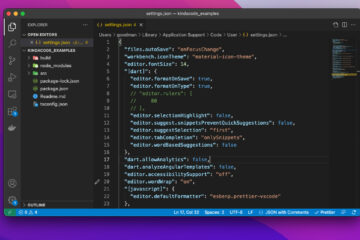
}Save the file, and you are all set.
Conclusion
You’ve learned how to show whitespace characters in VS Code. If you’d like to explore more useful tips and tricks about this great IDE, take a look at the following articles:
- How to Change File Encoding in VS Code
- VS Code: Opening Multiple Windows/Projects Simultaneously
- VS Code: How to Use Custom Settings for a Project
- How to reset VS Code to the default settings
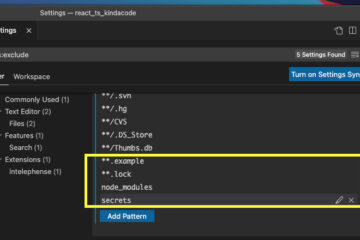
- VS Code: Hide Specific Files/Folders from the Left Sidebar
- How to change font size in VS Code
I have made every effort to ensure that every step in this article works properly, but I may have made some mistakes or omissions. If so, please leave a comment to report errors. I am more than happy to hear from you and update the article as soon as possible.