This guide shows you how to customize vertical rulers in VS Code (Visual Studio Code). Just follow a few simple steps listed below.
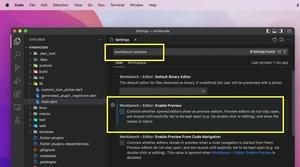
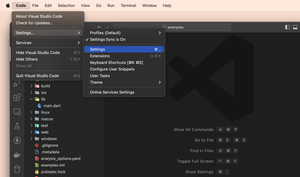
1. Go to:
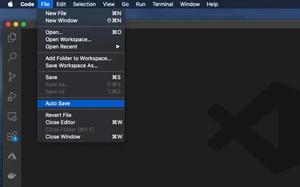
- Code > Preferences > Settings if you are on a Mac (Shortcut keys: Command + ,)
- File > Preferences > Settings if you are using Windows (Shortcut keys: Ctrl + ,)
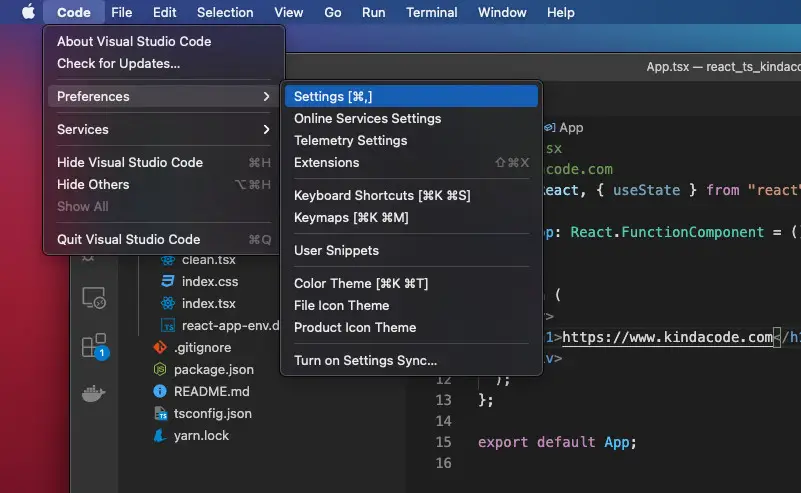
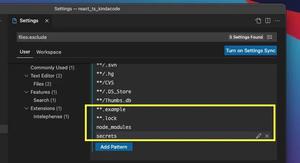
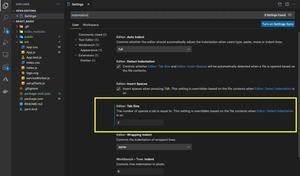
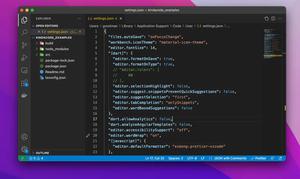
2. Type “Ruler” into the search field, then click on “Edit in settings.json” in the “Editor: Rulers” section.

3. Now you add vertical rulers by editing the array associated with “editor.rulers”. There are 2 important things you need to know:
- Each element of the array corresponds to a ruler.
- The value of an array element defines the number of monospace characters from the left to the corresponding ruler.
- If the array is empty, no rulers will be drawn.
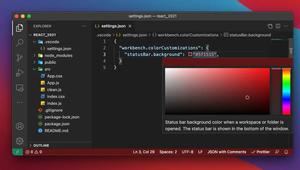
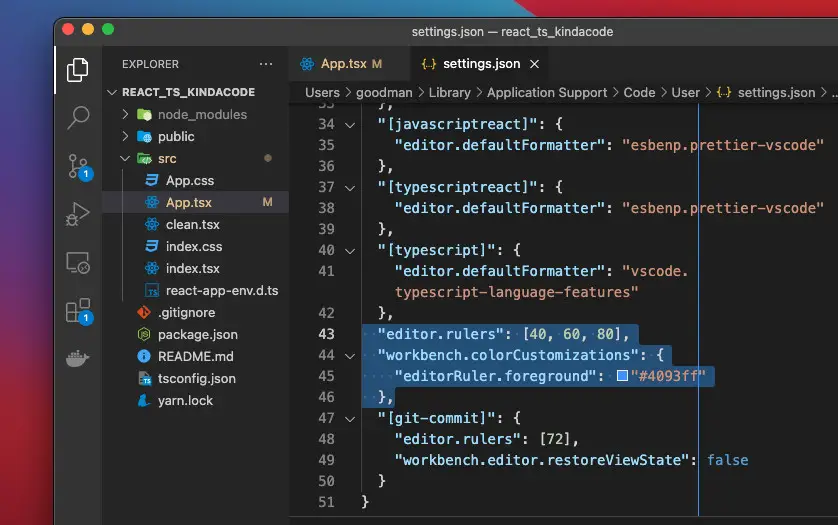
You can control the color of the rulers by modifying the “workbench.colorCustomizations” key.
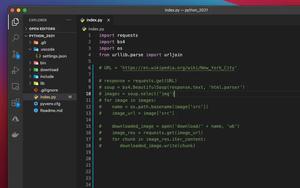
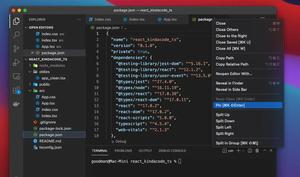
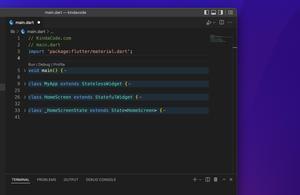
For example, you can create 3 blue vertical rulers like this:
"editor.rulers": [40, 60, 80],
  "workbench.colorCustomizations": {
    "editorRuler.foreground": "#4093ff"
  },
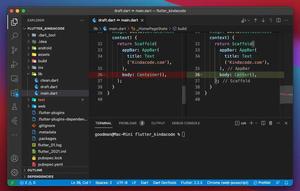
This screenshot clearly shows the 3 rulers we’ve made:
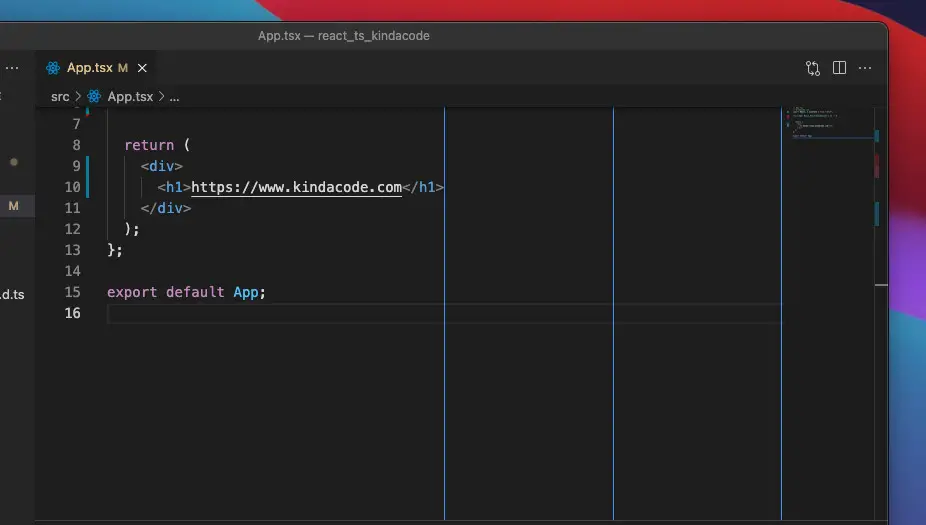
All of your settings will be applied immediately. If you see nothing changes, just reload or restart your VS Code.
Further reading:
- VS Code: How to Position/Align the Bottom Panel
- VS Code: 3 Ways to Move the Side Bar to the Right/Left
- VS Code: Quickly Move Focus between Code File and Terminal
- VS Code & Javascript/TypeScript: Place Curly Braces on New Line
- VS Code: 3 Ways to Change Terminal Font SIze
You can also check out our Visual Studio Code topic page for more tips and tricks to improve your producibility and coding experience.