


This article shows you how to dynamically update the header title of a screen in a React Native app. We will use React Native latest version, the useState hook, the useEffect hook, and the React Navigation library (version 6.x).
Example Preview
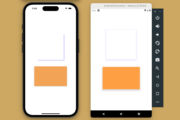
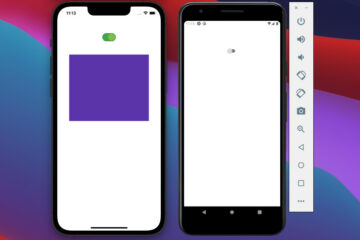
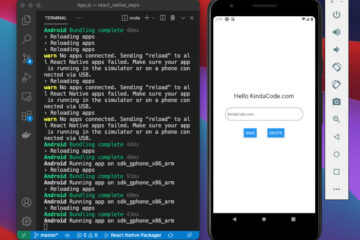
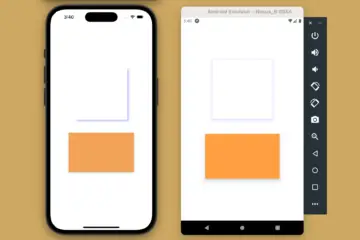
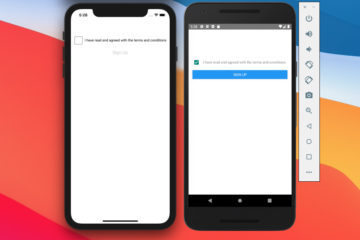
The app we are going to build has a screen called FirstScreen. On that screen, there are a header bar and a TextInput. The text you type into the TextInput will become the title of the header bar.
Words might be confusing and hard to catch. Here’s how our app works in action:
Let’s Do It
Installing Packages
React Native CLI
Adding React Navigation to your project:
npm i @react-navigation/native @react-navigation/native-stackThen install other dependencies:
npm i react-native-screens react-native-safe-area-contextInstall the pods (if you are using macOS):
npx pod-install iosReact Native Expo
Run:
npx expo install @react-navigation/native @react-navigation/native-stackThen:
npx expo install react-native-screens react-native-safe-area-contextWriting Code
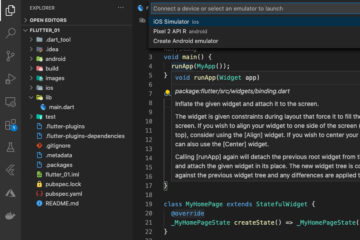
Replace all the default code in App.js with the snippet below:
import React from "react";
import { NavigationContainer } from "@react-navigation/native";

import MainNavigator from "./src/navigations/MainNavigator";

function App() {
  return (
    <NavigationContainer>
      <MainNavigator />
    </NavigationContainer>
  );
}

export default App;
Create a new folder called src. It will contain all the code we write a few seconds later (this isn’t what you must do, but it helps keep the code well organized).
mkdir srcIn the src folder, create navigations and screens folders. Inside these ones, create MainNavigator.js and FirstScreen.js. Here’s the file structure of the src directory:
.
├── navigations
│   └── MainNavigator.js
└── screens
    └── FirstScreen.js
MainNavigator.js:
import React from 'react';
import {createNativeStackNavigator} from '@react-navigation/native-stack';

import FirstScreen from '../screens/FirstScreen';

const MainStack = createNativeStackNavigator();

const MainNavigator = props => {
  return (
    <MainStack.Navigator>
      <MainStack.Screen name="first" component={FirstScreen} />
    </MainStack.Navigator>
  );
};

export default MainNavigator;
FirstScreen.js:
import React, {useState, useEffect} from 'react';
import {View, StyleSheet, TextInput} from 'react-native';

const FirstScreen = props => {
  const [headerTitle, setHeaderTitle] = useState('Default Title');

  // Rerender after headerTitle change
  useEffect(() => {
    props.navigation.setOptions({
      title: headerTitle,
    });
  }, [headerTitle, props.navigation]);

  // the function that handle the onChangeText event of the TextInput
  const updateTitle = enteredValue => {
    setHeaderTitle(enteredValue);
  };

  return (
    <View style={styles.screen}>
      <TextInput
        style={styles.textInput}
        value={headerTitle}
        onChangeText={updateTitle}
      />
    </View>
  );
};

/// Just some styles
const styles = StyleSheet.create({
  screen: {
    flex: 1,
    justifyContent: 'center',
    alignItems: 'center',
  },
  textInput: {
    padding: 10,
    width: 300,
    borderColor: '#666',
    borderWidth: 1,
  },
});

export default FirstScreen;
That’s all. Now run your app and try typing something in the text box.
Final Words
We’ve walked through an end-to-end example that demonstrates how to make a dynamic header title with React Navigation. If you’d like to explore more new and exciting stuff about modern React Native and React, take a look at the following articles:
- Using Switch component in React Native (with Hooks)
- How to Get the Window Width & Height in React Native
- React Native: Make a Button with a Loading Indicator inside
- How to Create a Confirm Dialog in React Native
- React + TypeScript: Working with Props and Types of Props
- Top open-source React Native UI libraries
You can also check our React topic page and React Native topic page for the latest tutorials and examples.


Thank you very much!!
[…] See also: How to dynamically set the header title when using React Navigation 5 […]