

This article shows you how to implement an image picker in a React Native project based on Expo SDK.
Example Preview
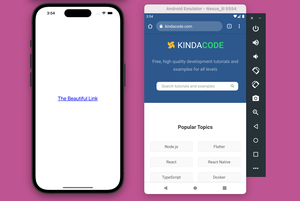
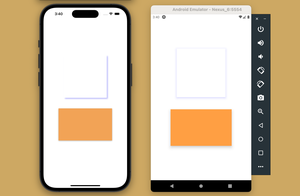
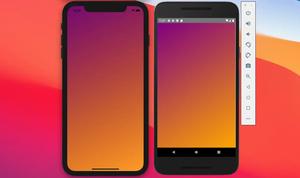
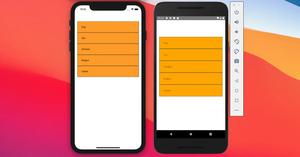
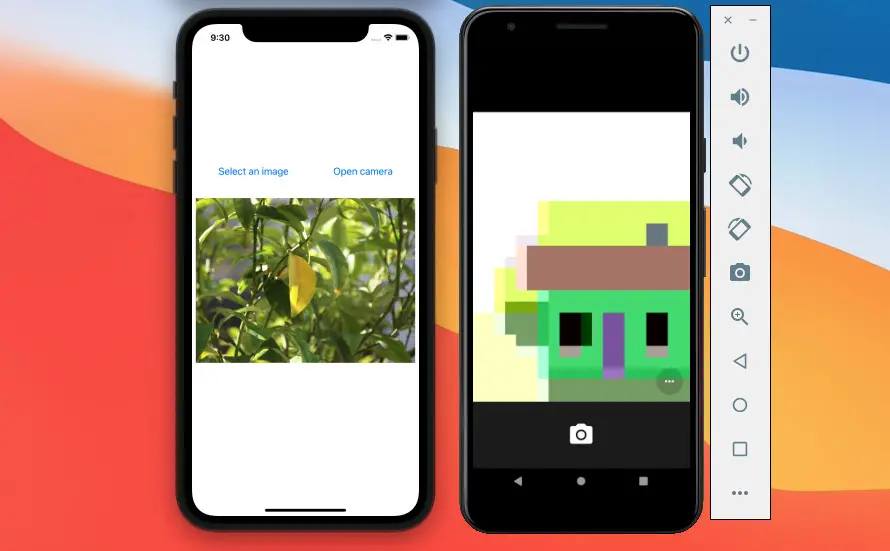
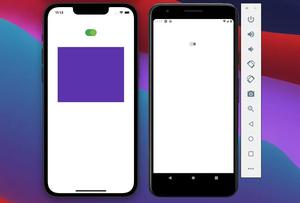
The app we are going to build together is quite simple. It only contains 2 buttons in the center of the screen. The first one (Select an image) lets you open the device library and select an image and the second one (Open camera) helps you take a picture from the camera. The result will be displayed right below the buttons.
If you’re using Safari, this demo video might not work nicely or not start at all. Please use Chrome, Edge, Firefox, or another web browser instead.
Note:
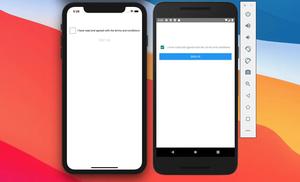
- The permission dialog will show up and ask you only one time. If you accidentally deny, you have to go to the Settings section in your iOS or Android emulator and grant access to your Expo app.
- The iOS simulator doesn’t allow a virtual camera at this time but you can try it with your Android emulator or a real iPhone.
Installing expo-image-picker
Execute the command below to install the expo-image-picker library:
npx expo install expo-image-pickerThe required permission will be automatically configured for you on both iOS and Android so you don’t need to manually do it by yourself (I personally love this so much).
If you’ve recently updated your Expo SDK, there is a chance that you will get an incompatibility error. If so, run this command:
npm install expo-image-picker --legacy-peer-depsThe incompatibility is almost harmless and temporary and it will be automatically fixed by the team behind the packages and on your side no need to do anything.
The code
This function is used to pick an image from the media library:
const showImagePicker = async () => {
    // Ask the user for the permission to access the media library
    const permissionResult = await ImagePicker.requestMediaLibraryPermissionsAsync();

    if (permissionResult.granted === false) {
      alert("You've refused to allow this appp to access your photos!");
      return;
    }

    const result = await ImagePicker.launchImageLibraryAsync();

    // Explore the result
    console.log(result);

    if (!result.cancelled) {
      setPickedImagePath(result.uri);
      console.log(result.uri);
    }
}
This function is used to take a photo with the camera:
const openCamera = async () => {
    // Ask the user for the permission to access the camera
    const permissionResult = await ImagePicker.requestCameraPermissionsAsync();

    if (permissionResult.granted === false) {
      alert("You've refused to allow this appp to access your camera!");
      return;
    }

    const result = await ImagePicker.launchCameraAsync();

    // Explore the result
    console.log(result);

    if (!result.cancelled) {
      setPickedImagePath(result.uri);
      console.log(result.uri);
    }
}
The full code
Replace the default code in your App.js with the following:
// App.js
import React, { useState } from 'react';
import { View, Text, StyleSheet, Image, Button } from 'react-native';

import * as ImagePicker from 'expo-image-picker';

function App() {
  // The path of the picked image
  const [pickedImagePath, setPickedImagePath] = useState('');

  // This function is triggered when the "Select an image" button pressed
  const showImagePicker = async () => {
    // Ask the user for the permission to access the media library
    const permissionResult = await ImagePicker.requestMediaLibraryPermissionsAsync();

    if (permissionResult.granted === false) {
      alert("You've refused to allow this appp to access your photos!");
      return;
    }

    const result = await ImagePicker.launchImageLibraryAsync();

    // Explore the result
    console.log(result);

    if (!result.cancelled) {
      setPickedImagePath(result.uri);
      console.log(result.uri);
    }
  }

  // This function is triggered when the "Open camera" button pressed
  const openCamera = async () => {
    // Ask the user for the permission to access the camera
    const permissionResult = await ImagePicker.requestCameraPermissionsAsync();

    if (permissionResult.granted === false) {
      alert("You've refused to allow this appp to access your camera!");
      return;
    }

    const result = await ImagePicker.launchCameraAsync();

    // Explore the result
    console.log(result);

    if (!result.cancelled) {
      setPickedImagePath(result.uri);
      console.log(result.uri);
    }
  }

  return (
    <View style={styles.screen}>
      <View style={styles.buttonContainer}>
        <Button onPress={showImagePicker} title="Select an image" />
        <Button onPress={openCamera} title="Open camera" />
      </View>

      <View style={styles.imageContainer}>
        {
          pickedImagePath !== '' && <Image
            source={{ uri: pickedImagePath }}
            style={styles.image}
          />
        }
      </View>
    </View>
  );
}

// Kindacode.com
// Just some styles
const styles = StyleSheet.create({
  screen: {
    flex: 1,
    justifyContent: 'center',
    alignItems: 'center',
  },
  buttonContainer: {
    width: 400,
    flexDirection: 'row',
    justifyContent: 'space-around'
  },
  imageContainer: {
    padding: 30
  },
  image: {
    width: 400,
    height: 300,
    resizeMode: 'cover'
  }
});

export default App;
Here is my package.json:
{
  "name": "kindacode-example",
  "version": "1.0.0",
  "main": "node_modules/expo/AppEntry.js",
  "scripts": {
    "start": "expo start",
    "android": "expo start --android",
    "ios": "expo start --ios",
    "web": "expo start --web"
  },
  "dependencies": {
    "@react-native-picker/picker": "^2.4.2",
    "expo": "~46.0.9",
    "expo-image-picker": "~13.3.1",
    "expo-status-bar": "~1.4.0",
    "react": "18.0.0",
    "react-native": "0.69.5"
  },
  "devDependencies": {
    "@babel/core": "^7.12.9"
  },
  "private": true
}
Conclusion
You’ve learned how to add an image picker to an app managed by Expo SDK. If you’d like to explore more interesting stuff in React Native then take a look at the following articles:
- Working with CheckBox in React Native
- How to render HTML content in React Native
- How to Get the Window Width & Height in React Native
- How to implement tables in React Native
- How to create round buttons in React Native
- Top 4 open-source React Native UI libraries
You can also check our React topic page and React Native topic page for the latest tutorials and examples.

![[Solved] React Native Error: No bundle URL present](https://www.kindacode.com/media/thumbnails/2024-11/Screen-Shot-2020-04-28-at-17.44.18-1.png)