
React Native core provides many built-in components that can help us create native mobile applications for Android and iOS. In this article, we’ll have a look at the FlatList component and walk through 2 complete examples of using it in action.
Table of Contents
Overview
The FlatList component displays the similarly structured data in a scrollable list. It only renders the items that are visible on the screen and only updates the items that have changed to prevent the app performance from getting worse when the number of items in the list gets too large.
FlatList now ships a lot of features:
- Fully cross-platform.
- Optional horizontal mode.
- Configurable viewability callbacks.
- Header support.
- Footer support.
- Separator support.
- Pull to Refresh.
- Scroll loading.
- ScrollToIndex support.
- Multiple column support.
There are 2 props that are required:
| Name | Type | Description |
|---|---|---|
| data | array | An array of data that is used as the source for creating the list |
| renderItem | function | Takes an item from data and renders it into the list. |
To see the full list of all properties, check the official docs.
Basic Example
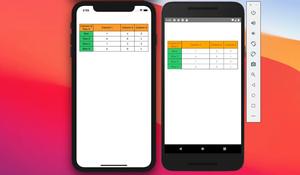
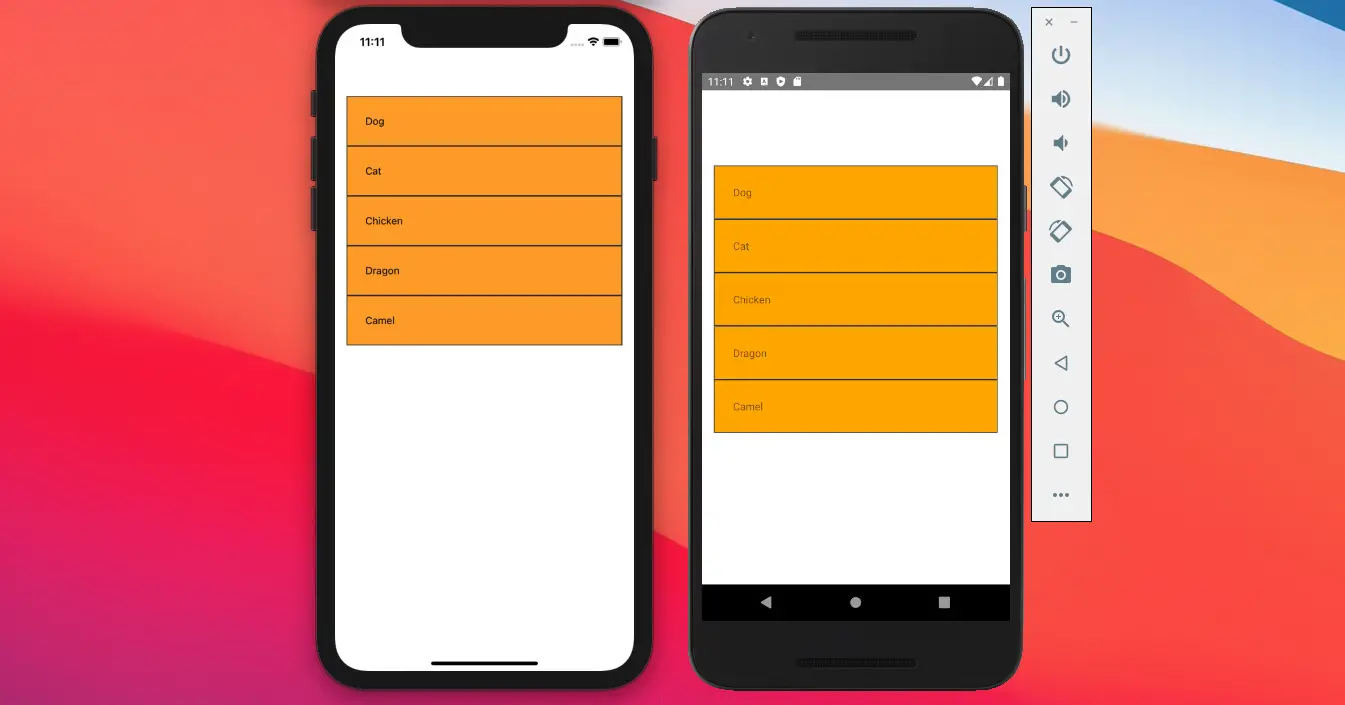
This example simply displays a list of some animals by using FlatList.
Preview (iOS and Android):
The full code:
import React from "react";
import { View, StyleSheet, Text, FlatList } from "react-native";

const ANIMALS = ["Dog", "Cat", "Chicken", "Dragon", "Camel"];

export default function App() {
  return (
    <View style={styles.container}>
      <FlatList
        data={ANIMALS}
        keyExtractor={(item, index) => index.toString()}
        renderItem={(animal) => {
          return (
            <View style={styles.listItem}>
              <Text>{animal.item}</Text>
            </View>
          );
        }}
      />
    </View>
  );
}

const styles = StyleSheet.create({
  container: {
    width: "100%",
    padding: 16,
    paddingTop: 100,
  },
  listItem: {
    backgroundColor: "orange",
    borderWidth: 1,
    borderColor: "#333",
    padding: 25,
  },
});
FlatList scrollToIndex Example
scrollToIndex() is a method of FlatList that can scroll to the item at the specified index. To scroll to locations outside the render window we need to specify the getItemLayout prop. We will also use the useRef hook in this example.
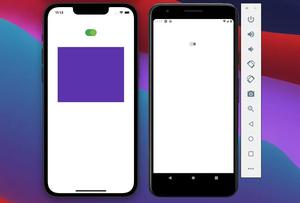
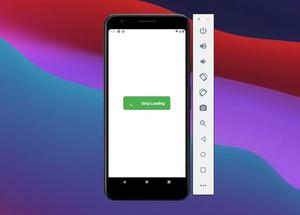
Preview
This example contains a button and a FlatList with 100 items. When the user touches the button, the FlatList will scroll to a random position associated with a random index number between 0 and 100.
The full code:
import React, { useRef } from "react";
import { View, StyleSheet, Text, FlatList, Button } from "react-native";

// Generating dummy data
const DATA = Array.from({ length: 100 }, (v, i) => `List item ${i}`);

export default function App() {
  const myRef = useRef(null);
  return (
    <View style={styles.container}>
      <Button
        title="Scroll to a random item"
        onPress={() => {
          const randomIndex = Math.floor(Math.random() * DATA.length);
          myRef.current.scrollToIndex({
            animated: true,
            index: randomIndex,
          });
        }}
      />
      <FlatList
        ref={myRef}
        getItemLayout={(data, index) => ({
          length: DATA.length,
          offset: DATA.length * index,
          index,
        })}
        keyExtractor={(item, index) => index.toString()}
        data={DATA}
        renderItem={(itemData) => {
          return (
            <View style={styles.listItem}>
              <Text style={styles.text}>{itemData.item}</Text>
            </View>
          );
        }}
      />
    </View>
  );
}

const styles = StyleSheet.create({
  container: {
    width: "100%",
    padding: 16,
    paddingTop: 100,
  },
  listItem: {
    backgroundColor: "#2ecc71",
    borderWidth: 1,
    borderColor: "#333",
    padding: 25,
  },
  text: {
    fontSize: 18,
    fontWeight: "bold",
  },
});
Wrap Up
This article covered the fundamental things you need to know when working with FlatList and went over a few examples of applying this knowledge in action.
If you would like to learn more about React Native, read also the following articles: Working with CheckBox in React Native – Top 4 free React Native UI libraries – How to implement tables in React Native – How to create round buttons in React Native, or check out the React Native category page for the most recent tutorials and examples.

![[Solved] React Native Error: No bundle URL present](https://www.kindacode.com/media/thumbnails/2024-11/Screen-Shot-2020-04-28-at-17.44.18-1.png)