

This article walks you through a couple of different ways to reset Android Studio to the default settings. Without any further ado, let’s get started.
Using Android Studio Restoring Feature
This approach is simple and can be done quickly on both Windows and Mac. You don’t have to use the command line or something like that (the screenshots below I made on my Mac. On Windows, everything is almost the same).
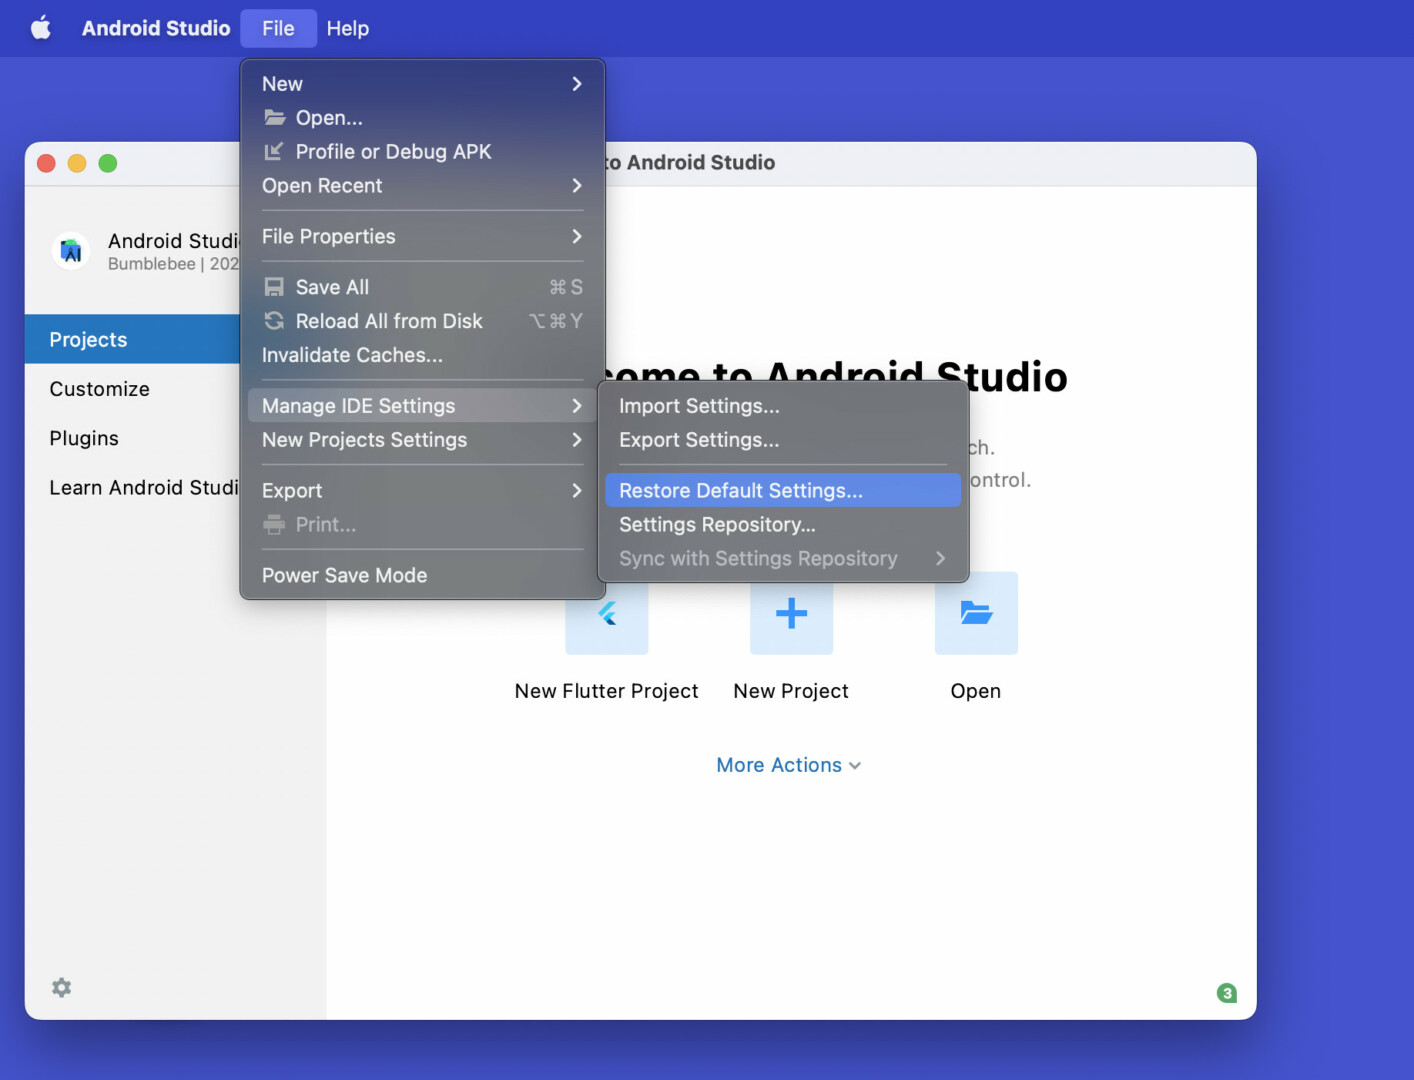
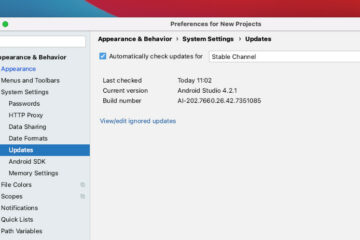
1. Start your Android Studio, head to the top menu bar, then select “File” > “Manage IDE Settings” > “Restore Default Settings…”:
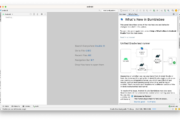
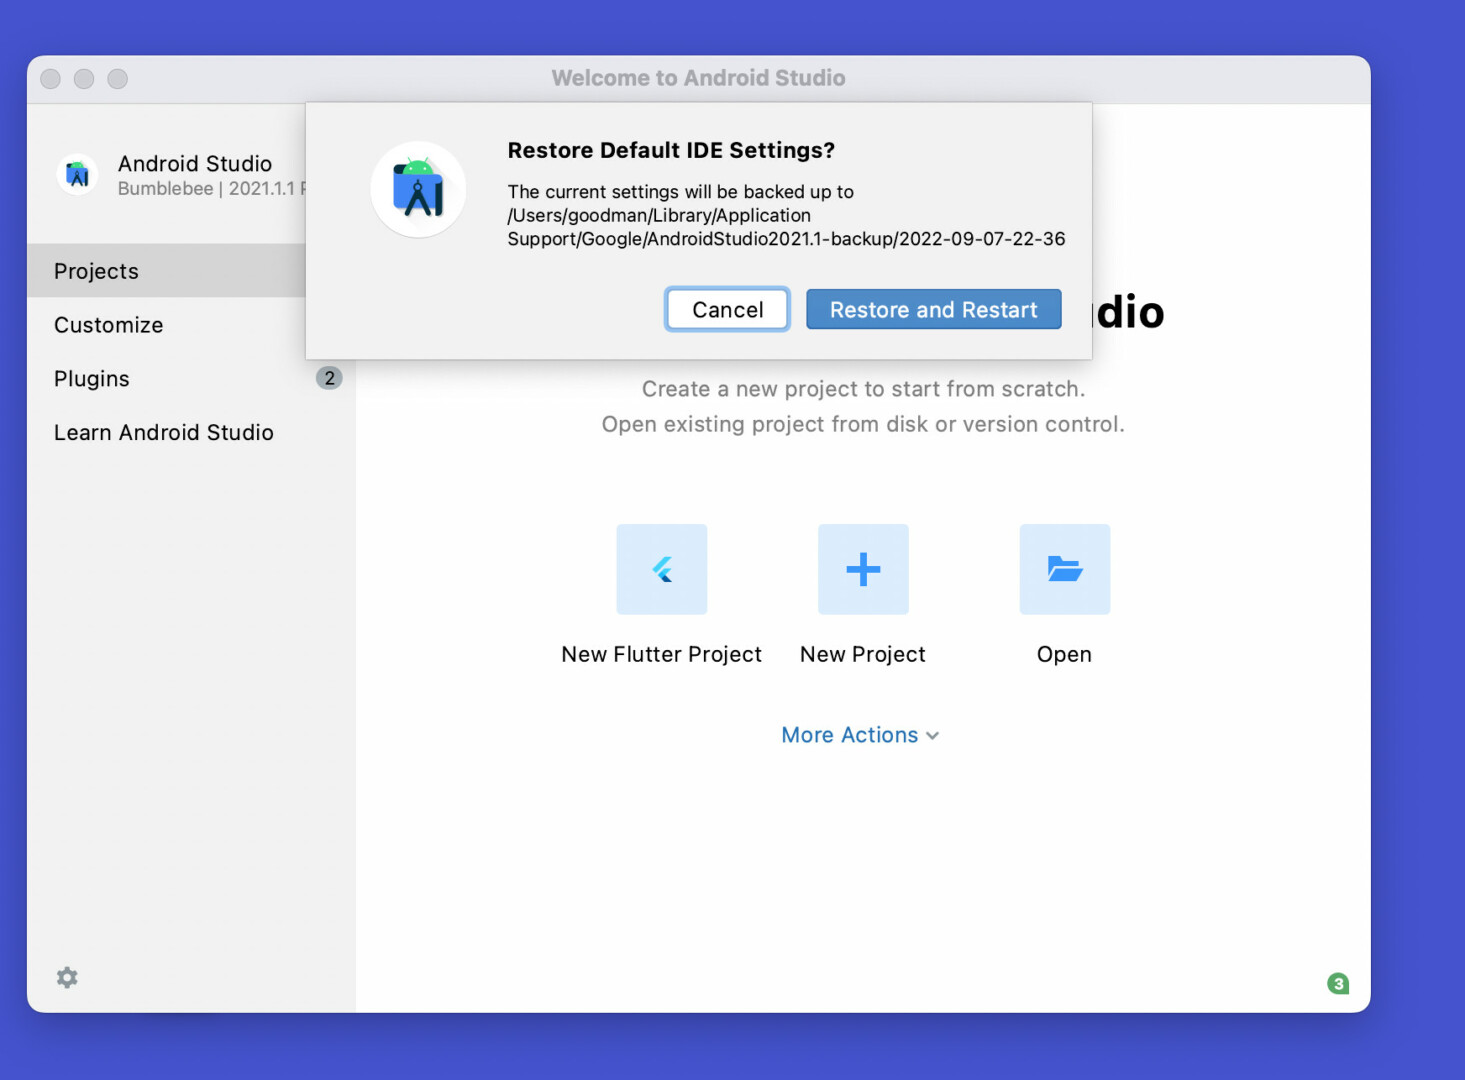
2. Click on the “Restore and Restart” button to confirm your decision (make sure you don’t inadvertently reset the IDE):
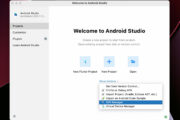
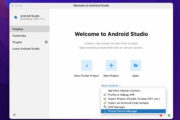
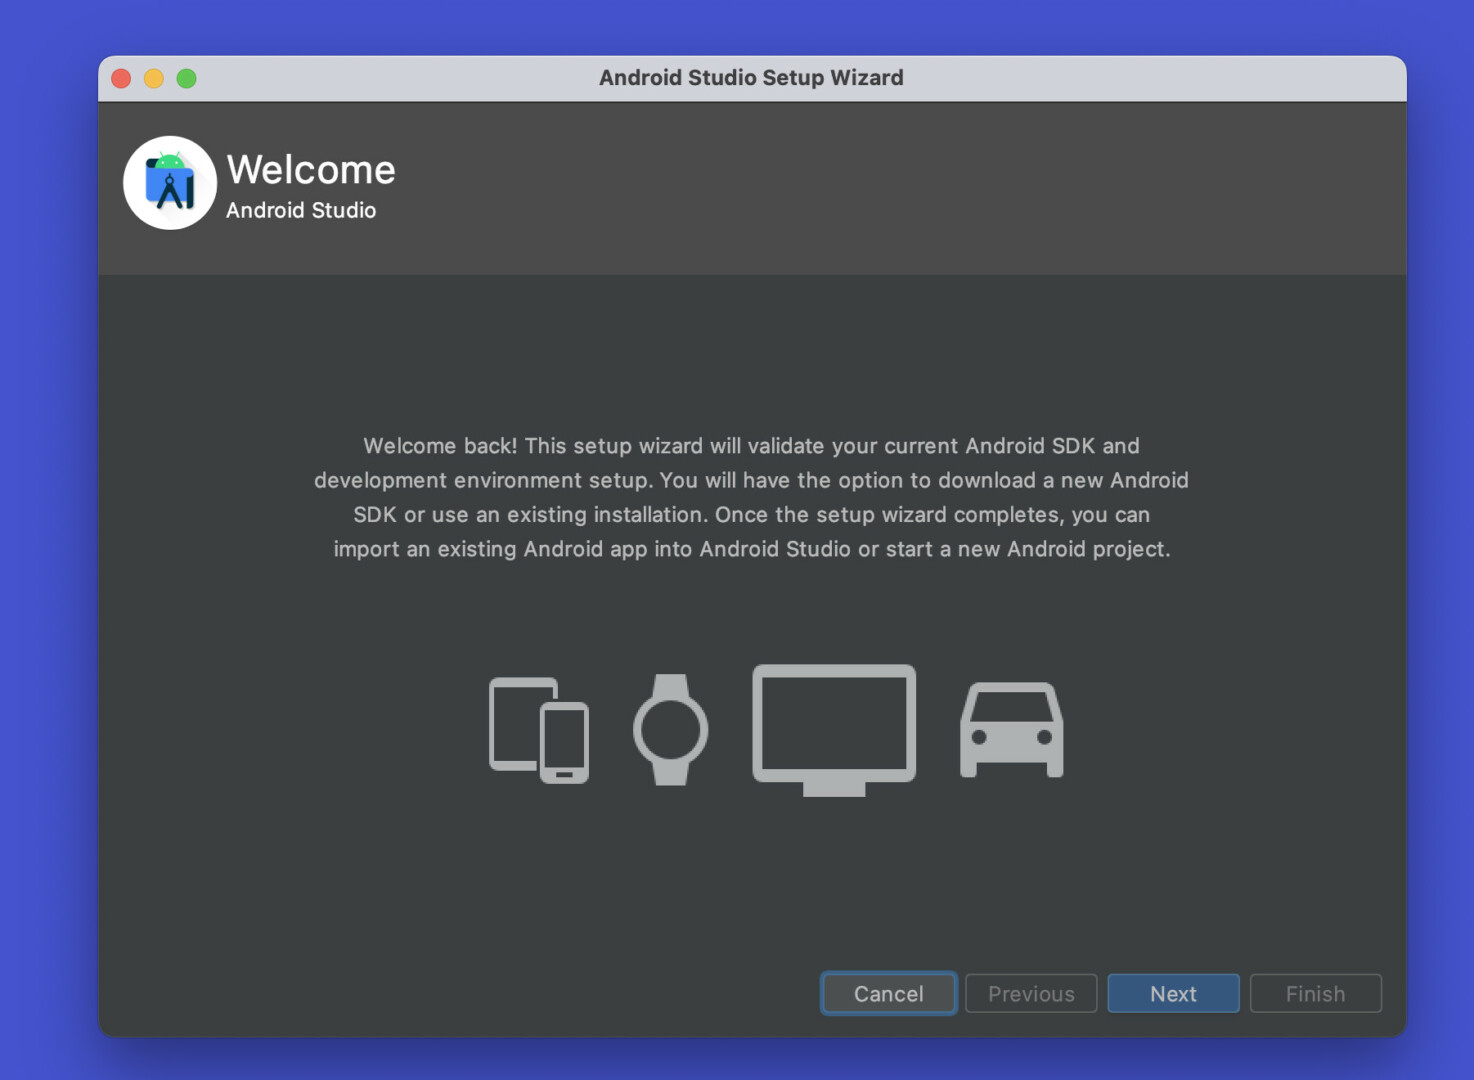
3. After a few seconds, your Android Studio will relaunch, and you will see the setup wizard window like the first time you open the software. Just click “Next” and follow the instructions:
Manually Cleaning It Up
This method is not as easy as the first one. What you need to do is to delete the files and folders where the Android Studio’s information is saved. The paths will be different for Windows and Mac.
Mac
Open your terminal and execute the following commands:
rm -rfv ~/Library/Application Support/AndroidStudio*
rm -rfv ~/Library/Preferences/AndroidStudio*
rm -rfv ~/Library/Caches/AndroidStudio*
rm -rfv ~/Library/Logs/AndroidStudio*
rm -rfv ~/.AndroidStudio*
Windows
Delete this folder:
C:\Users\<Your Name>\AppData\Roaming\Google\.AndroidStudioAnd your Android Studio will be reset.
Final Words
We’ve discovered two approaches to making your Android Studio go back to its default settings. If you have a question then feel free to leave a comment. I will try my best to help.
Further reading:
- 2 Ways to Change Theme in Android Studio
- How to check your Android Studio version
- Android Emulator: Increase/Decrease Storage and RAM
- Visual Studio Code: Enable Word Wrap For All Files
- How to Create a new Android Emulator
Happy coding and have a nice day!


does all the projects get deleted?
No. Just your settings
woow very nice it work’s