


This concise, code-focused article shows you how to use Dio to fetch data from the internet in Flutter. Without any further ado (like explaining what Flutter is or rambling about its history), let’s get started.
What is the Point?
In general, the process of making a GET request with Dio includes 2 steps. The first step is to initialize a dio instance and the second one is to call the get() method on that instance.
1. Initializing a Dio instance:
final dio = Dio(options);Where:
diois the variable name that you assign to the Dio instance. You can use any valid identifier for this.optionsis an optional object of typeBaseOptionsthat allows you to set some global options for the dio instance, such asbaseUrl,headers, andtimeout. You can omit this argument if you don’t need any global options.
2. Making GET requests with Dio:
final response = await dio.get(
    path,
    queryParameters: params,
    options: opts
);
Where:
diois the instance of Dio that you created with some optional options. You can use the same instance for multiple requests.pathis the relative path of the API endpoint that you want to request. For example, if your base URL ishttps://example.comand you want to requesthttps://example.com/users, then your path is/users.queryParametersis an optional map of key-value pairs that you want to pass as query parameters in the URL. For example, if you want to requesthttps://example.com/users?offset=x&limit=y, then yourqueryParametersare{ 'offset': x, 'limit': y }.optionsis an optional object of typeRequestOptionsthat allows you to customize some settings for the specific request, such asheaders,timeout,responseType, etc. You can override the global options that you set for the dio instance with this object.responseis the object of type Response that contains the status code,headers,data, etc. of the response from the server. You can access these properties and handle them accordingly.
I think that’s enough theoretical knowledge about sending GET requests with Dio. Let’s dive into a practical example to gain some concrete, real-world skills.
The Complete Example
Data Source
In this example, we’ll fetch some dummy users from the API endpoint below:
https://api.slingacademy.com/v1/sample-data/usersThere are 2 parameters that can be used for pagination:
offset(optional): This specifies the number of records to skip before any records are retrieved. The default is 0.limit(optional): The number of users you want to return on a page. The default is 10.
The response data is in JSON format. It looks like this:
{
  "success": true,
  "time": "2023-08-15 22:45:33 UTC",
  "message": "Sample data for testing and learning purposes",
  "total_users": 1000,
  "offset": 10,
  "limit": 20,
  "users": [
    {
      "first_name": "Terry",
      "last_name": "Santos",
      "email": "[email protected]",
      "phone": "001-119-617-4472",
      "street": "10532 Villanueva Plaza",
      "state": "West Virginia",
      "country": "Uzbekistan",
      "longitude": 65.754216,
      "id": 11,
      "gender": "male",
      "date_of_birth": "1938-12-16T00:00:00",
      "job": "Wellsite geologist",
      "city": "Port Lisa",
      "zipcode": "96636",
      "latitude": -13.9749255,
      "profile_picture": "https://api.slingacademy.com/public/sample-users/11.png"
    },
    ...
  ]
}
Each user record contains a lot of fields, but we’ll only use email, first_name, last_name, and profile_picture.
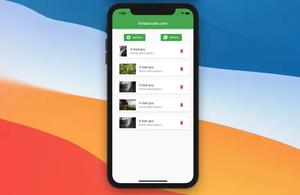
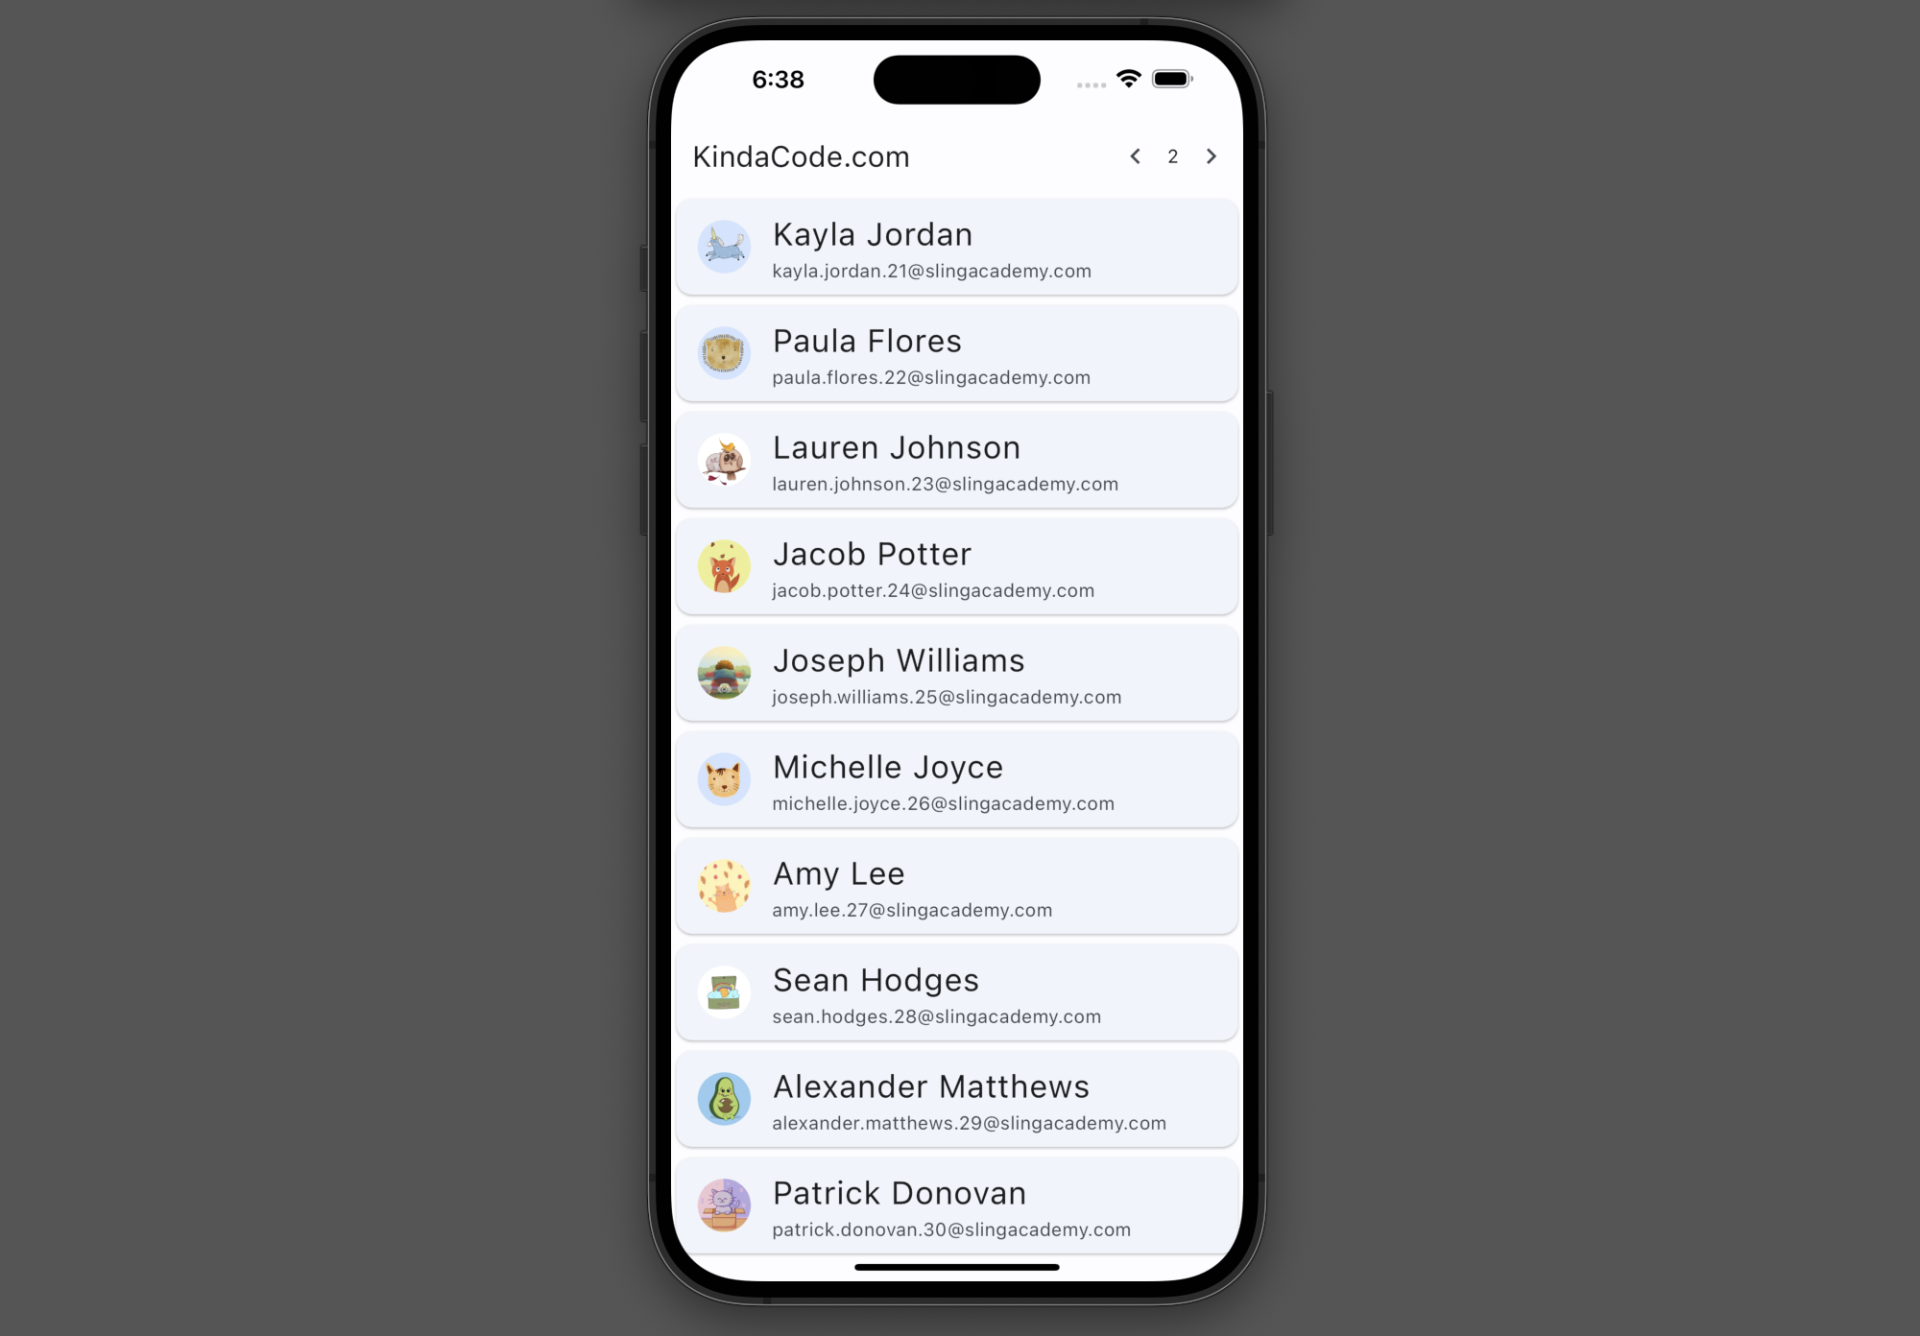
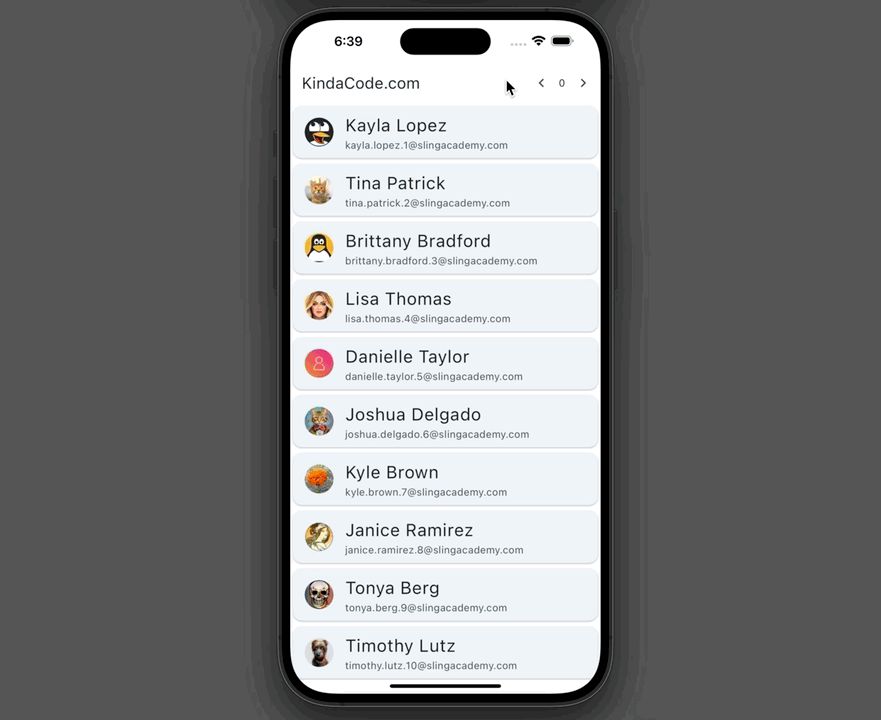
App Preview
The little app we’re going to make fetches sample users from the API endpoint and displays the data (first name, last name, email, and profile picture) in a ListView. There are 2 small buttons in the app bar. You can use them to move back to the previous page or go forward to the next page (each page shows 10 users).
A demo is worth more than a thousand words:
The Code
Here’s the full source code in main.dart (with explanations):
// KindaCode.com
// main.dart
import 'package:flutter/material.dart';
import 'package:dio/dio.dart';

void main() {
  runApp(const MyApp());
}

class MyApp extends StatelessWidget {
  const MyApp({super.key});

  @override
  Widget build(BuildContext context) {
    return MaterialApp(
      // Hide the debug banner
      debugShowCheckedModeBanner: false,
      title: 'KindaCode.com',
      theme: ThemeData(
        colorScheme: ColorScheme.fromSeed(seedColor: Colors.blue),
        useMaterial3: true,
      ),
      home: const KindaCodeDemo(),
    );
  }
}

class KindaCodeDemo extends StatefulWidget {
  const KindaCodeDemo({super.key});

  @override
  State<KindaCodeDemo> createState() => _KindaCodeDemoState();
}

class _KindaCodeDemoState extends State<KindaCodeDemo> {
  // Create a new instance of Dio with some options
  final dio = Dio(
    BaseOptions(
      baseUrl: 'https://api.slingacademy.com',
      connectTimeout: const Duration(seconds: 5),
      receiveTimeout: const Duration(seconds: 3),
    ),
  );

  // Fetch users from the API
  Future<void> fetchUsers(int offset, int limit) async {
    try {
      final response = await dio.get(
        '/v1/sample-data/users',
        queryParameters: {
          'offset': offset,
          'limit': limit,
        },
      );

      if (response.statusCode == 200) {
        setState(() {
          users = response.data["users"];
        });
      } else {
        debugPrint('Error: ${response.statusCode}');
      }
    } catch (e) {
      debugPrint('Exception: $e');
    }
  }

  // Create an empty list of users
  List<dynamic> users = [];

  // Create a variable to store the current page
  // This will be used for pagination
  int currentPage = 0;

  // fetch previous page
  void previousPage() {
    if (currentPage > 0) {
      currentPage--;
      fetchUsers(currentPage * 10, 10);
    }
  }

  // fetch next page
  void nextPage() {
    currentPage++;
    fetchUsers(currentPage * 10, 10);
  }

  @override
  void initState() {
    super.initState();

    // Fetch the first 10 users when the app starts
    fetchUsers(0, 10);
  }

  @override
  Widget build(BuildContext context) {
    return Scaffold(
      appBar: AppBar(
        title: const Text('KindaCode.com'),
        actions: [
          // This button is used to fetch the previous page
          IconButton(
            onPressed: previousPage,
            icon: const Icon(Icons.chevron_left),
          ),
          // Display the current page
          Text(currentPage.toString()),
          // This button is used to fetch the next page
          IconButton(
            onPressed: nextPage,
            icon: const Icon(Icons.chevron_right),
          ),
        ],
      ),
      // Display the list of users in a ListView
      body: ListView.builder(
        itemCount: users.length,
        itemBuilder: (context, index) {
          final user = users[index];
          // Display the user's profile picture, first name, last name and email
          return Card(
            child: ListTile(
              leading: CircleAvatar(
                backgroundImage: NetworkImage(user['profile_picture']),
              ),
              title: Text(
                user['first_name'] + " " + user["last_name"],
                style: const TextStyle(fontSize: 24),
              ),
              subtitle: Text(user['email']),
            ),
          );
        },
      ),
    );
  }
}
You can find more details about the sample data on this page.
Conclusion
You’ve learned how to use Dio to perform HTTP GET requests in Flutter and examined an end-to-end example of applying that knowledge in action. If you’d like to explore more new and interesting stuff in the world of Flutter development, just take a look at the following articles:
- Best Libraries for Making HTTP Requests in Flutter
- Flutter: ListView Pagination (Load More) Example (updated)
- Flutter & Hive Database: CRUD Example
- Flutter AnimatedList – Tutorial and Examples
- Flutter: ListTile with multiple Trailing Icon Buttons
- Flutter: Global, Unique, Value, Object, and PageStorage Keys
You can also tour around our Flutter topic page or Dart topic page for the most recent tutorials and examples.


