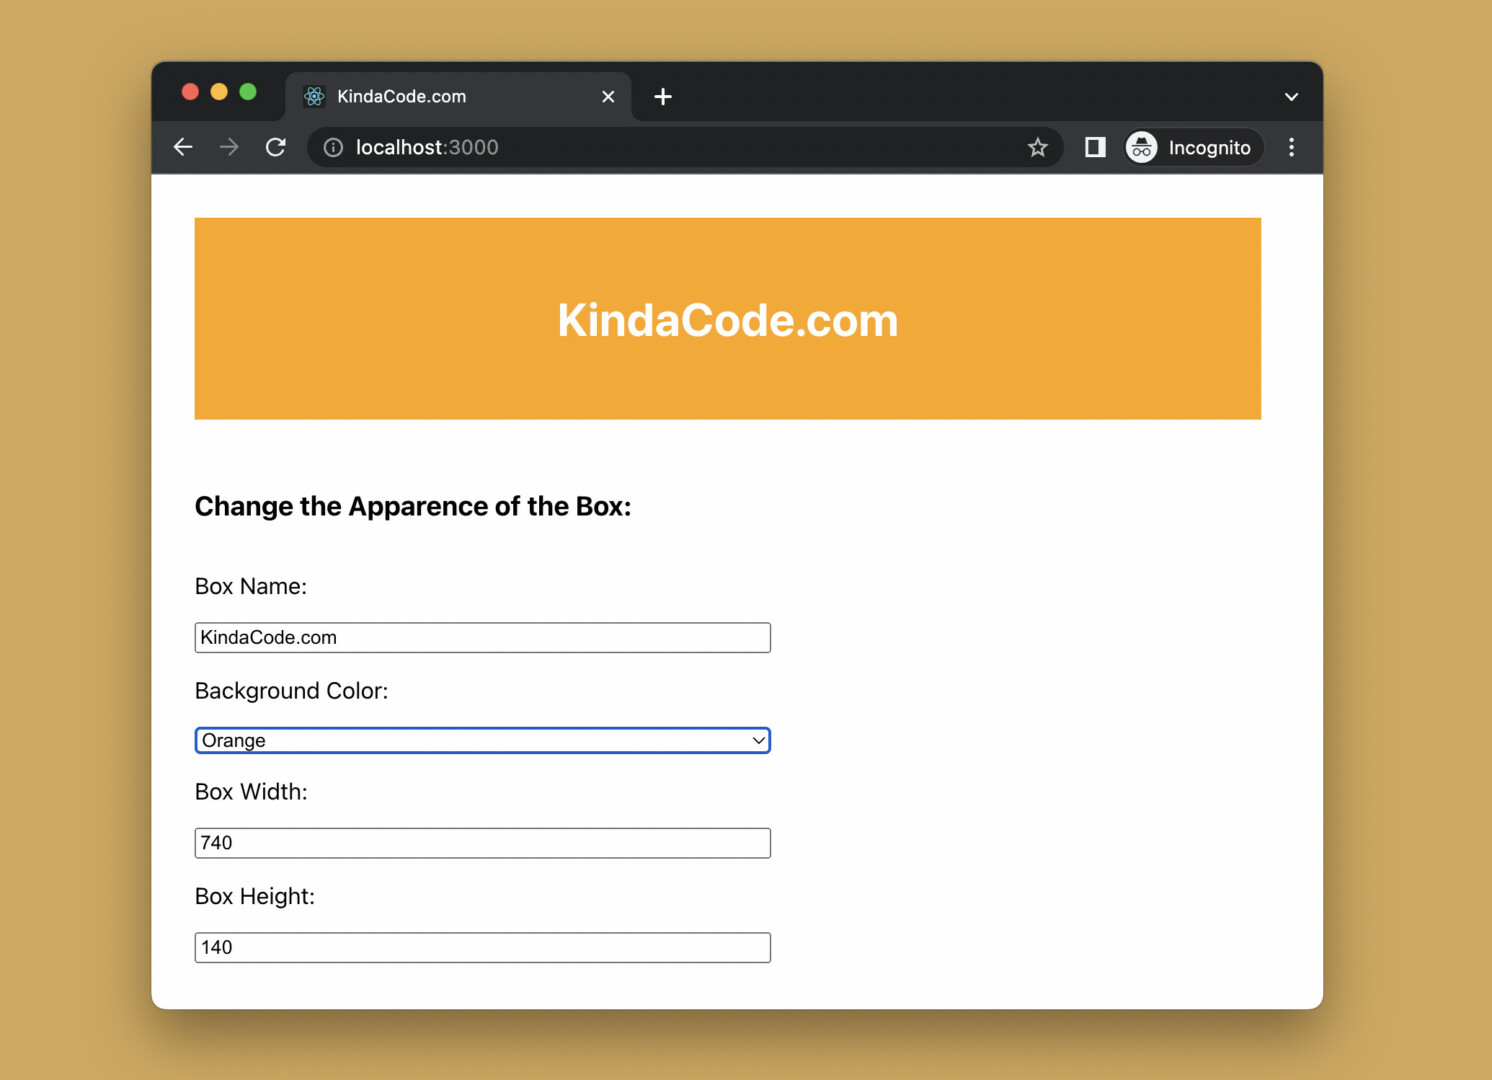
This practical and straight-to-the-point article shows you how to update objects and arrays in the state in React correctly. We’ll use the useState hook and functional components.
Without any further ado, let’s get started.
Table of Contents
The TLDR
When the state is updated, it is utterly overwritten. What if your state is an object with multiple properties but you only want to change the value of a certain property? For example, we initialize the state that describes a box like so:
const [box, setBox] = useState({
   name: 'KindaCode.com',
   bgColor: 'blue', // background color
   width: 400,
   height: 300
});
In case you want to change the background color but keep other things intact, you can use the spread operator (you can also use this with arrays) as follows:
setBox(previousState => {
      return { ...previousState, bgColor: 'red' }
});
Or like this:
setBox({...box, bgColor: 'red'});Do NOT use this code:
setBox({bgColor: 'red'})Because it would remove the name, width, and height from the state. For more clarity, let’s dive into the working example below.
The Complete Example
App Preview
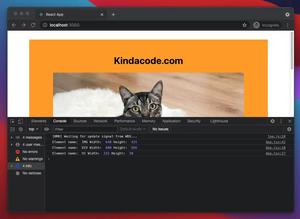
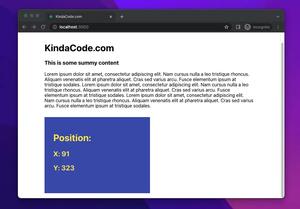
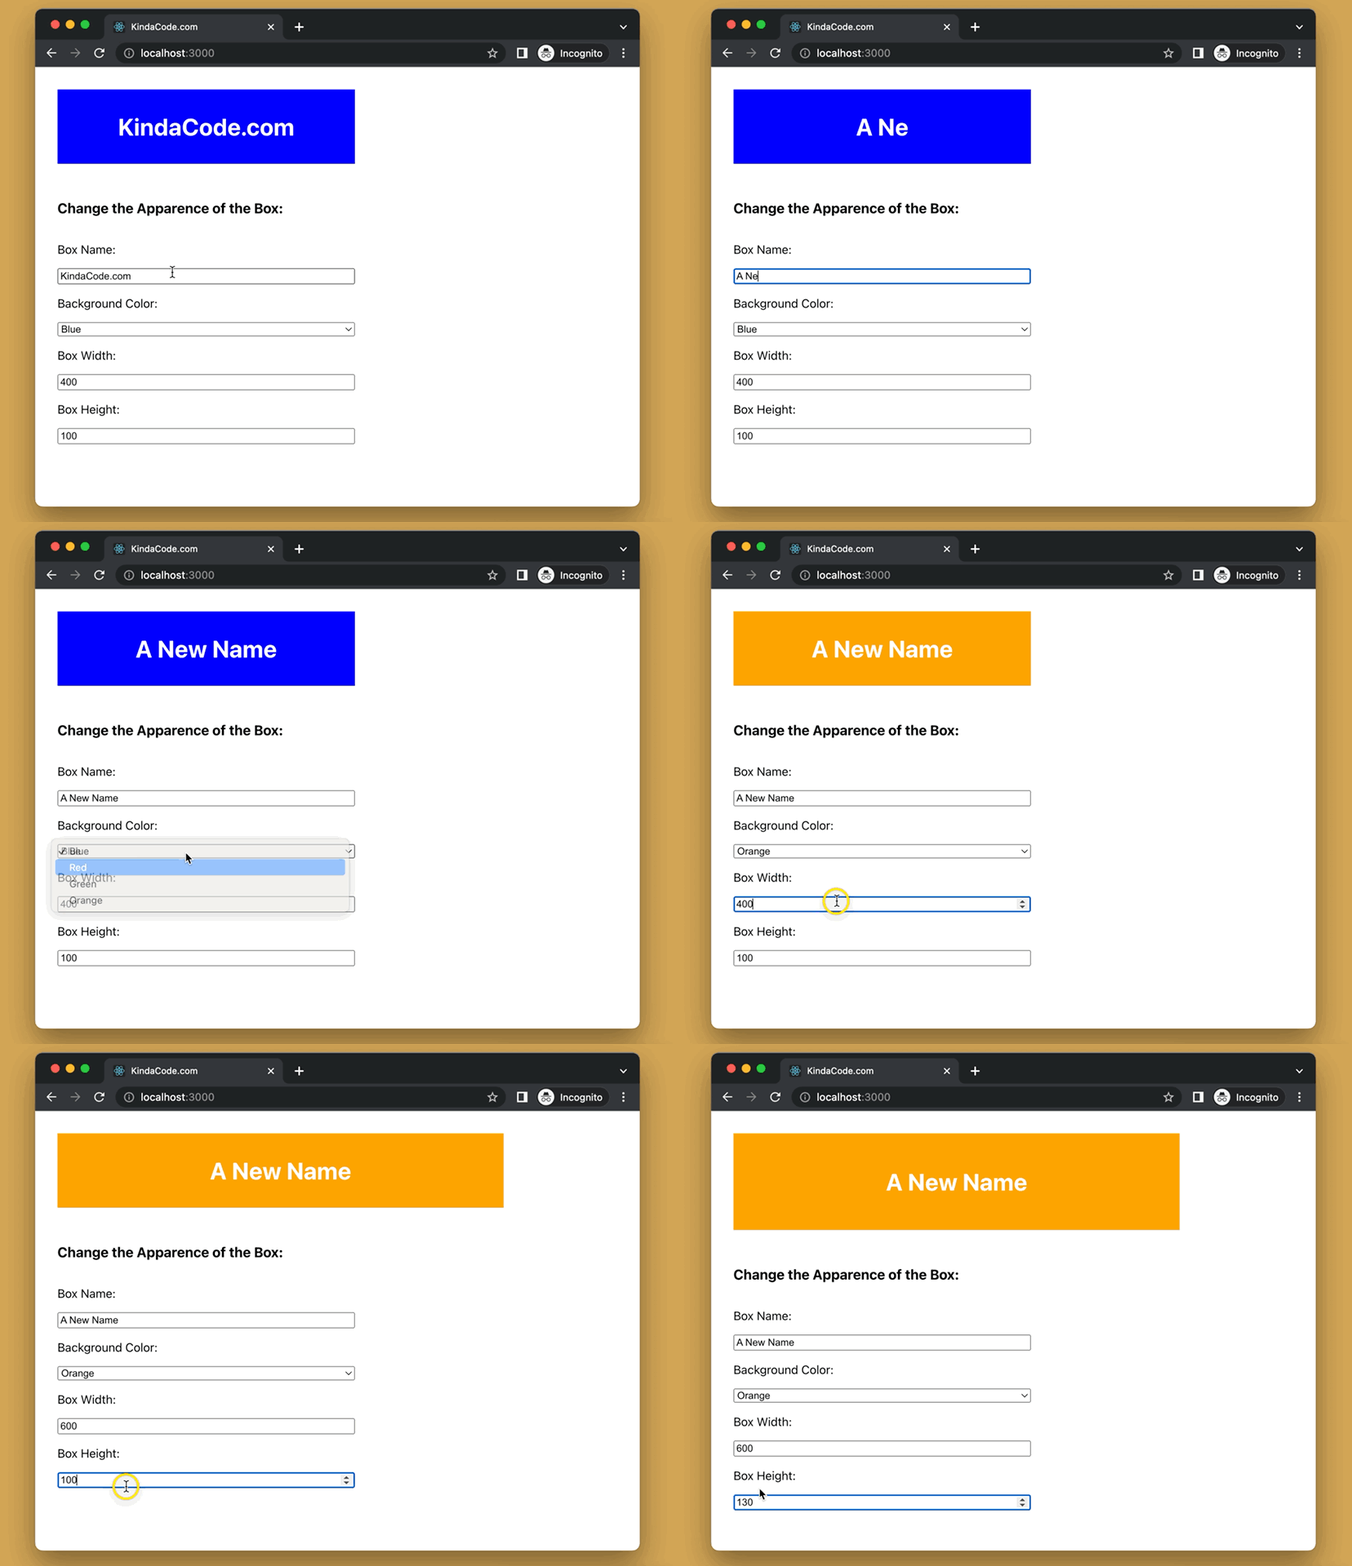
The demo we’re going to make presents a box and a couple of form elements. You can update the name, the background color, the width, or the height of the box by using the corresponding input/select element.
Here’s how it works in action:
The Steps
Below are the steps to produce the demo above.
1. Create a new React project:
npx create-react-app kindacode-state-exampleThe name is totally up to you. Choose another one if you like.
2. The final source code in src/App.js (with explanations):
// KindaCode.com
// src/App.js
import { useState } from 'react';
import './App.css';

function App() {
  // initialize state with an object with four properties
  const [box, setBox] = useState({
    name: 'KindaCode.com',
    bgColor: 'blue',
    width: 400,
    height: 100,
  });

  // this function will update the name of the box
  // it will be called when the user types in the name field
  const updateBoxName = (e) => {
    setBox({ ...box, name: e.target.value });
  };

  // this function will update the background color of the box
  // it will be called when the user changes the select element
  const updateBakcgroundColor = (e) => {
    setBox({ ...box, bgColor: e.target.value });
  };

  // this function will update the width of the box
  // it will be called when the user changes the width input
  const updateBoxWidth = (e) => {
    setBox({ ...box, width: parseInt(e.target.value) });
  };

  // this function will update the height of the box
  // it will be called when the user changes the height input
  const updateBoxHeight = (e) => {
    setBox({ ...box, height: parseInt(e.target.value) });
  };

  return (
    <div style={{ padding: 30 }}>
      {/* Here's the box */}
      <div
        style={{
          width: box.width,
          height: box.height,
          background: box.bgColor,
          display: 'flex',
          justifyContent: 'center',
          alignItems: 'center',
        }}
      >
        <h1 style={{ color: '#fff' }}>{box.name}</h1>
      </div>

      {/* Here's the form elements to change the box */}
      <div
        style={{
          marginTop: 30,
          width: 400,
          display: 'flex',
          flexDirection: 'column',
        }}
      >
        <h3>Change the Apparence of the Box:</h3>
        <p>Box Name:</p>
        <input type='text' value={box.name} onChange={updateBoxName} />

        <p>Background Color:</p>
        <select value={box.bgColor} onChange={updateBakcgroundColor}>
          <option value='blue'>Blue</option>
          <option value='red'>Red</option>
          <option value='green'>Green</option>
          <option value='orange'>Orange</option>
        </select>

        <p>Box Width:</p>
        <input type='number' value={box.width} onChange={updateBoxWidth} />

        <p>Box Height:</p>
        <input type='number' value={box.height} onChange={updateBoxHeight} />
      </div>
    </div>
  );
}

export default App;
3. Boot it up:
npm startAnd check the result at http://localhost:3000.
Conclusion
You’ve learned how to properly update objects and arrays in the state when using the useState hook. This knowledge is essential and shouldn’t be forgotten.
If you’d like to explore more new and interesting stuff about modern React, take a look at the following articles:
- React Router: 3 Ways to Disable/Inactivate a Link
- React + TypeScript: Using setTimeout() with Hooks
- React: How to Create an Image Carousel from Scratch
- React: How to Create a Responsive Navbar from Scratch
- 3 Ways to Create Toasts in React
- React: Show Image Preview before Uploading
You can also check our React category page and React Native category page for the latest tutorials and examples.
