The short, simple, beginner-friendly example below will help you understand how to use React Navigation 6 (the latest version of the library) in a React Native project, regardless you’re a fan of Expo or a loyal React Native CLI developer.
Create a brand new React Native project
If you’re using React Native CLI, run:
npx react-native init my_big_appIf you prefer an Expo managed project, execute this:
expo init my_big_appInstalling Packages
Run the following command in your project directory to install the required packages:
npm install @react-navigation/native @react-navigation/native-stackThe installation process’s not been completed yet.
If you’re using React Native CLI, run:
npm i react-native-screens react-native-safe-area-contextIf you are building an iOS app then you need to perform an extra command:
npx pod-install iosIf you’re using Expo:
expo install react-native-screens react-native-safe-area-contextThe Code
Create a new folder called screens in your project directory. Inside this folder, create 2 new files named Screen1.js and Screen2.js.
Screen1.js:
import React from 'react';
import {View, Text, Button, StyleSheet} from 'react-native';

const Screen1 = props => {
  return (
    <View style={styles.screen}>
      <Text>Screen 1</Text>
      <Button
        onPress={() => props.navigation.navigate('Screen2')}
        title="Go to Screen 2"
      />
    </View>
  );
};

const styles = StyleSheet.create({
  screen: {
    flex: 1,
    justifyContent: 'center',
    alignItems: 'center',
  },
});

export default Screen1;
Screen2.js:
import React from 'react';
import {View, Text, Button, StyleSheet} from 'react-native';

const Screen2 = props => {
  return (
    <View style={styles.screen}>
      <Text>Screen 2</Text>
      <Button
        onPress={() => props.navigation.navigate('Screen1')}
        title="Go to Screen 1"
      />
    </View>
  );
};

const styles = StyleSheet.create({
  screen: {
    flex: 1,
    justifyContent: 'center',
    alignItems: 'center',
  },
});

export default Screen2;
Delete all default code in your App.js file and paste the code below into it:
import React from "react";
// import things related to React Navigation
import { NavigationContainer } from "@react-navigation/native";
import { createNativeStackNavigator } from "@react-navigation/native-stack";
// import screens
import Screen1 from "./screens/Screen1";
import Screen2 from "./screens/Screen2";
// create a "stack"
const MyStack = createNativeStackNavigator();
const App = () => {
return (
<NavigationContainer>
<MyStack.Navigator>
<MyStack.Screen name="Screen1" component={Screen1} />
<MyStack.Screen name="Screen2" component={Screen2} />
</MyStack.Navigator>
</NavigationContainer>
);
};
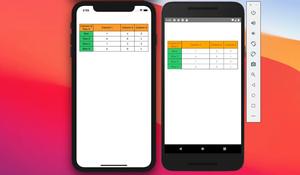
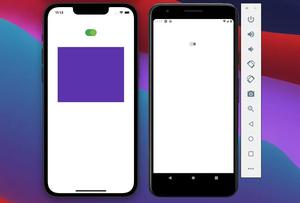
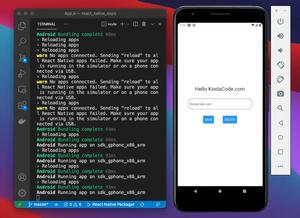
export default App;Run your project and check the result. It should look like this:
Conclusion
Congratulations! You’ve learned how to create very simple navigation with the React Navigation 5 library. You’ve also learned how to move from one screen to another one. From here, you’re pretty good to go. If you’d like to explore more features in modern React Native, take a look at the following articles:
- React Native – How to Update Expo SDK
- Using Image Picker and Camera in React Native (Expo)
- How to render HTML content in React Native
- React Native FlatList: Tutorial and Examples
- Implementing a Date Time picker in React Native
You can also check our React topic page and React Native topic page for the latest tutorials and examples.
![[Solved] React Native Error: No bundle URL present](https://www.kindacode.com/media/thumbnails/2024-11/Screen-Shot-2020-04-28-at-17.44.18-1.png)