
In this tutorial, we’ll build a simple Flutter app that fetches a to-do list from an open API and displays it on the screen. We also implement a Pull-to-Refresh feature that lets the user refresh the content by making a pulling-down gesture.
Here’s the API endpoint used in the app (thanks to the Typicode team):
https://jsonplaceholder.typicode.com/todosIt simply contains a list of todos (tasks). A single todo looks like this:
{
    "userId": 1,
    "id": 1,
    "title": "delectus aut autem",
    "completed": false
}
Table of Contents
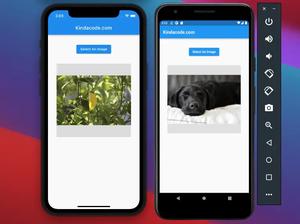
The Example
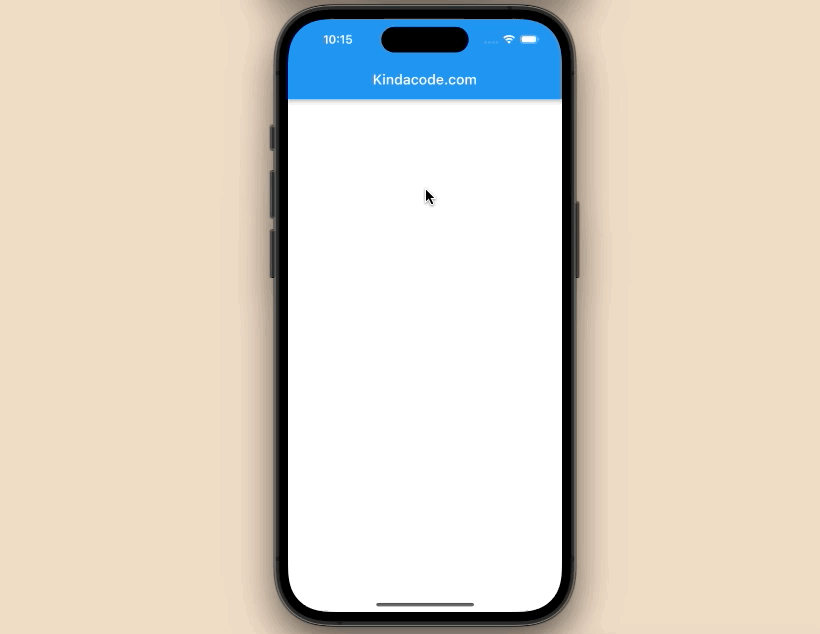
Preview
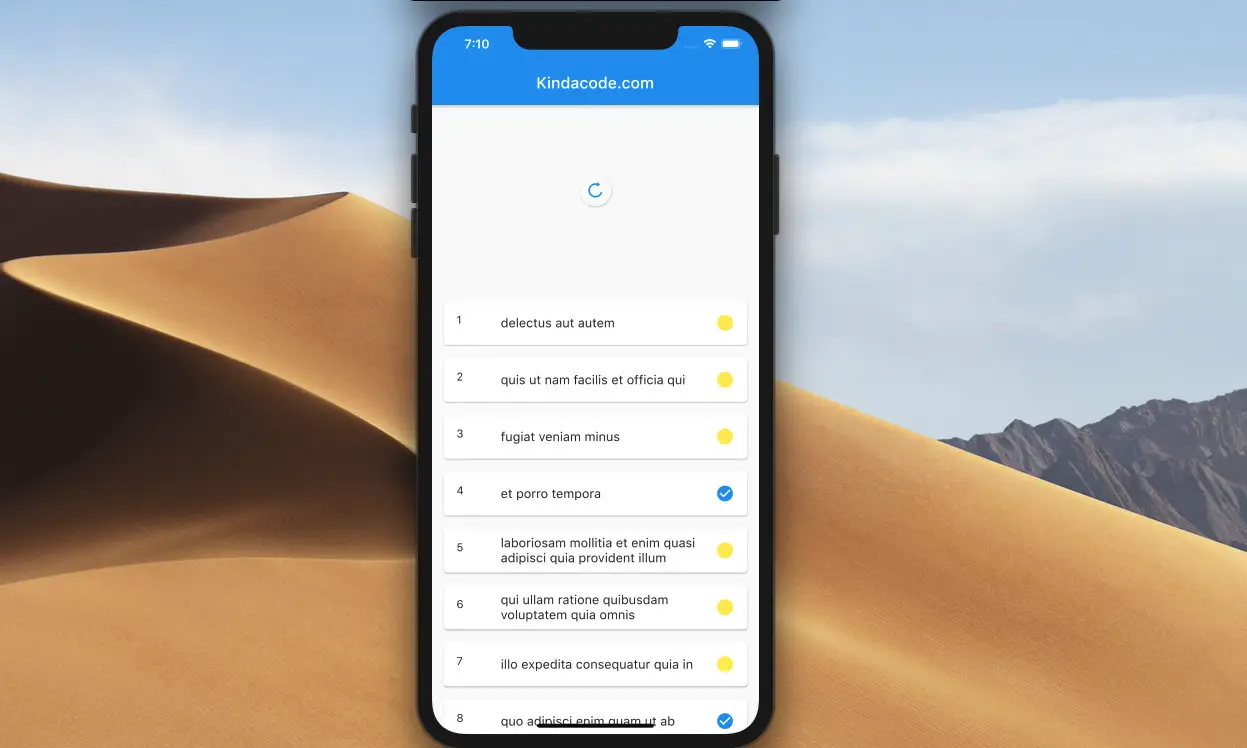
Here’s how the sample app we are going to build works:
Note: To implement Pull-to-Refresh, what we have to do is just wrap our widgets with a RefreshIndicator widget and configure the onRefresh property.
The Steps
1. Project setup
Create a new Flutter project by running this command:
flutter create app_example2. Installing the HTTP package to fetch data from APIs.
Run the following command to programmatically add the latest version of package HTTP to the dependencies section of your pubspec.yaml file:
flutter pub add httpThen execute:
flutter pub get3. The final code
The complete code in main.dart (with explanations):
// main.dart
import 'package:flutter/material.dart';
import 'dart:convert';
import 'package:http/http.dart' as http;

void main() {
  runApp(const MyApp());
}

class MyApp extends StatelessWidget {
  const MyApp({Key? key}) : super(key: key);

  @override
  Widget build(BuildContext context) {
    return const MaterialApp(
      // Hide the debug banner
      debugShowCheckedModeBanner: false,
      title: 'Kindacode.com',
      home: HomePage(),
    );
  }
}

class HomePage extends StatefulWidget {
  const HomePage({Key? key}) : super(key: key);

  @override
  State<HomePage> createState() => _HomePageState();
}

class _HomePageState extends State<HomePage> {
  // The initial todos
  List _todos = [];

  // Call this when the user pull down the screen
  Future<void> _loadData() async {
    const url = 'https://jsonplaceholder.typicode.com/todos';
    try {
      final http.Response response = await http.get(Uri.parse(url));
      final _loadedTodos = json.decode(response.body);
      setState(() {
        _todos = _loadedTodos;
      });
    } catch (err) {
      rethrow;
    }
  }

  @override
  Widget build(BuildContext context) {
    return Scaffold(
      appBar: AppBar(
        title: const Text('Kindacode.com'),
      ),
      body: RefreshIndicator(
          // trigger the _loadData function when the user pulls down
          onRefresh: _loadData,
          // Render the todos
          child: ListView.builder(
              itemCount: _todos.length,
              itemBuilder: (BuildContext ctx, index) {
                return Card(
                  margin:
                      const EdgeInsets.symmetric(horizontal: 15, vertical: 8),
                  child: ListTile(
                    // Render each todo
                    leading: Text(_todos[index]['id'].toString()),
                    title: Text(_todos[index]["title"]),
                    trailing: _todos[index]["completed"]
                        ? const Icon(
                            Icons.check_circle,
                            color: Colors.blue,
                          )
                        : const Icon(
                            Icons.circle,
                            color: Colors.yellow,
                          ),
                  ),
                );
              })),
    );
  }
}
If you want to load data when the app starts, see this article: Flutter FutureBuilder example (null safety).
Conclusion
We have walked through an end-to-end example of implementing Pull-to-Refresh in a Flutter application with RefreshIndicator. If you would like to explore more interesting things about Flutter, take a look at the following articles:
- Load and display content from CSV files
- Best Libraries for Making HTTP Requests in Flutter
- Flutter & Hive Database: CRUD Example
- Set an image Background for the entire screen
- 3 Ways to create Random Colors in Flutter
- Flutter Cupertino Button – Tutorial and Examples
You can also check out our Flutter topic page or Dart topic page for the latest tutorials and examples.


