


Node.js is updated very often to fix bugs, improve performance and add new features. This article shows you how to correctly upgrade Node.js and npm in macOS.
The Steps
1. Go to nodejs.org, the official website of Node.js, to download the installer. You can choose between the LTS version (long term support) and the Current version (that provides the latest features).
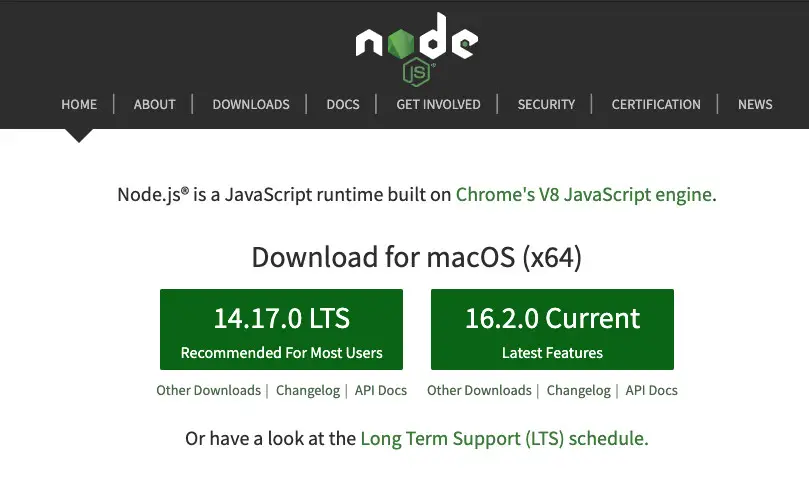
At the time of updating this article, the current version of Node is 18.5.0.
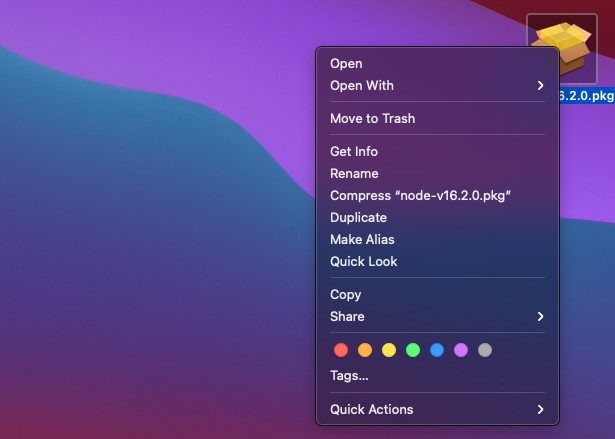
2. Right click on the file you’ve downloaded and select “Open”.
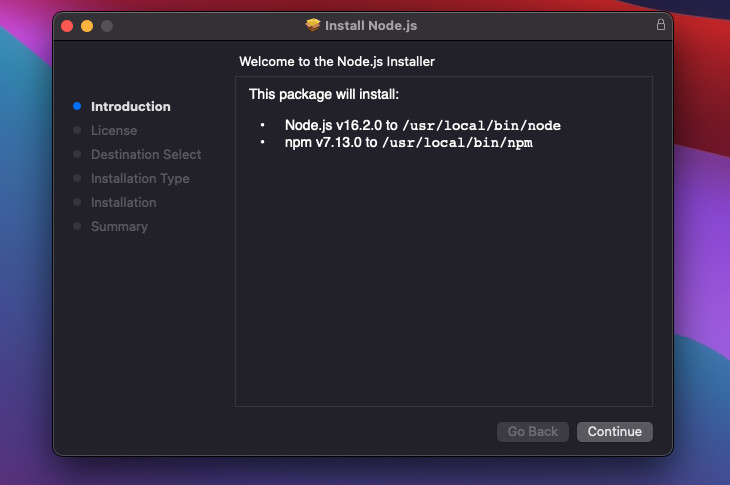
3. A dialog will show up. Click on the “Continue” button to move to the next step.
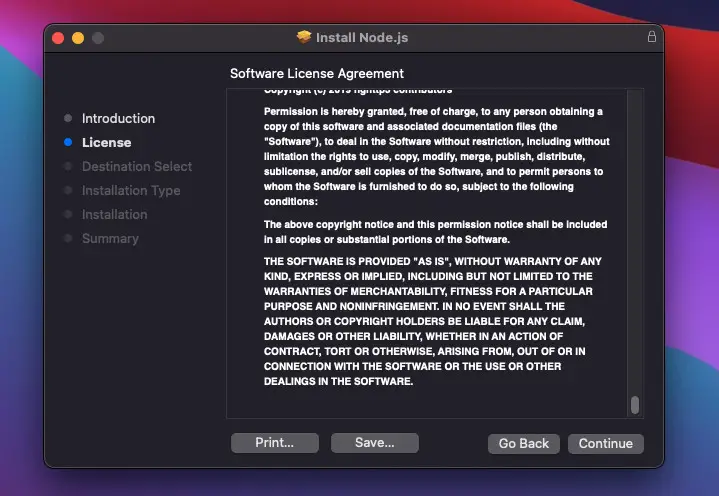
4. Read the license then click on the “Continue” button.
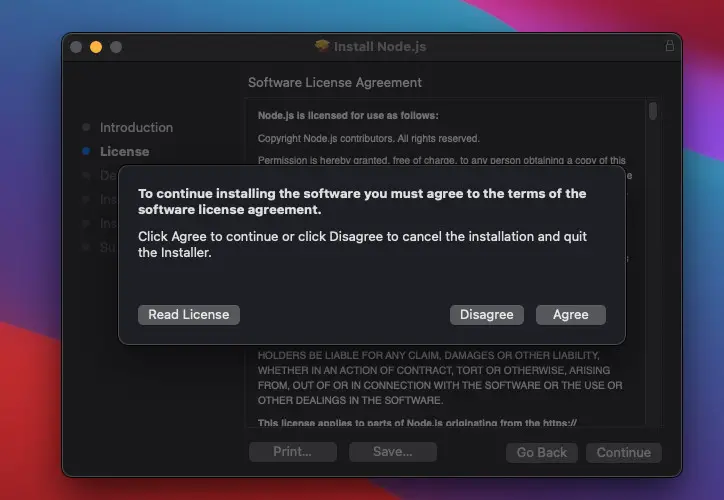
You have to agree to the terms of the Node license agreement to continue.
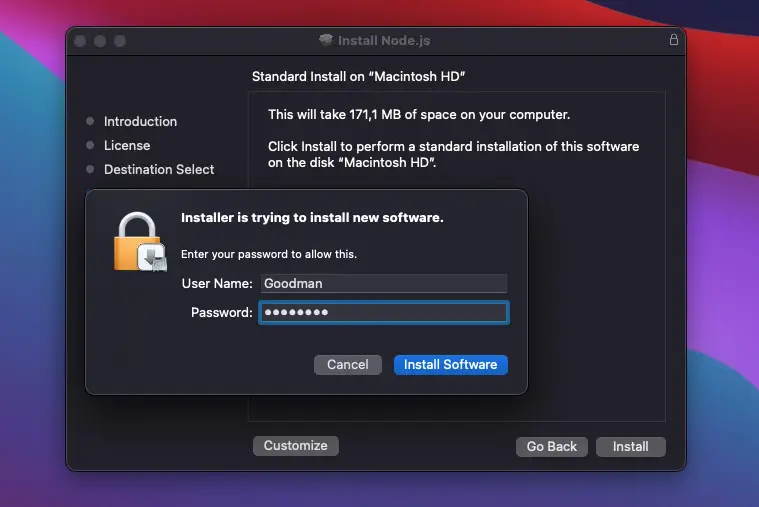
4. Now click “Install” to start upgrading Node.

5. You will be asked for your Mac’s password. Enter it then click on the “Install Software” button.
The installation process only takes a few seconds, and here’s the result when it’s done:
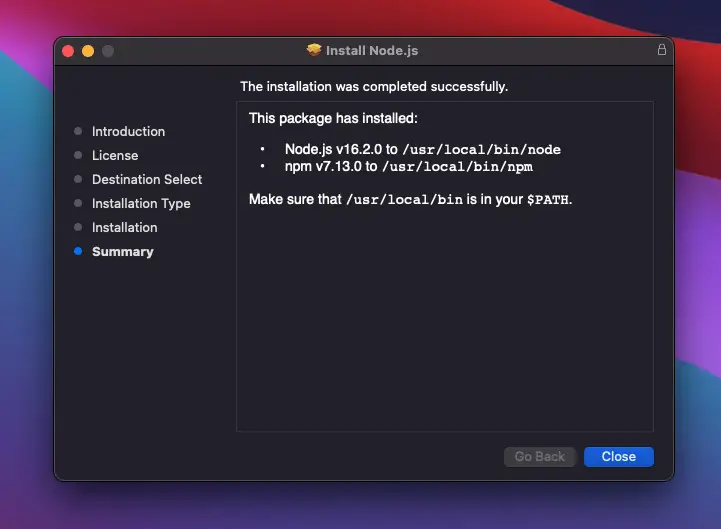
You can see the versions of Node.js and npm on your Mac in the summary window above. You can recheck them by opening your Terminal and run the following commands:
node --version
npm --version
That’s it. Futher reading:
- Node.js: Get File Name and Extension from Path/URL
- Pagination in TypeORM (Find Options & QueryBuilder)
- 7 best Node.js frameworks to build backend APIs
- 6 best Node.js frameworks to build backend APIs
- Top 5 best Node.js Open Source Headless CMS
- Using Axios to download images and videos in Node.js
You can also check out our Node.js category page for the latest tutorials and examples.