


This concise, practical article shows you how to implement a zebra striped ListView in Flutter.
Overview
Imagine you have a list of things on your phone or computer screen. Now, imagine that each thing on the list has a different color. For example, the first thing might be white, the second thing might be gray, the third thing might be white again, and so on. This is called a zebra striped list view. It is called that because it looks like the stripes of a zebra. The purpose of this is to make the list more attractive and easier to read. It can help you find what you are looking for faster and better.
To create a striped ListView (with the ListView.builder() constructor) in Flutter, you can use the itemBuilder parameter to return a different widget for each item based on its index. In the vast majority of cases, you can use a ternary operator to alternate between 2 colors for the background of each item as shown below:
ListView.builder(
  itemCount: 123,
  itemBuilder: (context, index) {
    return Container(
      // alternate colors
      color: index % 2 == 0 ? Colors.blue : Colors.green,
      /*...*/
    );
  },
);
For more clarity, please see the full example below.
Complete Example
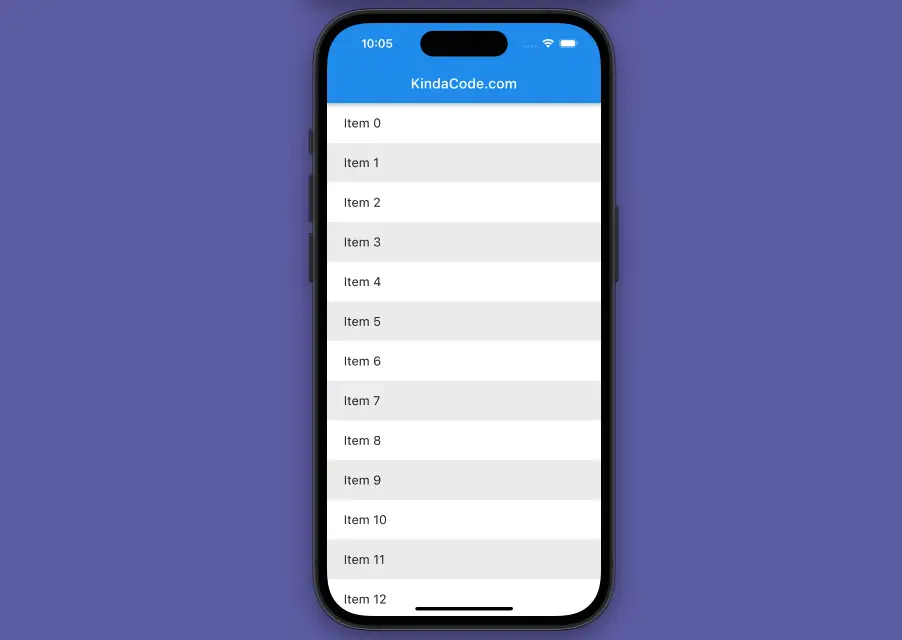
Preview
This tiny sample app is what we’re going to make:
The final code
The full source code in main.dart (with explanations):
import 'package:flutter/material.dart';

void main() {
  runApp(const MyApp());
}

class MyApp extends StatelessWidget {
  const MyApp({super.key});

  // This widget is the root of your application.
  @override
  Widget build(BuildContext context) {
    return MaterialApp(
      // hide the debug banner
      debugShowCheckedModeBanner: false,
      title: 'KindaCode.com',
      theme: ThemeData(
        primarySwatch: Colors.blue,
      ),
      home: MyHomePage(),
    );
  }
}

class MyHomePage extends StatelessWidget {
  MyHomePage({super.key});

  // Generate dummy data for the list
  final List<String> items = List.generate(100, (index) => 'Item $index');

  @override
  Widget build(BuildContext context) {
    return Scaffold(
      appBar: AppBar(
        title: const Text('KindaCode.com'),
      ),
      body: ListView.builder(
        itemCount: items.length,
        itemBuilder: (context, index) {
          /*
          Use a ternary operator to alternate the background color
          of the list items
          */
          final color = index.isEven ? Colors.white : Colors.grey[200];
          return Container(
            color: color,
            padding: const EdgeInsets.symmetric(vertical: 18, horizontal: 24),
            child: Text(
              items[index],
              style: const TextStyle(fontSize: 18),
            ),
          );
        },
      ),
    );
  }
}
Conclusion and next steps
You’ve learned how to implement a zebra ListView in Flutter. Compared to creating a normal ListView, the amount of work added is not much, but the readability and user experience are significantly increased.
Flutter is awesome, and there are so many things to explore. Get the ball rolling and push yourself forward by taking a look at the following articles:
- How to Create a Sortable ListView in Flutter
- 2 Ways to Get a Random Item from a List in Dart (and Flutter)
- Flutter AnimatedList – Tutorial and Examples
- Flutter SliverList – Tutorial and Example
- How to create a Filter/Search ListView in Flutter
- Flutter & Hive Database: CRUD Example
You can also tour around our Flutter topic page or Dart topic page for the most recent tutorials and examples.


