

A stopwatch in a mobile app is a tool that measures elapsed time for a specific event or task. It includes start, stop (can be replaced with pause), and reset buttons and displays the time in a numerical format (e.g., minutes, seconds, and milliseconds). It’s commonly used for timing sports, cooking, studying, working, and more.
This practical shows you how to create a stopwatch app with Flutter.
Table of Contents
Overview
The Stopwatch class
We take advantage of a built-in class in Flutter named Stopwatch to achieve the goal much more conveniently. This class provides a way to measure elapsed time. It can be started, stopped, and reset, and the elapsed time can be obtained as a Duration object. The Stopwatch class can measure elapsed time in milliseconds or microseconds with platform-dependent accuracy.
Initialize an instance of the Stopwatch class:
final Stopwatch _stopwatch = Stopwatch();Below are the most useful methods and properties:
- start(): Starts measuring elapsed time.
- stop(): Stops measuring elapsed time.
- reset(): Resets the
Stopwatchto an elapsed time of zero. - elapsed: Returns the elapsed time as a Duration object.
- isRunning: Returns a Boolean value indicating whether the
Stopwatchis currently running.
Besides the Stopwatch class, we will also make use of the Timer class to periodically update the UI. See this article if you want more details: Working with Timer and Timer.periodic in Flutter.
Complete Example
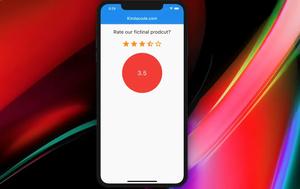
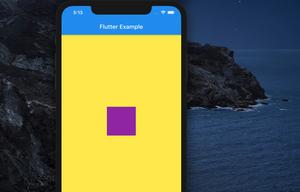
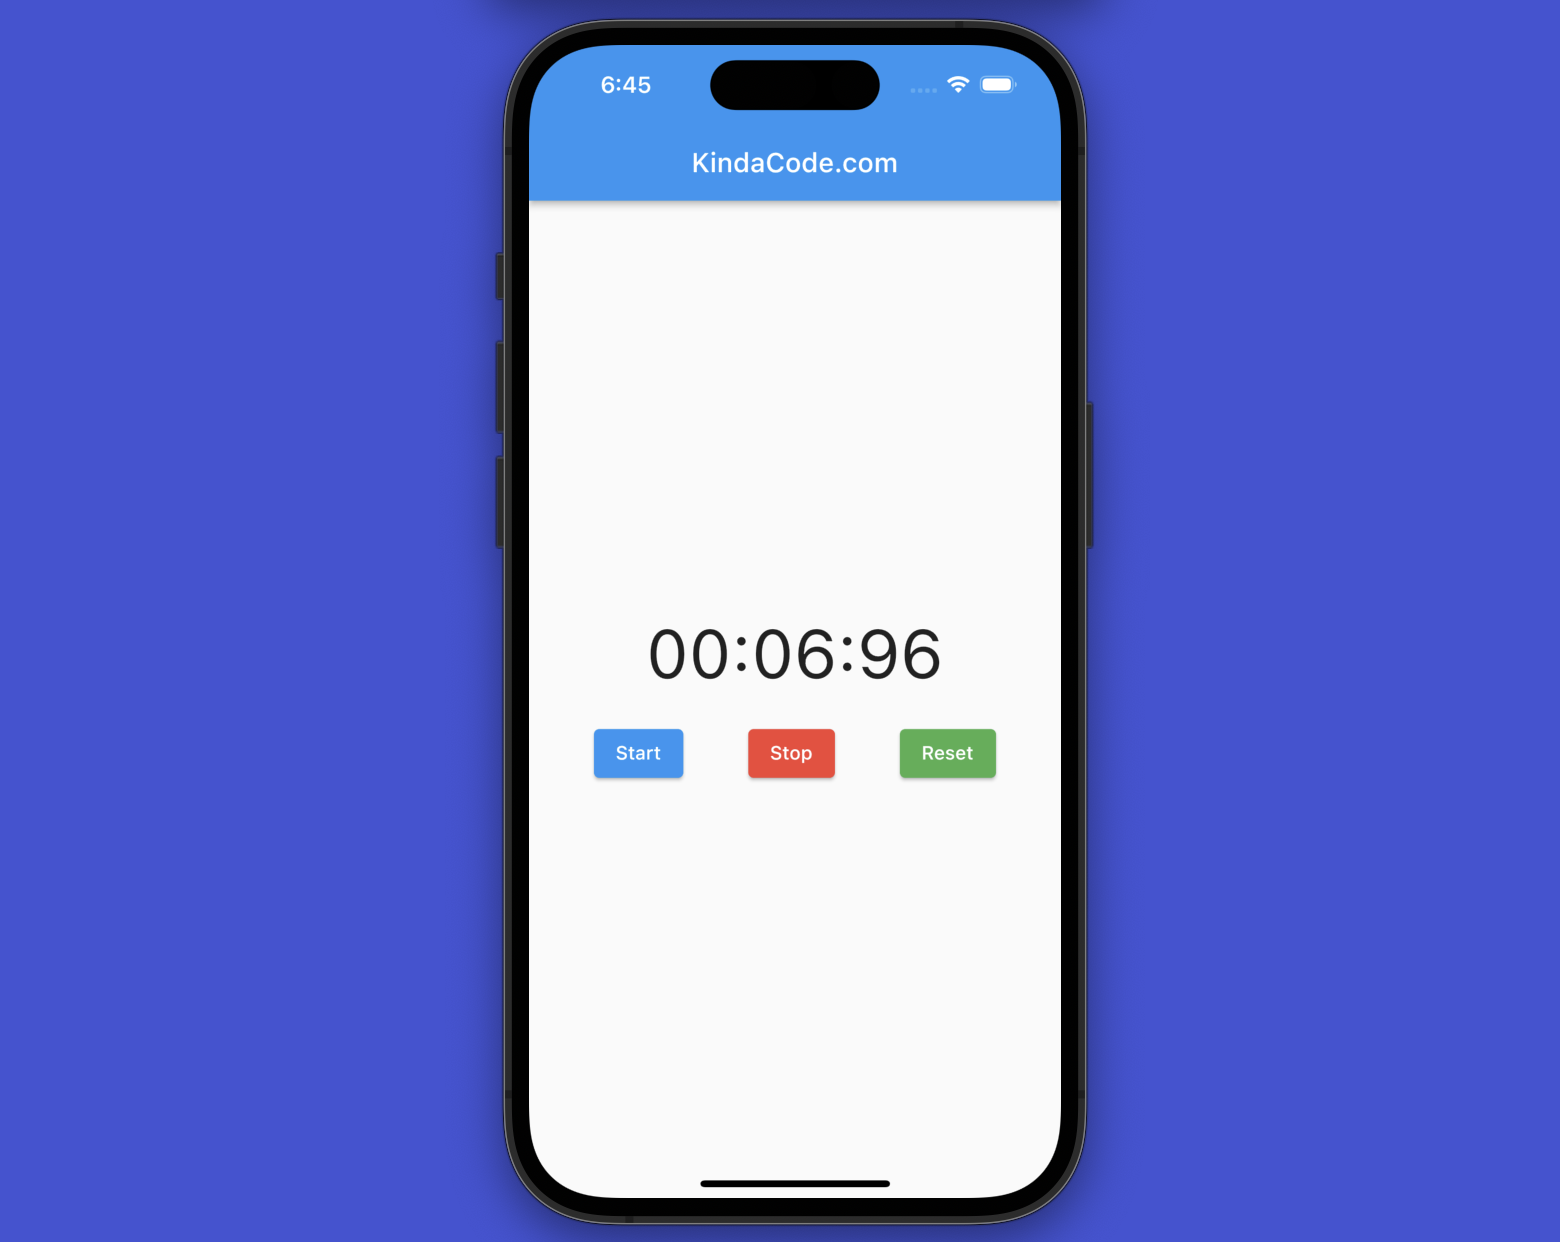
Preview
The small app below is what we’re going to make:
The Code
Here’s the entire code, along with commentaries explaining what each block does:
// KindaCode.com
// main.dart
import 'dart:async';
import 'package:flutter/material.dart';

void main() => runApp(const MyApp());

class MyApp extends StatelessWidget {
  const MyApp({super.key});

  @override
  Widget build(BuildContext context) {
    return const MaterialApp(
      // Remove the debug banner
      debugShowCheckedModeBanner: false,
      title: 'KindaCode.com',
      home: KindaCodeDemo(),
    );
  }
}

class KindaCodeDemo extends StatefulWidget {
  const KindaCodeDemo({super.key});

  @override
  State<KindaCodeDemo> createState() => _KindaCodeDemoState();
}

class _KindaCodeDemoState extends State<KindaCodeDemo> {
  // Initialize an instance of Stopwatch
  final Stopwatch _stopwatch = Stopwatch();

  // Timer
  late Timer _timer;

  // The result which will be displayed on the screen
  String _result = '00:00:00';

  // This function will be called when the user presses the Start button
  void _start() {
    // Timer.periodic() will call the callback function every 100 milliseconds
    _timer = Timer.periodic(const Duration(milliseconds: 30), (Timer t) {
      // Update the UI
      setState(() {
        // result in hh:mm:ss format
        _result =
            '${_stopwatch.elapsed.inMinutes.toString().padLeft(2, '0')}:${(_stopwatch.elapsed.inSeconds % 60).toString().padLeft(2, '0')}:${(_stopwatch.elapsed.inMilliseconds % 100).toString().padLeft(2, '0')}';
      });
    });
    // Start the stopwatch
    _stopwatch.start();
  }

  // This function will be called when the user presses the Stop button
  void _stop() {
    _timer.cancel();
    _stopwatch.stop();
  }

  // This function will be called when the user presses the Reset button
  void _reset() {
    _stop();
    _stopwatch.reset();

    // Update the UI
    setState(() {});
  }

  @override
  Widget build(BuildContext context) {
    return Scaffold(
      appBar: AppBar(
        title: const Text('KindaCode.com'),
      ),
      body: Center(
        child: Column(
          mainAxisAlignment: MainAxisAlignment.center,
          children: [
            // Display the result
            Text(
              _result,
              style: const TextStyle(
                fontSize: 50.0,
              ),
            ),
            const SizedBox(
              height: 20.0,
            ),
            Row(
              mainAxisAlignment: MainAxisAlignment.spaceEvenly,
              children: [
                // Start button
                ElevatedButton(
                  onPressed: _start,
                  child: const Text('Start'),
                ),
                // Stop button
                ElevatedButton(
                  onPressed: _stop,
                  style: ElevatedButton.styleFrom(
                    backgroundColor: Colors.red,
                  ),
                  child: const Text('Stop'),
                ),
                // Reset button
                ElevatedButton(
                  onPressed: _reset,
                  style: ElevatedButton.styleFrom(
                    backgroundColor: Colors.green,
                  ),
                  child: const Text('Reset'),
                ),
              ],
            ),
          ],
        ),
      ),
    );
  }
}
Conclusion
Overall, using the Stopwatch class is a convenient way to add timing functionality to a Flutter app. Without this class, most likely, we would have had to write more and more code for the small application above.
Are you tired and sleepy yet? If not, keep learning new things about Flutter through these tutorials:
- How to Create a Sortable ListView in Flutter
- Flutter: Firing multiple Futures at the same time with FutureGroup
- 4 Ways to Format DateTime in Flutter
- Flutter: Finding X and Y coordinates of a widget at runtime
- 2 ways to convert DateTime to time ago in Flutter
- Flutter StreamBuilder: Tutorial & Examples (Updated)
You can also tour around our Flutter topic page or Dart topic page for the most recent tutorials and examples.


