

This article walks you through a couple of different ways to switch between dark mode and light mode in a Flutter application.
Using Self-Written Code
This approach uses ValueListenableBuilder and ValueNotifier, the two built-in classes of Flutter. No third-party package is required.
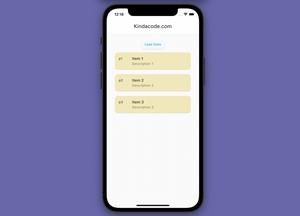
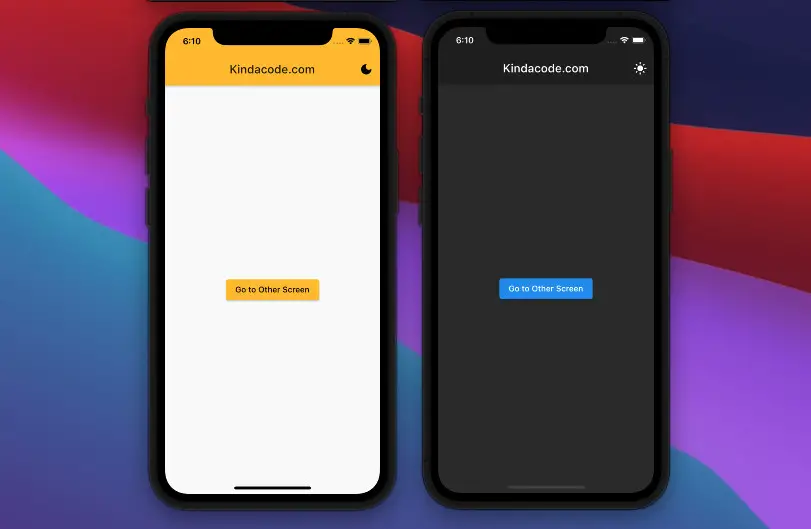
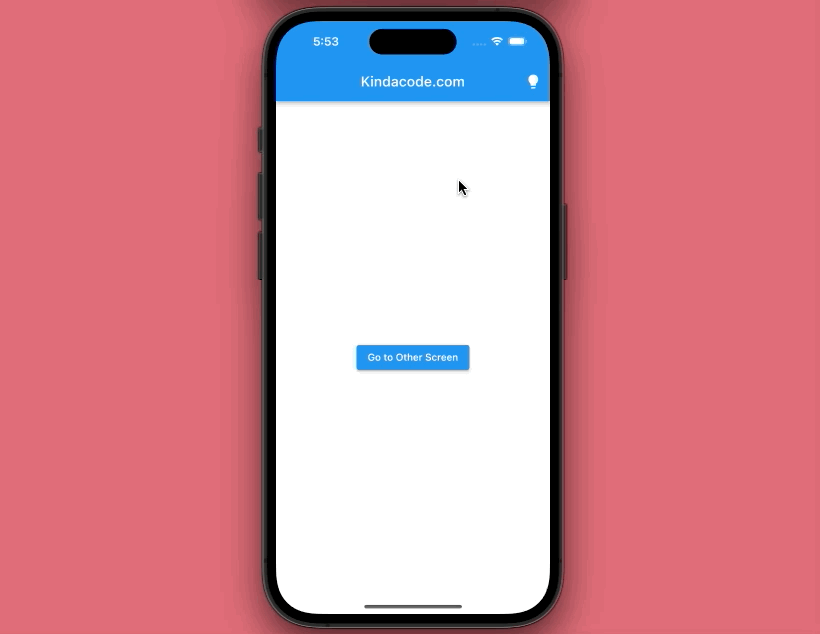
App Preview
This sample app contains two screens: HomeScreen and OtherScreen. When you change the theme by tapping the button in the app bar, the color scheme of the entire app will change. The purpose of adding OtherScreen is to illustrate that.
If you look closely, you can also see that the icon of the button on the appBar also changes depending on the theme is being applied.
The Complete Code
// main.dart
import 'package:flutter/material.dart';

void main() {
  runApp(const MyApp());
}

class MyApp extends StatelessWidget {
  // Using "static" so that we can easily access it later
  static final ValueNotifier<ThemeMode> themeNotifier =
      ValueNotifier(ThemeMode.light);

  const MyApp({Key? key}) : super(key: key);

  @override
  Widget build(BuildContext context) {
    return ValueListenableBuilder<ThemeMode>(
        valueListenable: themeNotifier,
        builder: (_, ThemeMode currentMode, __) {
          return MaterialApp(
            // Remove the debug banner
            debugShowCheckedModeBanner: false,
            title: 'Kindacode.com',
            theme: ThemeData(primarySwatch: Colors.amber),
            darkTheme: ThemeData.dark(),
            themeMode: currentMode,
            home: const HomeScreen(),
          );
        });
  }
}

// Home Screen
class HomeScreen extends StatelessWidget {
  const HomeScreen({Key? key}) : super(key: key);

  @override
  Widget build(BuildContext context) {
    return Scaffold(
      appBar: AppBar(
        title: const Text('Kindacode.com'),
        actions: [
          IconButton(
              icon: Icon(MyApp.themeNotifier.value == ThemeMode.light
                  ? Icons.dark_mode
                  : Icons.light_mode),
              onPressed: () {
                MyApp.themeNotifier.value =
                    MyApp.themeNotifier.value == ThemeMode.light
                        ? ThemeMode.dark
                        : ThemeMode.light;
              })
        ],
      ),
      body: Center(
        child: ElevatedButton(
          child: const Text('Go to Other Screen'),
          onPressed: () {
            Navigator.push(context,
                MaterialPageRoute(builder: (context) => const OtherScreen()));
          },
        ),
      ),
    );
  }
}

// Other Screen
class OtherScreen extends StatelessWidget {
  const OtherScreen({Key? key}) : super(key: key);

  @override
  Widget build(BuildContext context) {
    return Scaffold(
      appBar: AppBar(
        title: const Text('Other Screen'),
      ),
      body: const Center(
        child: Text(
          'Hello',
          style: TextStyle(fontSize: 50),
        ),
      ),
    );
  }
}
Using A Third-Party Plugin
There’re several good plugins that can help you easily implement dark/light mode in your app such as theme_provider, day_night_switcher, get (aka GetX).
In the following example, we’ll use GetX. You can install it by running:
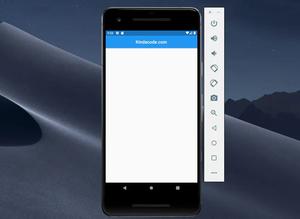
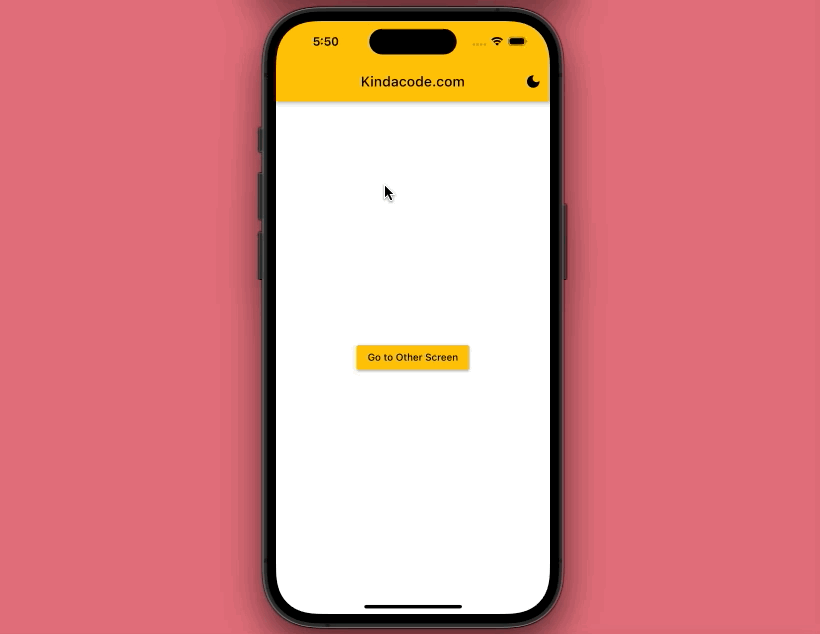
flutter pub add getApp Preview
This sample app is similar to the previous one.
The Code
To switch themes using GetX, you need to wrap your widget tree with GetMaterialApp instead of MaterialApp, like this:
class MyApp extends StatelessWidget {
  @override
  Widget build(BuildContext context) {
    return GetMaterialApp(
      // Remove the debug banner
      debugShowCheckedModeBanner: false,
      title: 'Kindacode.com',
      darkTheme: ThemeData.dark(),
      themeMode: ThemeMode.system,
      // Theme mode depends on device settings at the beginning
      home: HomeScreen(),
    );
  }
}
GetMaterialApp is not a modified MaterialApp; it is just a pre-configured widget that has the default MaterialApp as a child.
Now you can use the changeTheme() method to turn the dark mode on or off:
Get.changeTheme(
                    Get.isDarkMode ? ThemeData.light() : ThemeData.dark());
The complete code:
// main.dart
import 'package:flutter/material.dart';
import 'package:get/get.dart';

void main() {
  runApp(const MyApp());
}

class MyApp extends StatelessWidget {
  const MyApp({Key? key}) : super(key: key);

  @override
  Widget build(BuildContext context) {
    return GetMaterialApp(
      // Remove the debug banner
      debugShowCheckedModeBanner: false,
      title: 'Kindacode.com',
      darkTheme: ThemeData.dark(),
      themeMode: ThemeMode.system,
      // Theme mode depends on device settings at the beginning
      home: const HomeScreen(),
    );
  }
}

// Home Screen
class HomeScreen extends StatelessWidget {
  const HomeScreen({Key? key}) : super(key: key);

  @override
  Widget build(BuildContext context) {
    return Scaffold(
      appBar: AppBar(
        title: const Text('Kindacode.com'),
        actions: [
          IconButton(
              icon: const Icon(Icons.lightbulb),
              onPressed: () {
                Get.isDarkMode
                    ? Get.changeTheme(ThemeData.light())
                    : Get.changeTheme(ThemeData.dark());
              })
        ],
      ),
      body: Center(
        child: ElevatedButton(
          child: const Text('Go to Other Screen'),
          onPressed: () {
            Navigator.push(context,
                MaterialPageRoute(builder: (context) => const OtherScreen()));
          },
        ),
      ),
    );
  }
}

// Other Screen
class OtherScreen extends StatelessWidget {
  const OtherScreen({Key? key}) : super(key: key);

  @override
  Widget build(BuildContext context) {
    return Scaffold(
      appBar: AppBar(
        title: const Text('Other Screen'),
      ),
      body: Center(
        child: Card(
          child: Container(
              width: 300,
              height: 300,
              alignment: Alignment.center,
              child: const Text('Other Screen')),
        ),
      ),
    );
  }
}
As you can see, the amount of code is reduced significantly compared to the first example.
Note: In production apps, you should store the user settings somewhere like shared_preferences, SQLite, Hive database, Firebase, etc. For more information, see Ways to Store Data Offline in Flutter and Flutter and Firestore Database: CRUD example.
Conclusion
You’ve learned a few techniques to implement a dark/light mode toggle in an app. Choose the most suitable and convenient method for your project to provide your users with the best experience. If you’d like to explore more new and exciting things about Flutter, take a look at the following articles:
- Using GetX (Get) for State Management in Flutter
- Great Plugins to Easily Create Animations in Flutter
- Flutter & Hive Database: CRUD Example
- Flutter & SQLite: CRUD Example
- Flutter and Firestore Database: CRUD example
- Flutter: Check Internet Connection without any plugins
You can also take a tour around our Flutter topic page or Dart topic page for the latest tutorials and examples.


