


This article walks you through a complete example of using CupertinoSlider, an iOS-style widget in Flutter that lets the user select from a range of number values.
Table of Contents
A Prefatory Note
A CupertinoSlider widget requires 2 parameters:
- value: The current value of the slider (type: double)
- onChanged: A function called whenever the user moves the slider’s thumb (some people call it cursor) and returns the newly selected value.
The Example
Preview
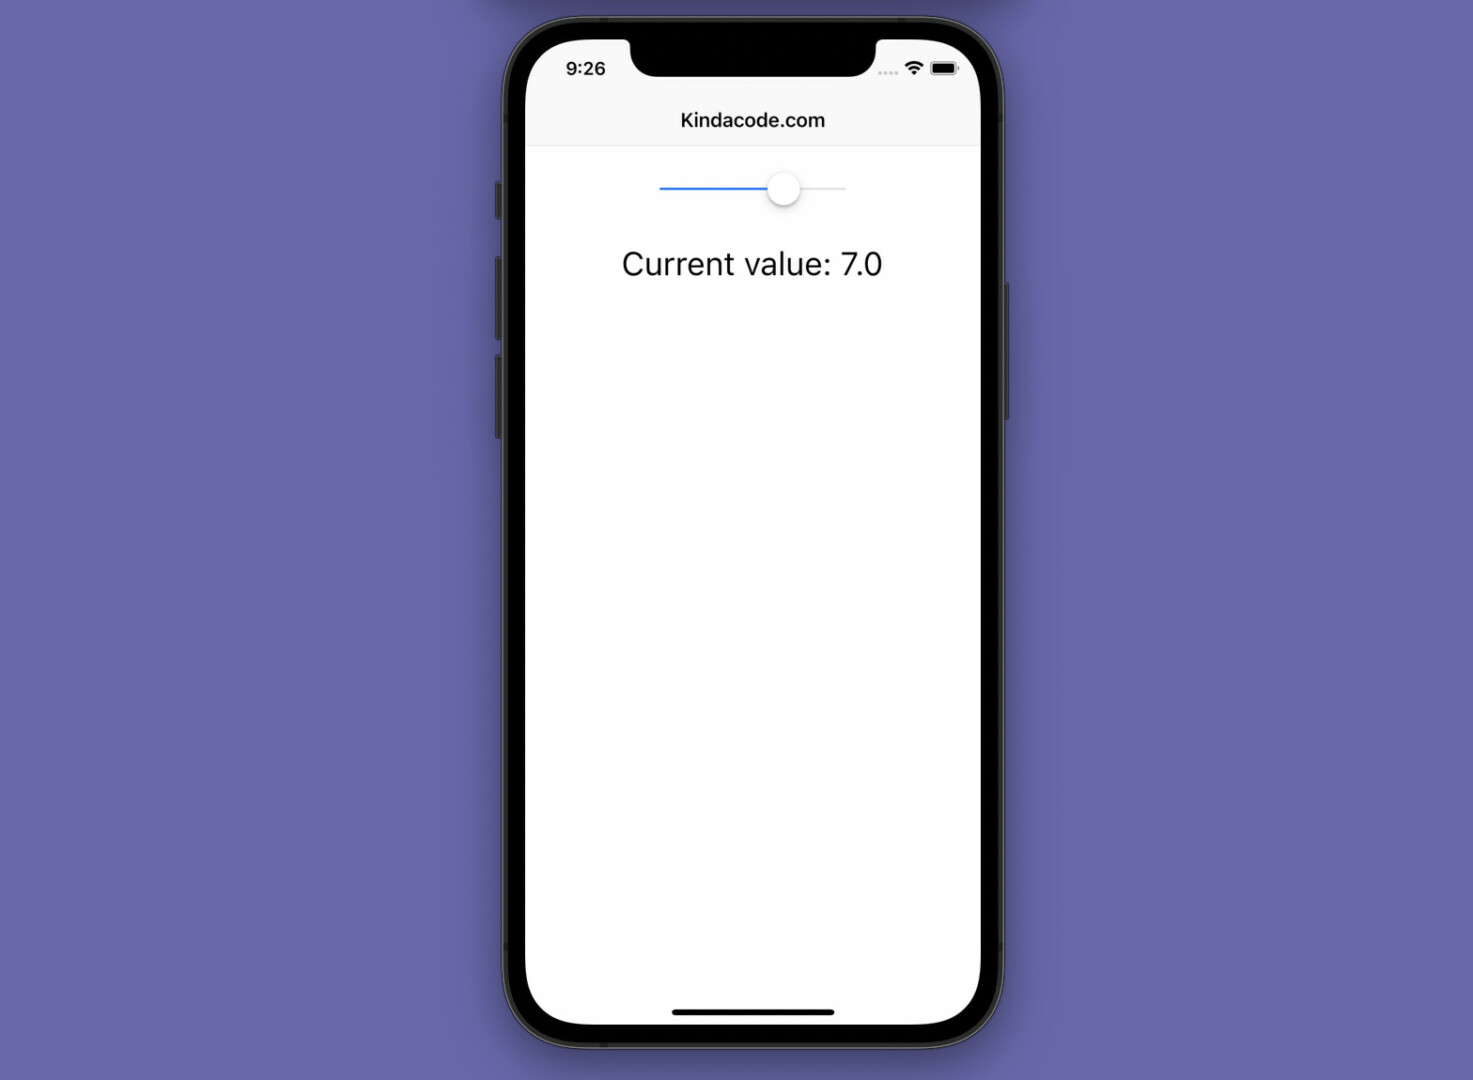
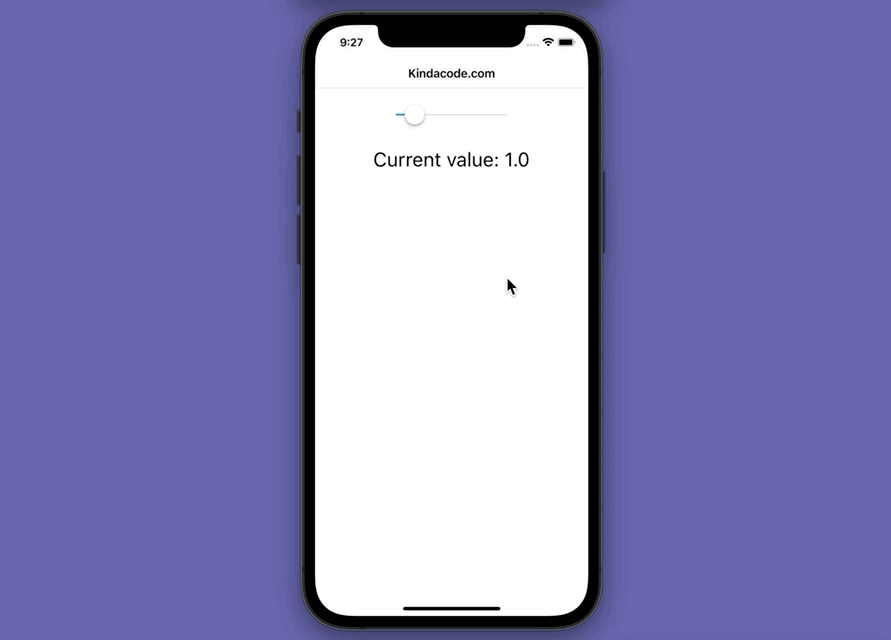
What we’re going to build is a sample app that contains a slider and a text widget in the center of the screen. When the slider changes, the selected value will be immediately reflected in the text widget, as shown below:
The Code
In order to use a Cupertino widget, you have to import the Cupertino library as follows:
import 'package:flutter/cupertino.dart';Here’s the complete code (with explanations):
// main.dart
import 'package:flutter/cupertino.dart';

void main() {
  runApp(const MyApp());
}

class MyApp extends StatelessWidget {
  const MyApp({Key? key}) : super(key: key);

  @override
  Widget build(BuildContext context) {
    return const CupertinoApp(
      // Remove the debug banner
      debugShowCheckedModeBanner: false,
      title: 'Kindacode.com',
      home: MyHomePage(),
    );
  }
}

class MyHomePage extends StatefulWidget {
  const MyHomePage({Key? key}) : super(key: key);

  @override
  State<MyHomePage> createState() => _MyHomePageState();
}

class _MyHomePageState extends State<MyHomePage> {
  // this will be displayed on the screen
  double _currentValue = 1;

  @override
  Widget build(BuildContext context) {
    return CupertinoPageScaffold(
      navigationBar: const CupertinoNavigationBar(
        middle: Text('Kindacode.com'),
      ),
      child: SafeArea(
        child: Container(
          padding: const EdgeInsets.all(15),
          width: double.infinity,
          child: Column(children: [
            // Implement the Cupertino slider
            CupertinoSlider(
                value: _currentValue,
                min: 0,
                max: 10,
                divisions: 10,
                onChanged: (selectedValue) {
                  setState(() {
                    _currentValue = selectedValue;
                  });
                }),
            const SizedBox(height: 25),
            // display the result
            Text(
              'Current value: ${_currentValue.toString()}',
              style: const TextStyle(fontSize: 28),
            )
          ]),
        ),
      ),
    );
  }
}
Conclusion
We’ve gone over an end-to-end example of using the CupertinoSlider widget to create an iOS-style slider in Flutter. If you’d like to learn more about iOS-style widgets, take a look at the following articles:
- How to use Cupertino icons in Flutter
- Flutter CupertinoSegmentedControl Example
- Example of CupertinoSliverNavigationBar in Flutter
- Flutter: Cupertino ActionSheet Example
- Working with Cupertino Date Picker in Flutter
- Flutter: CupertinoPicker Example
- Using CupertinoSwitch in Flutter (iOS-Style Switch)
You can also check out our Flutter category page or Dart category page for the latest tutorials and examples.


