Before your React app is ready and capable of rendering its components, there is a period of time when only your HTML and CSS are working. If the internet speed of your user is fast then that period is almost unrecognizable. However, if their internet speed is really slow, we have a big problem here. The user may be annoyed because they don’t know what’s going on and may lose patience and leave your web app.
A simple but effective solution to this problem is to add a custom loading screen that immediately shows up when your HTML file is rendered.
Table of Contents
What Is The Point?
The trick is simple and we can achieve the goal without writing tons of code. Just focus on your public/index.html file. Add your custom loader into the root <div> element:
<body>
  <noscript>You need to enable JavaScript to run this app.</noscript>
  <div id="root">
    <!-- Implement the custom loader page here -->
    <div class="my-loader-page">
       <!-- add your loader (icon, GIF, SVG, CSS animations, etc) here -->
    </div>
  </div>
</body>
In the beginning, the custom loader will be displayed. However, when React is ready, everything inside <div id=”root”> will automatically be replaced by JSX components. This behavior makes our lives much easier because we don’t have to write any logic to remove our loader when its mission is done. If you still feel confused and vague, let’s examine the full, working example below.
Complete Example
App Preview
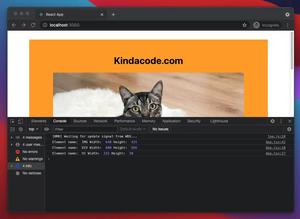
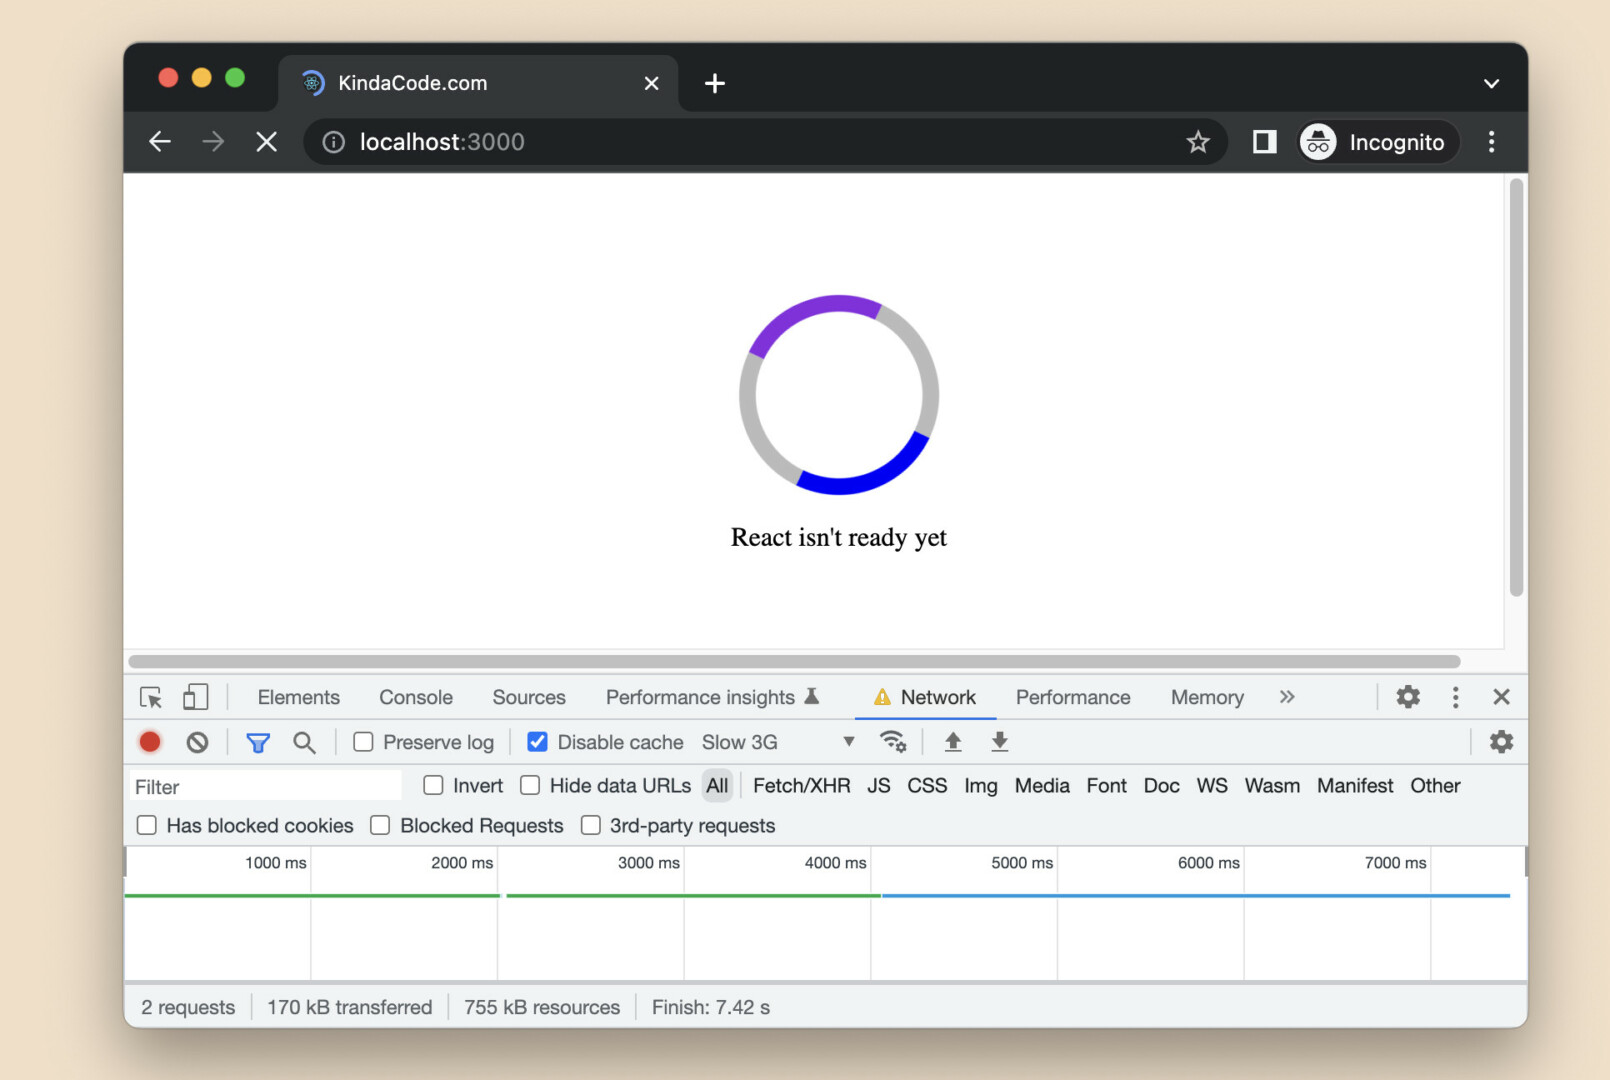
In this example, we’ll create a custom spinner from pure CSS only. Note that to clearly observe the loading screen in the development environment, you have to open the Chrome DevTools, select the Network tab, and then throttle the internet speed by choosing Slow 3G or Fast 3G.
This is how it works in practice:
The Code
1. Create a brand new React project:
npx create-react-app custom-loading-screen-example2. Go to the <your project directory>/public/index.html and replace the default code with the following:
<!DOCTYPE html>
<html lang="en">

<head>
  <meta charset="utf-8" />
  <link rel="icon" href="%PUBLIC_URL%/favicon.ico" />
  <meta name="viewport" content="width=device-width, initial-scale=1" />
  <meta name="theme-color" content="#000000" />
  <meta name="description" content="Web site created using create-react-app" />
  <link rel="apple-touch-icon" href="%PUBLIC_URL%/logo192.png" />
  <link rel="manifest" href="%PUBLIC_URL%/manifest.json" />
  <title>KindaCode.com</title>

  <!-- Add this CSS to style the custom loader -->
  <style>
    .my-loader-page {
      width: 100vw;
      height: 100vh;
      display: flex;
      flex-direction: column;
      justify-content: center;
      align-items: center;
    }

    .my-loader {
      width: 100px;
      height: 100px;
      border: 10px solid #bbb;
      border-left: 10px solid blue;
      border-right: 10px solid blueviolet;
      border-radius: 50%;
      animation: spin 2s linear infinite;
    }

    @keyframes spin {
      0% {
        transform: rotate(0deg);
      }

      100% {
        transform: rotate(360deg);
      }
    }
  </style>
</head>

<body>
  <noscript>You need to enable JavaScript to run this app.</noscript>
  <div id="root">
    <!-- Implement the custom loader here -->
    <!-- All elements inside the root diev will be replaced by React components when they are ready -->
    <div class="my-loader-page">
      <div class="my-loader"></div>
      <p>React isn't ready yet</p>
    </div>
  </div>
</body>

</html>
Just focus on the CSS styles in the <head> section and other things inside <div id=”root”>.
3. Remove all of the unwanted code in src/App.js and add this:
// KindaCode.com
// src/App.js
import './App.css';

function App() {
  return (
    <div style={{ padding: 30 }}>
      <h1>Welcome To KindaCode.com</h1>
      <h3>React is now ready</h3>
    </div>
  );
}

export default App;
4. Start it up:
npm startView the app at http://localhost:3000. Throttle the internet speed with the Chrome DevTools (as mentioned earlier), and refresh the page to check the result. Cheer!
Conclusion
You’ve learned how to implement a custom loading indicator for your React app. The work isn’t tremendous but improves user experience a lot. Try to modify the code, change the CSS styles, add some things, and remove some things to make the example fit your needs.
If you’d like to consolidate your frontend skills and explore more new stuff about modern React, take a look at the following articles:
- React: Create a Fullscreen Search Overlay from Scratch
- React: Check if user device is in dark mode/light mode
- React: Show Image Preview before Uploading
- React + TypeScript: Making a Custom Context Menu
- React + TypeScript: Multiple Dynamic Checkboxes
- Using Image Picker and Camera in React Native (Expo)
You can also check our React category page and React Native category page for the latest tutorials and examples.